
“Shooting Nikon DSLR cameras in manual mode with auto ISO” is a new article by Steve Perry (website | YouTube | Facebook). You can check also his previous [NR] posts:
- How to use Nikon’s AF-ON and back button autofocus
- How to use a polarizing filter
- Lens diffraction in photography
Did you know your Nikon camera has a “hidden” exposure mode?
Sure, we’re all familiar with Program, Aperture Priority, Shutter Priority, and Manual – but there’s one that’s left off of the list – and that’s Manual Mode with Auto ISO.
Basically, this setup allows you to adjust your F/stop and shutter speed to exactly what you want and it floats the ISO in order to generate a proper exposure.
At first this may not sound like that big of a deal, but imagine a mode where YOU get to set the most important parts of the exposure equation – the F/stop and shutter speed – and you let the camera figure out the exposure by adjusting the ISO.
With a mode like that, you could instantly increase shutter speed if a situation went from static to action with just a quick flick of your finger on the control dial. You could also adjust F/stop on the fly for added depth of field – and at the same time you were increasing your shutter speed. Pretty cool huh?
See the video to discover why this is so advantageous, why it’s better than using Auto ISO with one of the regular exposure modes, and how to set the whole thing up on your Nikon.
Finally, remember that this isn’t for everyone or every situation. Personally, I love it for wildlife photography, but I usually switch back to full “regular” Manual or Aperture Priority for landscapes. So, think of it as another tool in your toolbox – but make sure you give it a try; you might find it quickly becomes your new favorite exposure mode!
Example shots:
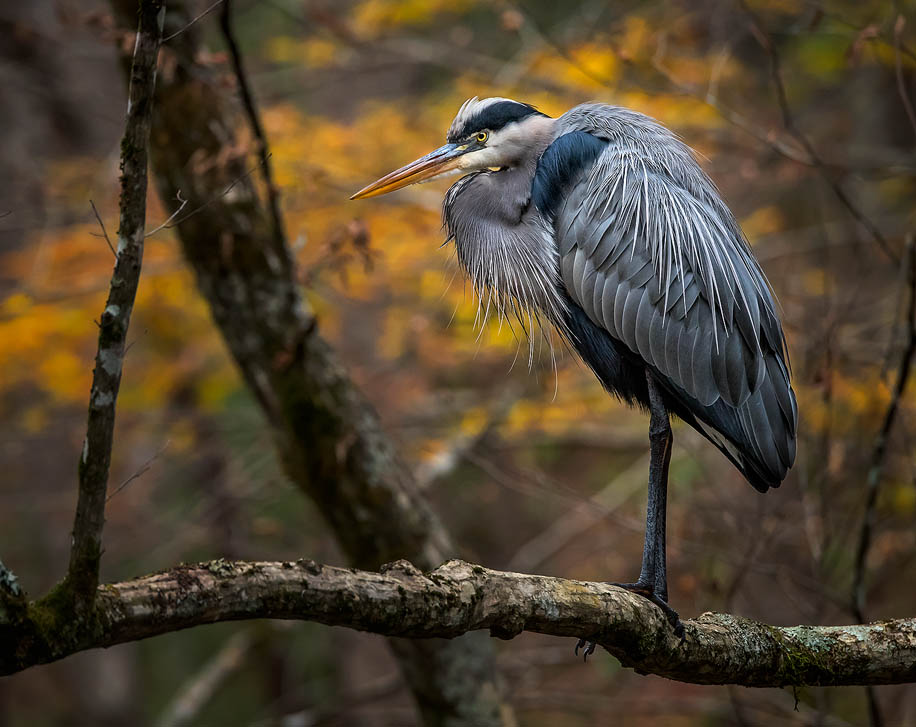
Heron in a tree
This is a typical “before” image. Since this was just a static shot, I only needed 1/350th of a second. I went for F/6.7 just to tighten up the sharpness a little on my 80-400mm.
Now, had the heron started his pre-flight checklist (leaning into the wind, dropping exhaust, that sort of thing), I would have been able to quickly bump the shutter speed up a notch or two for a flight shot. I wouldn’t need to go in and raise my ISO in order to increase shutter speed – the camera takes care of ISO automatically. In this case, I subtracted ½ stop of exposure compensation to keep things from getting a little overexposed.
Heron in flight
Now, here’s a typical “after” shot. It’s not the same bird as above, however the circumstances were very similar.
Moments before, I was snapping off some quick shots of this guy on his nest. For those images, I was around 1/350th of a second and I had my 600mm nearly wide open at F/4.5.
I could see he was about to take off and I knew I would want more shutter speed and a bit more depth of field. With a couple quick flicks of my fingers the shutter speed was up to 1/640 and the F/stop was down to F/6.3. No messing with ISO or exposure modes – my eye never left the viewfinder. I simply set the shutter speed and F/stop to what I wanted, and the camera picked an appropriate ISO – in this case 1250.
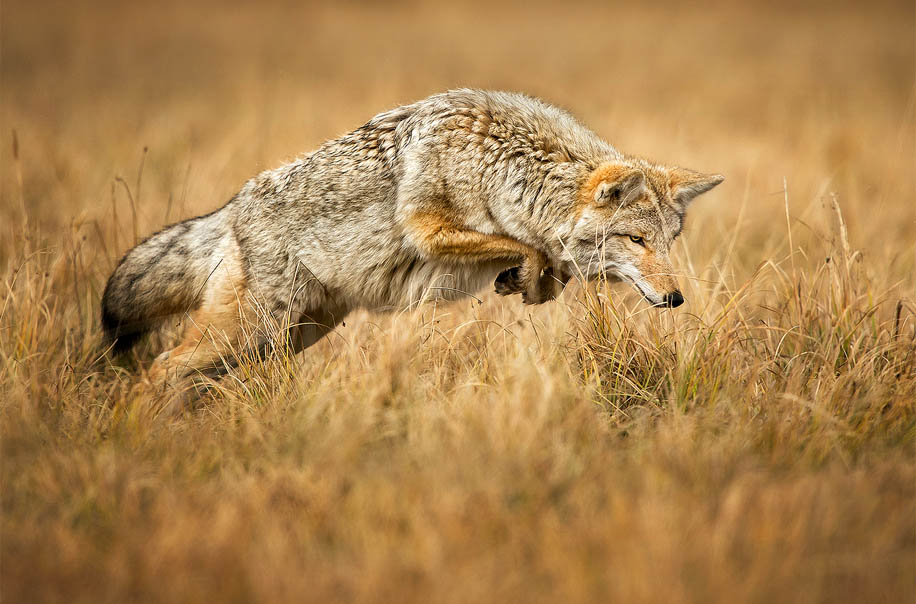
Lunch time
Of course, it works for mammals too!
In this case, I was taking “posed” shots of him surveying the meadow. For those, I was at a slower shutter speed, so the camera selected a lower ISO.
However, when I could see he was on a mouse, I simply bumped the shutter speed to stop the action and the camera automatically increased the ISO.
Note – In this case, I left the F/stop at 6.3 for the duration (I had a 600mm + a 1.4 teleconverter so I stopped down a touch to increase sharpness).
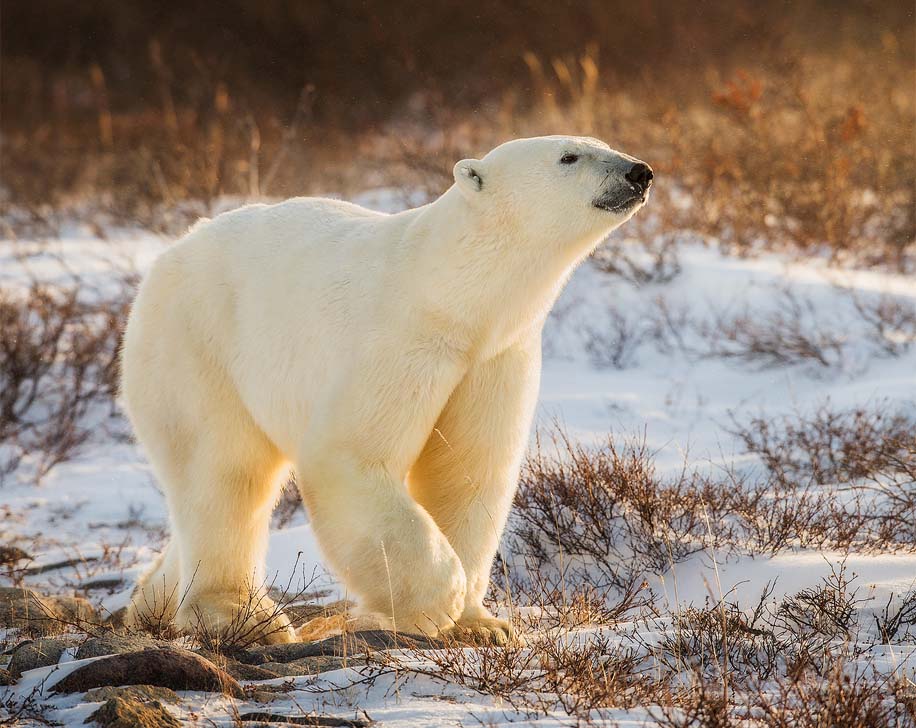
Arctic titan
For this image, I wanted to make sure I had good depth of field, particularly around his head, plus enough shutter speed to stop his action and that of the people bouncing around on the polar rover (well, it felt like they were bouncing anyway).
1/1000th and F6.7 did the job. I had + ½ stop of exposure compensation dialed in to help keep the snow from tricking the meter into an underexposure. The camera picked ISO 640.
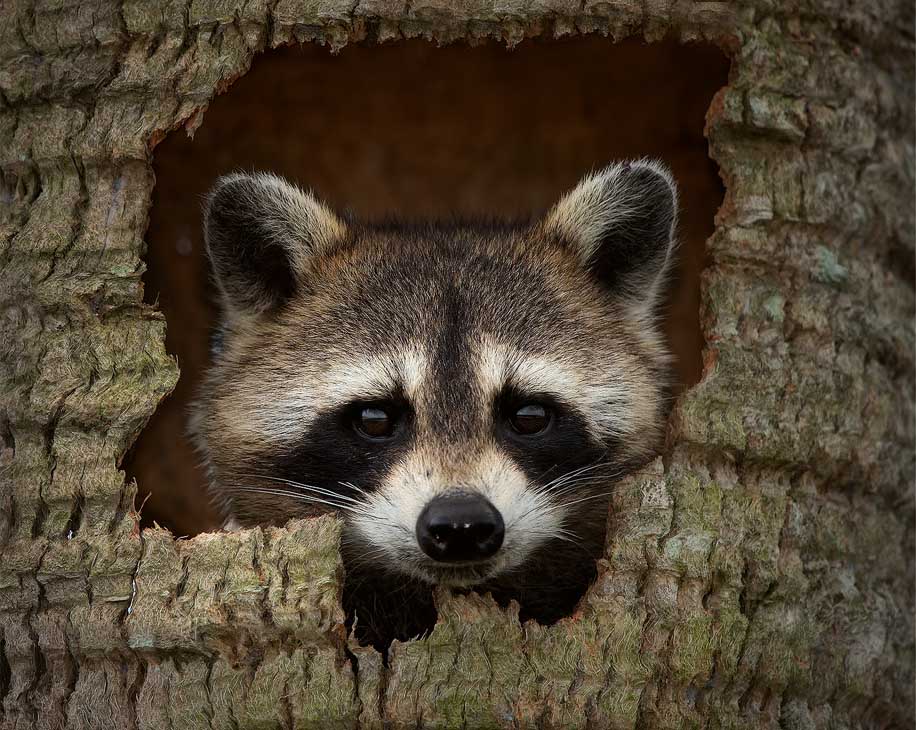
Raccoon hideout
One aspect I like about this technique is that it helps me use the lowest possible ISO when I’m shooting static subjects. By setting my shutter speed as low as I can get away with for a particular situation, as well as opening my lens as wide as I can for said situation, I’m automatically shooting at my lowest possible ISO – without having to dive into menus or mess with buttons and dials to change it.
Although this image was pushing ISO 2500, it was still the lowest ISO I could get away with based on the settings I needed to pull off the shot (1/320th at F/6.3). If I were using Auto ISO, I’d almost certainly have it set at a much higher shutter speed and would have needed to go in and adjust it. With regular ISO, I would have been constantly changing it to keep up with the falling light levels. With this setup, as the light level falls, the camera will gradually increase the ISO without my intervention.
Of course, any of these images could have been captured in any other exposure mode, no doubt about it. However, I find that using Manual Mode with Auto ISO makes on-the-fly changes much quicker and allows me to make creative decisions much faster than the other exposure modes.
So, give it a try and see if it works for you 🙂
Check out my website, YouTube channel, and Facebook page at the links below: