This article on how to use a polarizing filter is written by Steve Perry (website | YouTube | Facebook). You can check also his previous article “How to use Nikon’s AF-ON and back button autofocus“.
Quick – What do you think a polarizing filter is used for?
If you said, “blue skies” then you’re certainly among the majority of photographers. However, that answer merely skims the surface of what a polarizer is really capable of.
The primary purpose of a polarizing filter is to remove reflections. I know, that doesn’t seem like something you should be losing any sleep over, but stick with me here. Once you discover how to really take full advantage of your polarizer, it can truly catapult your images to the next level.
Here’s the thing. Polarizers are one of the very few filters that simply cannot be duplicated in post processing software. The effect they achieve can only be accomplished on location, in the field, attached to the front of your lens.
In short, you really need to know how to use this tool!
In the embedded video above, we’ll look at why you need one, when to use it, and how to use it under a variety of scenarios.
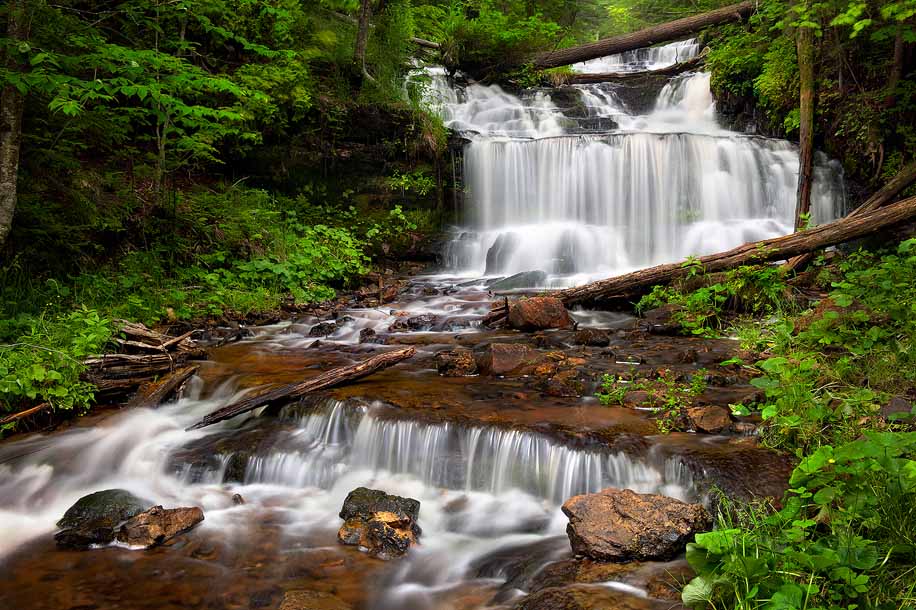
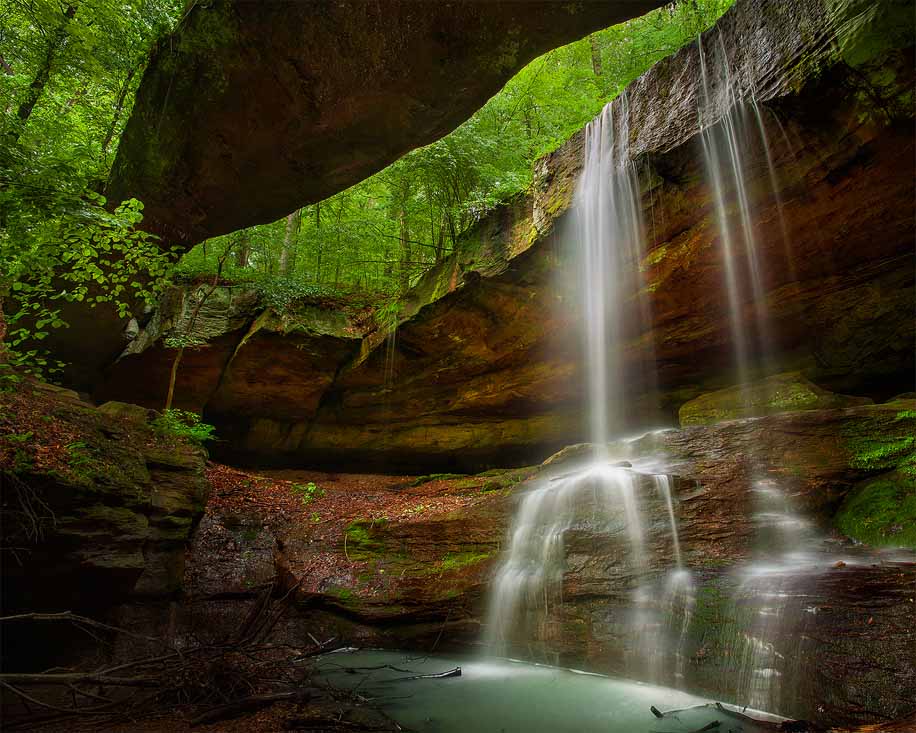
Wagner Falls (38mm, FX)
For this image, a polarizer was essential for showing detail under the water. Without the polarizer, the reflection completely obscured all the rocks beneath the surface of the creek and created a reflection that distracted attention away from the falling water.
As a bonus, the polarizer also removed the reflections from the wet leaves and really made the colors pop. (In fact, I seem to recall needing to back down the color a bit on this one)
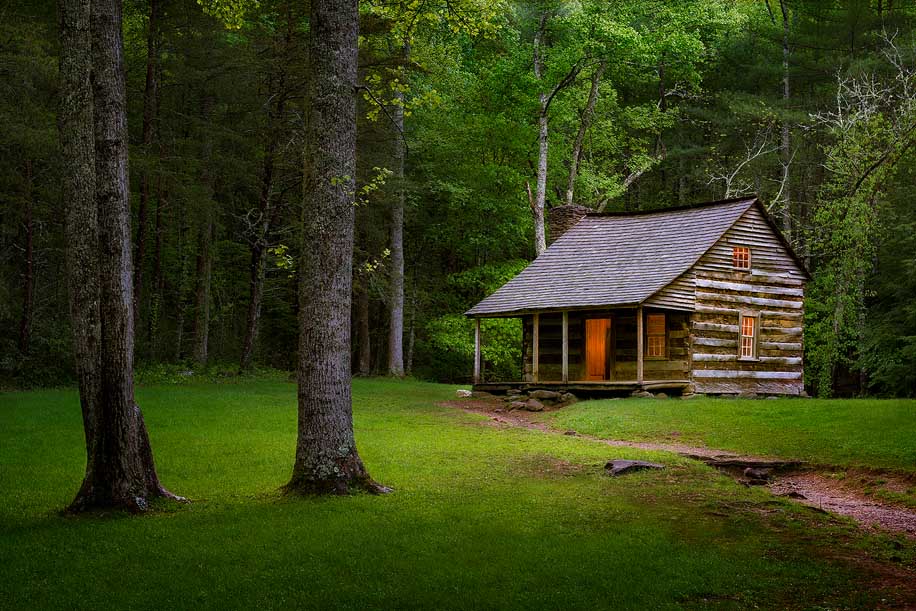
Carter Shield’s Cabin (63mm – FX)
For this image, I had to deal with, literally, tree loads of reflective foliage. Between the leaves and the grass, there were lots of little color-robbing highlights that needed attention. By attaching a polarizer, I was able to easily knock off the reflections and get much richer overall color.
As an aside, the glow from the “fire” inside the cabin was a remote flash with an orange filter on it. It was triggered via walkie talkie since the distance was too far for a CLS remote trigger. (In other words, I basically shot at a slow shutter speed and my wife tripped the flash as I radioed a “3-2-1” countdown.)
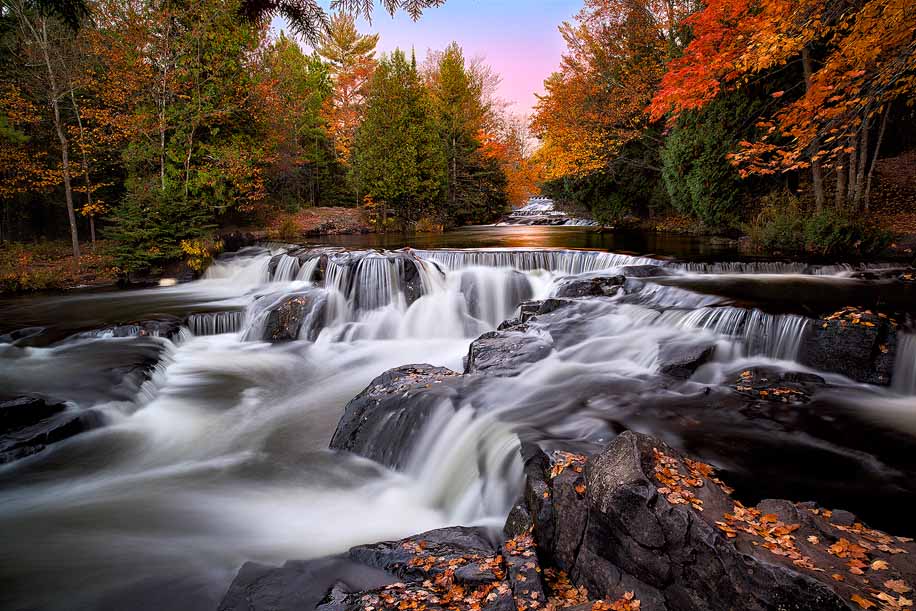
Upper Bond Falls (21mm – FX)
This was shot with a lens that’s a bit wider than most people are comfortable with for polarizers. While a wide lens can be a bad idea for blue skies, it works well for subjects without a sky – or without much sky – in the photo. The polarizer removed quite a bit of sheen from the surface of the water and really helped the autumn colors to pop.
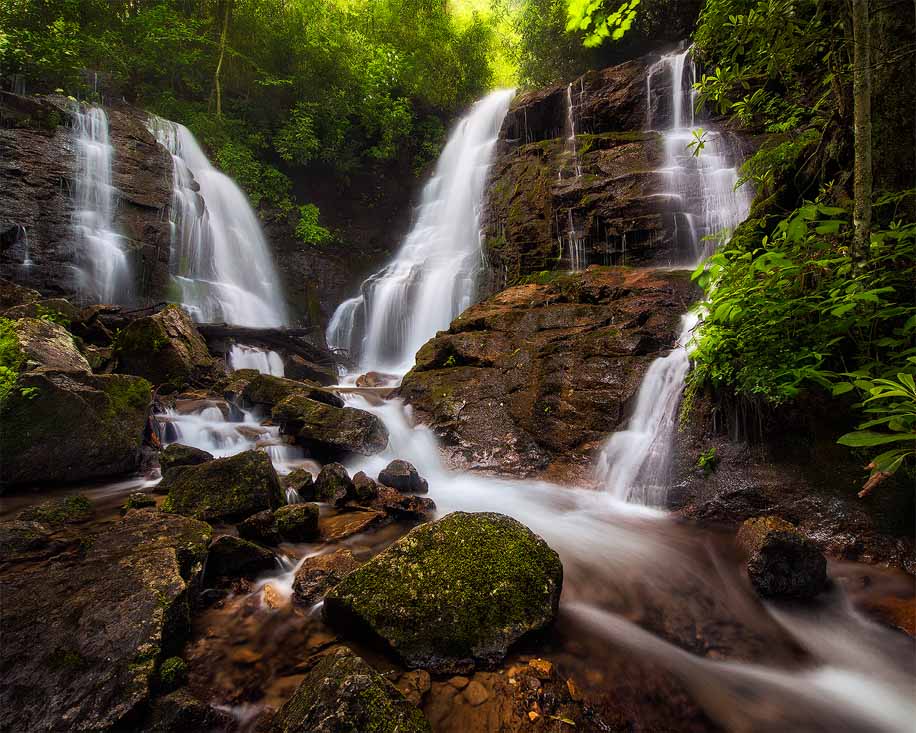
Soco Falls (14mm – FX)
Just to show that you can really go wide with a polarizer and no sky, here is an image shot at 14mm. The polarizer was absolutely critical for removing some especially nasty reflections from the wet rock cliffs in the image. Anytime you have a large area of reflection in an image, the eye is drawn towards it; so managing those reflections can really mean the difference between a wall hanger and a throw away.
The polarizer also helped quite a bit with getting the reflection off the leaves and giving us a little glimpse of what’s underwater.
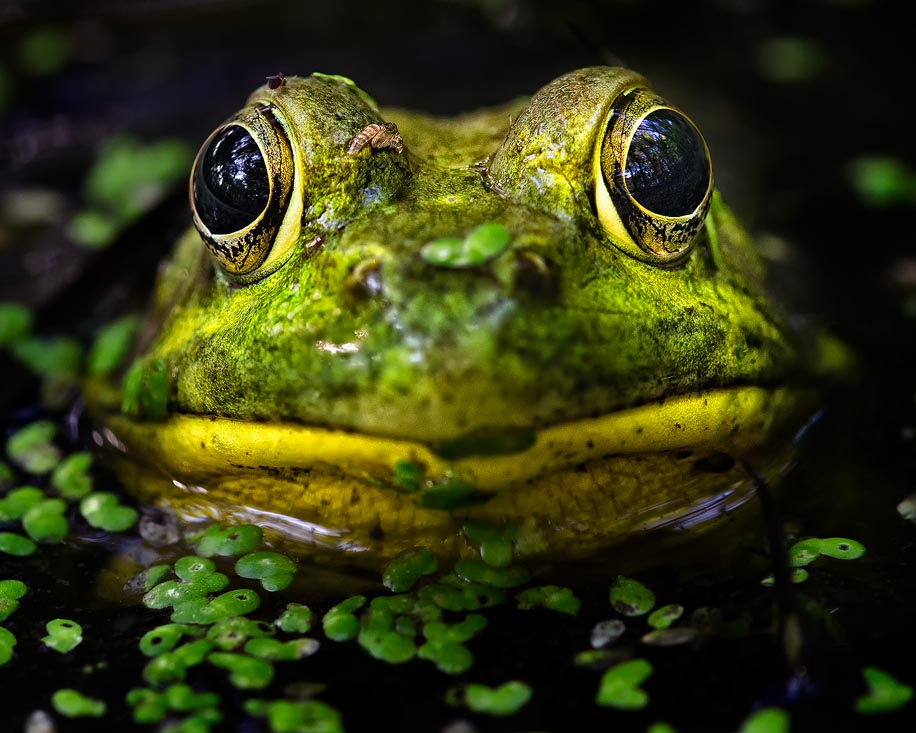
Eye To Eye With A Frog (200mm – DX)
When people think about polarizers, they usually think about landscapes. However, turns out the polarizer really doesn’t care what the subject is! In this case, even a wildlife shot (if you can consider a frog wildlife) can be helped with a polarizer. You would have been amazed at just how much reflection was coming off of this little guy. As I dialed in the polarizer, the difference was night and day.
Beyond that, it also allowed me to get control of a couple bright highlights that were blowing out on his skin.
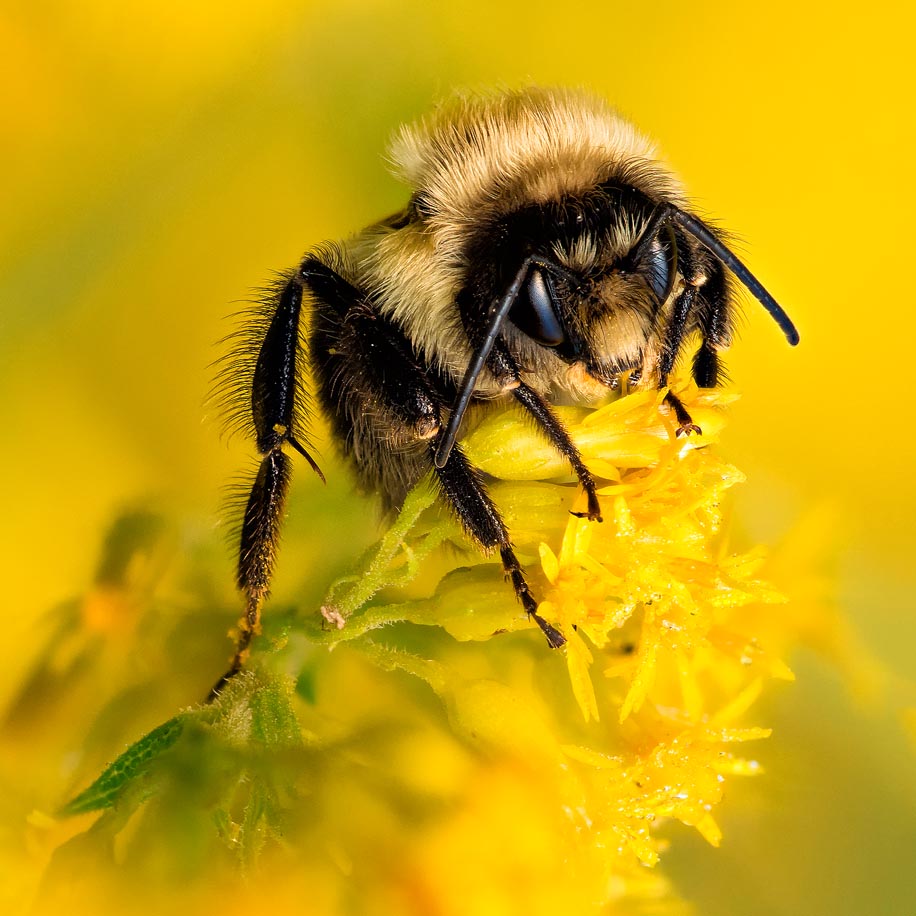
Bumble Bee (200mm FX)
Here’s another close-up where I used a polarizer. For this image, the bee was relatively free of reflections, but I was getting a little too much off the flower. A polarizer quickly dropped that reflection and allowed me to capture an image where the yellows really popped. (Note – in case you were wondering, this image was focus stacked to get good sharpness from front to back)
Rock Bridge (18mm FX)
This was a highly reflective scene and the polarizer really saved the day. It was actively raining and everything was wet and reflective. The detail in the rocks you see just before the falls hits the base was virtually obscured by reflection. The polarizer fixed it, as well as coaxing out some really great colors.
See more of Steve’s work at www.backcountrygallery.com. Also, make sure to check out his youtube channel for more videos at youtube.com/backcountrygallery.