
“Lens diffraction in photography” is the third [NR] article by Steve Perry (website | YouTube | Facebook). You can check also his previous posts “How to use Nikon’s AF-ON and back button autofocus” and “How to use a polarizing filter“.
Diffraction – it’s a topic that is frequently floated throughout internet forums and camera clubs, especially among landscape and high resolution shooters. The problem is, those discussions can leave you more confused than a chameleon in a bowl of Skittles.
In this video, we’ll go over all the essentials you need to know about diffraction in photography and kick the myths to the curb. We’ll dive into just what diffraction is, what it looks like, and what causes it.
And, most importantly, we’ll look at how diffraction can impact your photography and what you can do about it.
The video uses example after example to tackle burning questions such as:
- How far can you safely stop down?
- Does diffraction limit the usefulness of high res sensors?
- Can you sharpen out diffraction?
- Should you ever use small F/stops?
- What causes diffraction in the first place?
- What’s the difference between sharpness and depth of field?
So, if you’re ready to discover the truth about diffraction and its impact on your photography, go ahead and press that play button:
Sample photos
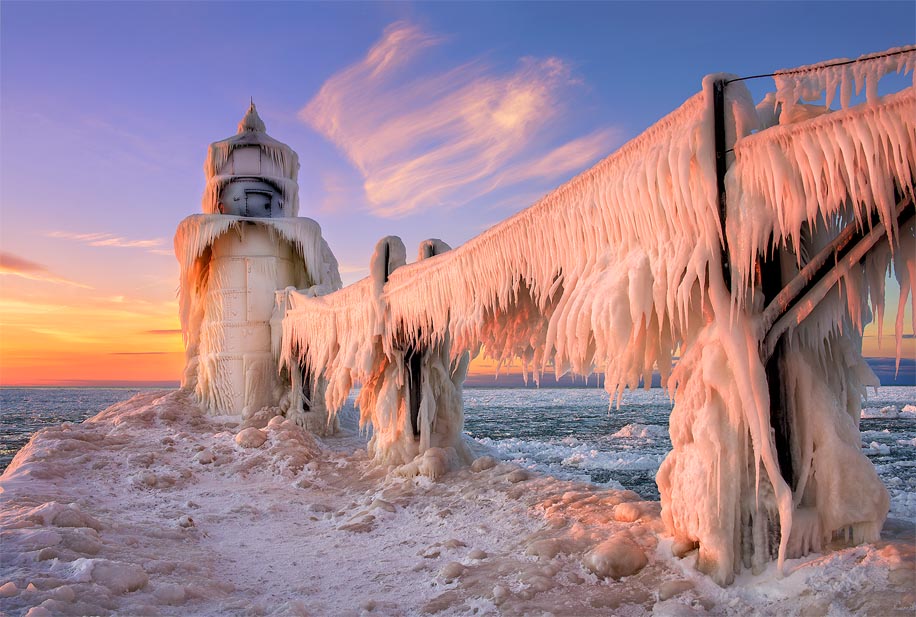
Frozen Lighthouse
For this image, I only needed F/9.5 to pull it off. I had experimented with F/6.7 and then F/8, but the truth is those F/stops just weren’t getting me the foreground to background sharpness I needed. So, F/9.5 and a little hyperfocal distance saved the day. While my D810 is seeing slight diffraction at F/9.5, it made little difference – and was essentially gone with just a very slight amount of sharpening. I feel like I can print this about as large as I’d ever like. Captured with a D810, Nikon 28mm 1.8G, F/9.5.
After The Storm
For this image, depth of field wasn’t much of a concern, so I selected F/8 on my 28mm 1.8G lens. That lens is crazy sharp at that F/stop and I didn’t have to worry about diffraction. This rendered an amazingly detailed image. Captured with a Nikon D800e, Nikon 28mm 1.8g, F/8.
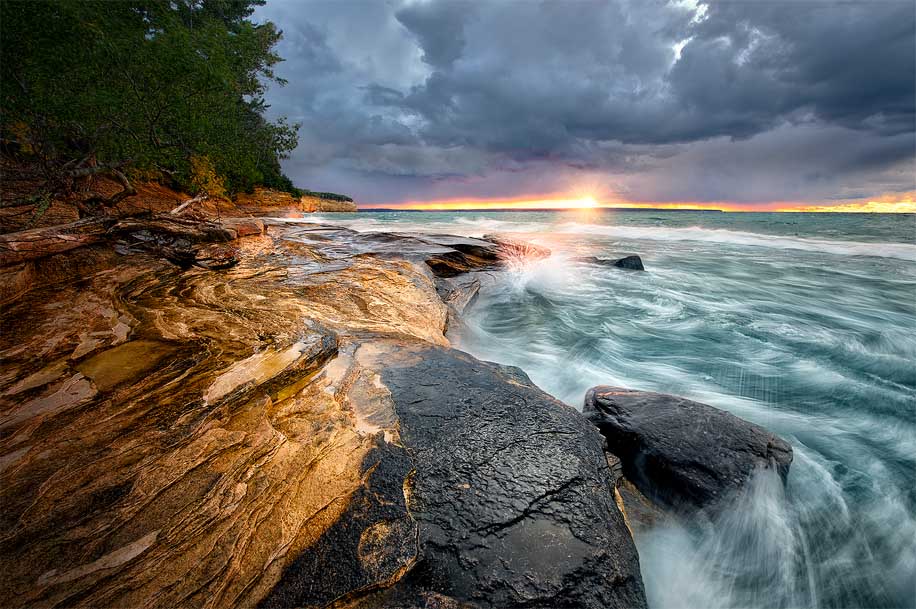
Hurricane River Sunset
In this image, I could have easily used F/11 and enjoyed perfectly acceptable depth of field. However, I also wanted to capture a good starburst and the smaller F/19 choice gave me just that. Sure, F/11 would have been a touch sharper, but the truth is I’d be completely comfortable printing this at 36×24 after a little sharpening. In this case, the starburst was more important to me than a little diffraction. Captured with a D810 and Nikon 24-70mm at 45mm.
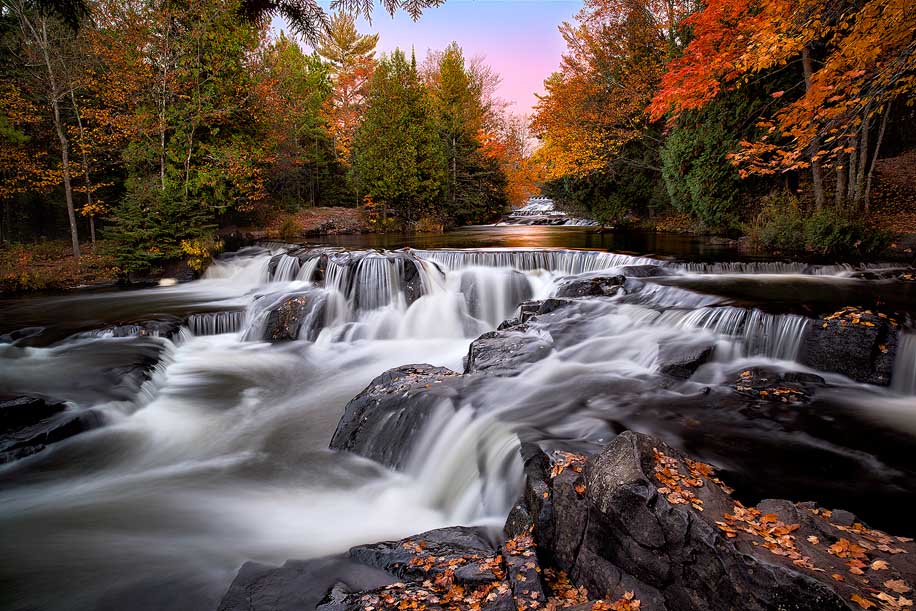
Upper Bond Falls
In this case, I had to dig into diffraction a little with my D800e. Although an aperture of F/8 would have been slightly sharper, the added depth of field I achieved by shooting F/11 allowed me to keep everything acceptably sharp from foreground to background. Captured with a Nikon d800e, Zeiss 21mm, F/11.
Storm Warning
In many cases, when people think of wide angle lenses, they’re under the impression that you never really need to stop down beyond F/5.6 or F/8 due to the massive depth of field. While that is normally very true, in some cases you still have to stop down a bit. In this case, I ended up at F/11 with a 14mm focal length. Why? The rocky area you see in the foreground was MUCH closer than it appears in the photo (less than a foot if I recall). It wasn’t until F/11 that I had acceptable sharpness throughout the image. Captured with a Nikon D3x, Nikon 14-24mm at 14mm, F11.
Technical note – One thing that is often brought up in discussions about diffraction that I (deliberately) left out of the video is the fact that light actually diffracts at slightly different apertures depending on its color (wavelength). So, red light diffracts slightly sooner than green which diffracts slightly sooner than blue. For photography, I generally like to think of an “average” – since I don’t think I’ve ever personally photographed just one particular wavelength!
From an “in the field” perspective it really makes little to no difference if one color is diffracting 1/4 stop sooner than another, so it was excluded from the video to keep things from getting too confusing. However, I thought it would make an interesting side note, so I’m including it here. The only slightly practical application I can really think of for this fact is that if you’re working in warm light, diffraction will set in slightly sooner then normal. However, it’s probably only about 1/4 stop difference, maybe 1/2 stop is things are really red. I’m not entirely sure normal humans can see the difference in 1/4 or 1/2 stop of diffraction, but now you know.
Please see my website to examine the full size images from this video.
http://www.backcountrygallery.com/photography_tips/lens-diffraction-in-photography/
Also, check out my website, YouTube channel, and Facebook page at the links below:
- http://www.backcountrygallery.com/
- http://www.youtube.com/user/backcountrygallery
- http://www.facebook.com/backcountrygallery
If you have an interesting idea for a guest post, you can contact me here.