

From Z6 to Z8: two months with Nikon’s latest camera
Guest post by Lee Pullen, a photographer from Bristol, UK.
I’ve used a first-generation Nikon Z6 since January 2019, and have found it to be a really excellent camera. I figured it could be time for an upgrade, and was rather hoping that Nikon would announce a Z6iii. As it happens, they unveiled the Z8 instead, and the specifications looked good enough for me to take the plunge.
This guest post isn’t about pixel-peeping or in-depth technical assessments, but rather outlining my personal thoughts and experiences using the Z8 compared to the Z6, formed over 12 photoshoots during the first two months of ownership.
First impressions after unboxing are that the Z8 does feel a bit bigger and heavier than the petite Z6, but not by enough that I think it’ll be a significant issue. Personally I prefer the smaller form of the Z6, but the Z8 certainly feels like a premium product and is comfortable to hold.
The Z8’s sensor cover (automatically activated when the camera is off) is very good indeed, and makes the whole camera seem more robust. This will be particularly useful during lens changes. The Z6’s sensor looks awfully exposed in comparison.
The extra card slot gives an added sense of security. I set my images to automatically backup onto the second card. Annoyingly, the Sony XQD card reader I used for my Z6 isn’t compatible with the Z8’s CFexpress Type-B card, so I had to buy a new reader. (Note that the Z8 can take the Z6’s XQD cards, but they have slower speeds). I opted for a ProGrade CFexpress Type B / SDXC UHS-II reader, as this can handle both types of Z8 card. It’s very fast and works well.
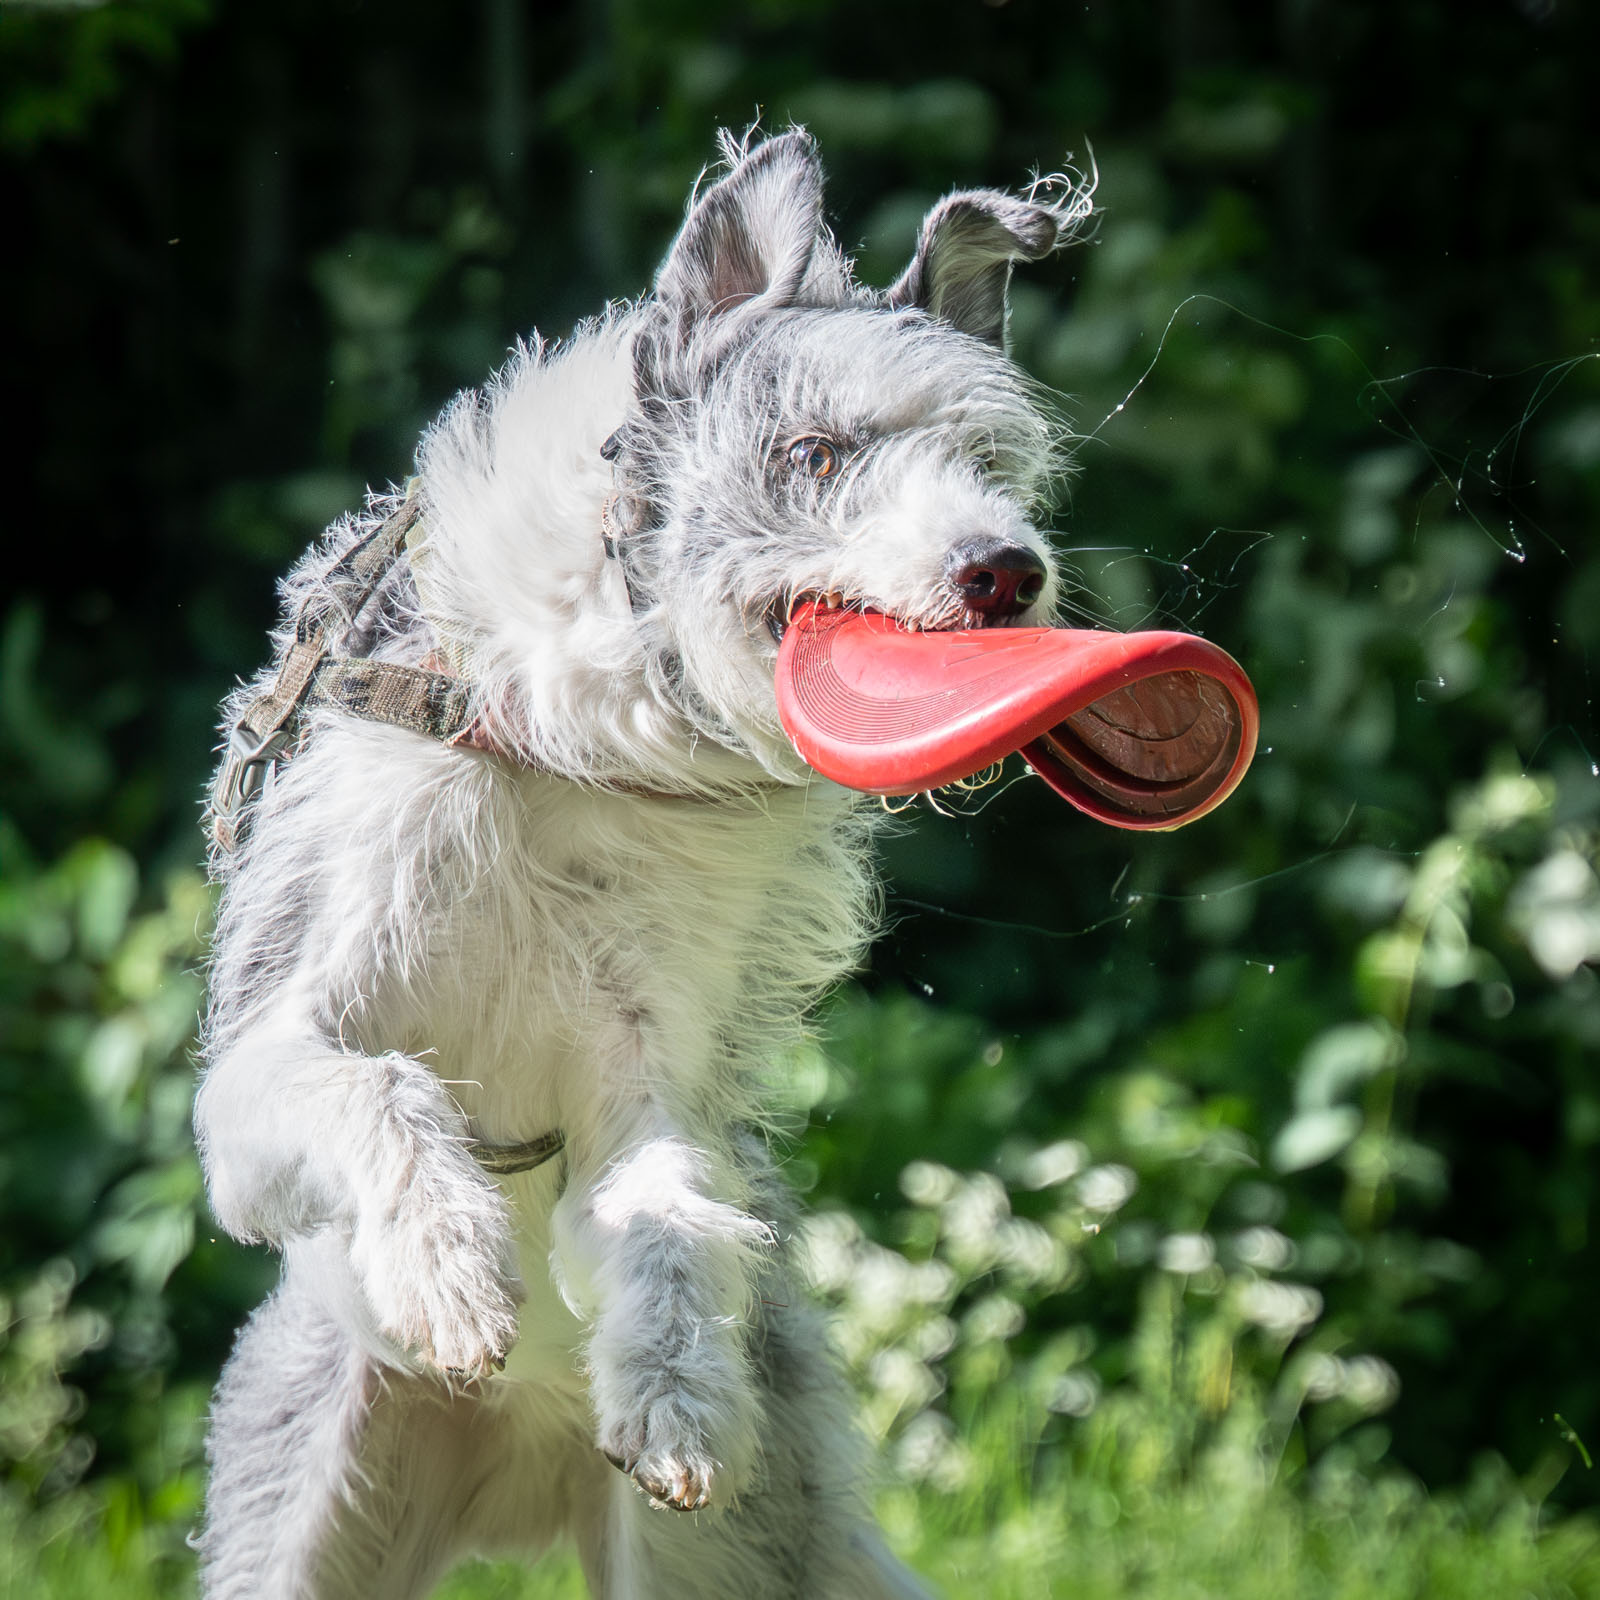
Eager to put the new camera through its paces, I’d arranged to photograph a friend’s dog in the local park.
Shoot #1 – Bowie the speedy dog!
It didn’t take long to realise that the Z8 is blazingly fast. Shooting at 20fps (the fastest speed using RAW) is incredible, and in a different league to the Z6. I always felt that camera was nippy, but the difference is obvious. I also had a quick play with speeds up to 120fps, which made even fast action seem like slow-motion. It’s jaw-droppingly impressive technology, but with the catch that you’re limited to smaller and lower-quality JPEG files. This is enough to curb my use of ultra-high speeds as I do much prefer RAW, but it’s still good to have the option. It’s a similar story for the pre-release mode, where the Z8 constantly records for up to a second before you take a photo, but only if you’re content with smaller JPEGs. Maybe the Z10 will have these functions for full RAW!

I was keen to try out the eye autofocus, and it was pretty good – better out of the box than the Z6, but certainly not 100%. It seemed obvious that the limiting factor was my skill with the camera though, and I was confident I’d be able to increase the hit rate with more experience.
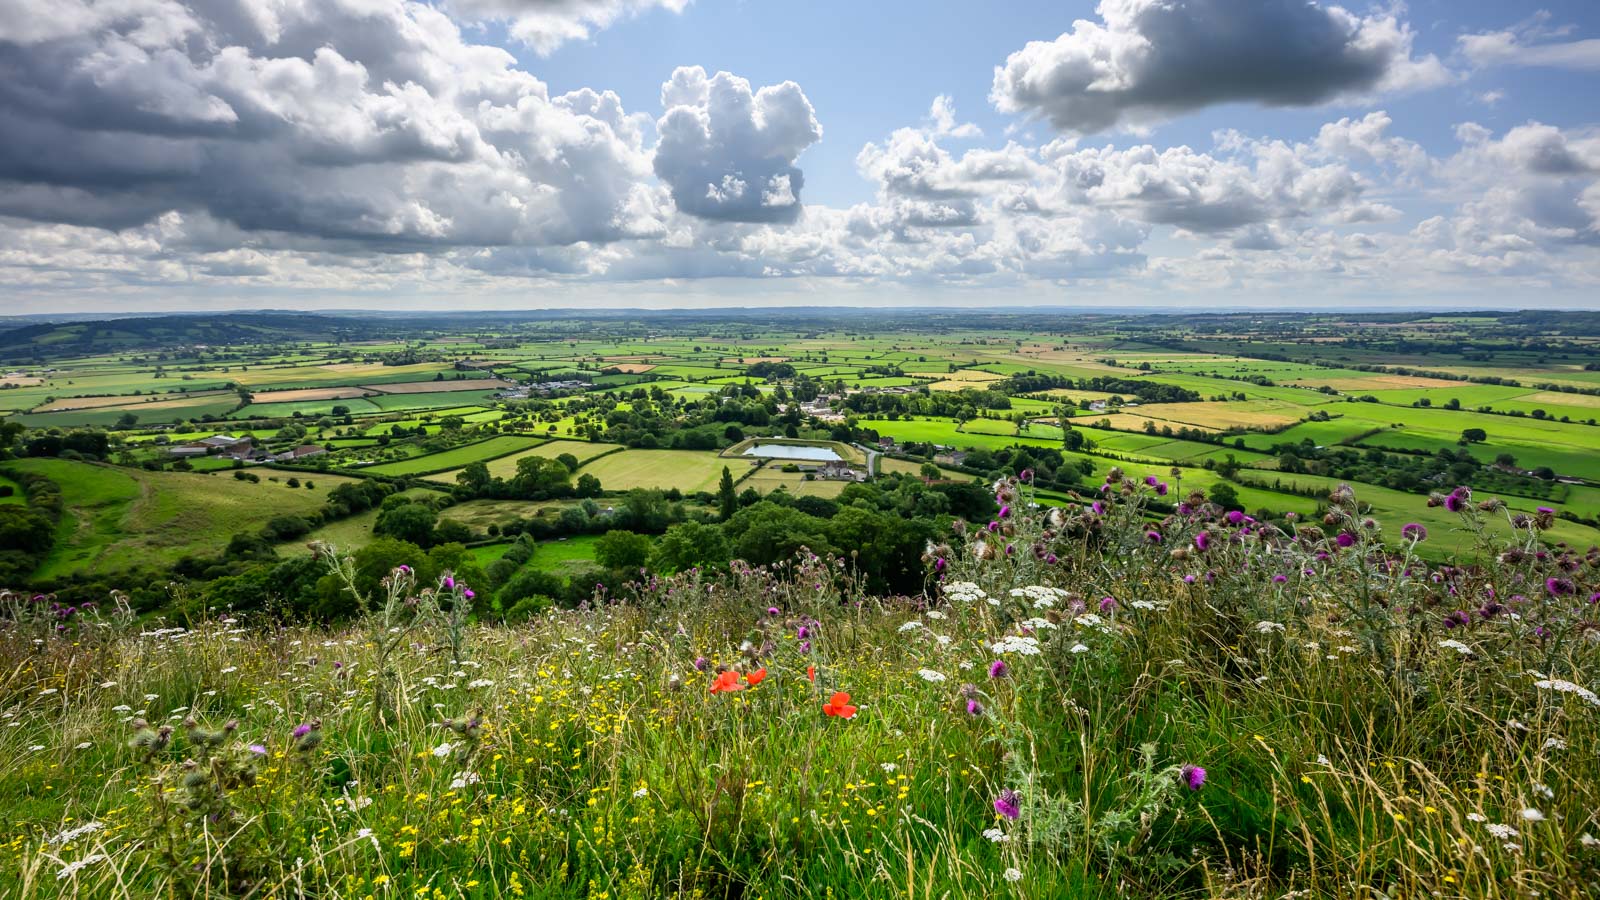
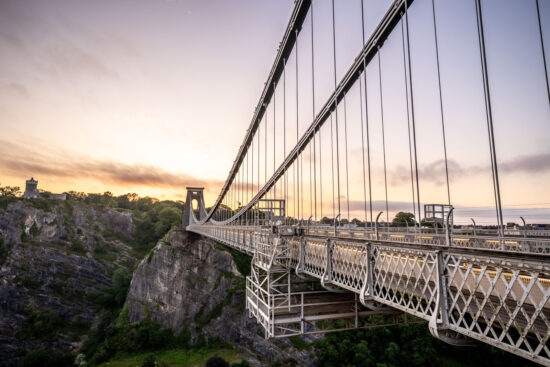
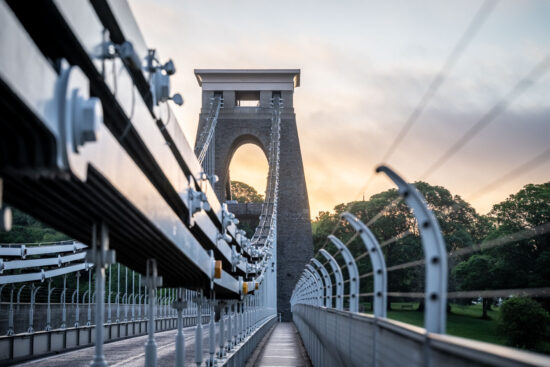
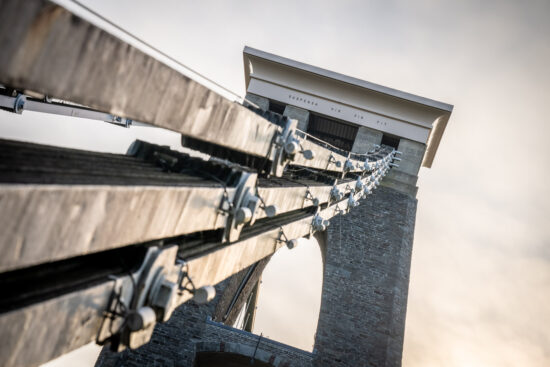
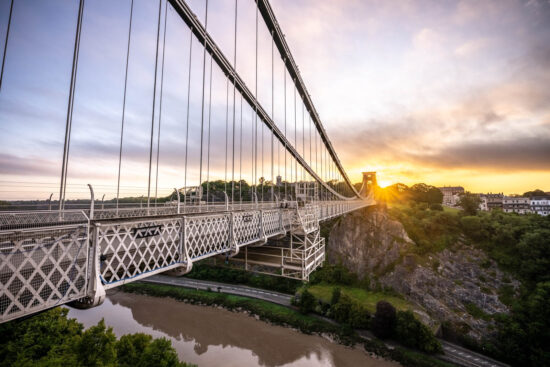
Shoot #2 – The Clifton Suspension Bridge
My next photoshoot with the Z8 was a professional job for the Clifton Suspension Bridge. This is an icon of Bristol, a beautiful landmark and well-known in the area. The team behind the bridge’s management needed some fresh shots, so I arrived at dawn for the best light and to limit the number of cars that would spoil the view!
I’d spent some time tweaking the camera settings and I felt like the camera was now better optimised for how I like to use it. During initial tests I found the Z8’s noise level to be quite high, but I picked up a tip in the Nikon Z8 Facebook group about using Lightroom’s camera specific settings during import. This automatically applies various settings, including some noise reduction, which had a great impact.
I decided to shoot HDRs to get plenty of detail in the bridge itself as well as the brighter background sky, and to give the shots a more distinctive feel. Shooting bracketed shots at 20fps was great – it’s just so fast, I was taking multiple exposures, handheld, in the blink of an eye.
The extra megapixels of the Z8 (45.7 compared to the Z6’s 24.5) helped to get detail in the bridge, but when editing the photos I was surprised by how much longer it took Lightroom to process the files. My PC is no slouch, but the increased resolution certainly has an impact.
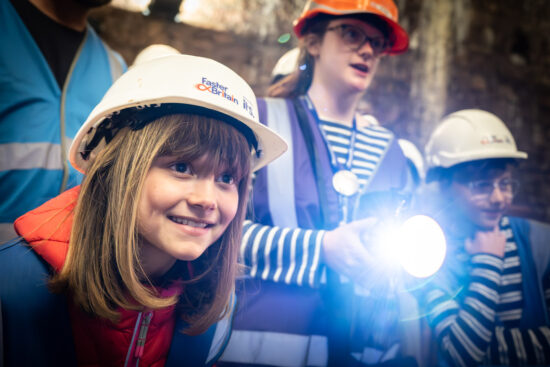
I returned later to the bridge to take promotional photos of an Underground Vault Tour, where visitors don a hardhat and explore underneath the west-side tower. (This is a great thing to do, and I recommend it to locals and tourists alike). This shoot was completely different to the earlier bridge shots. I had literally seven minutes between two tour groups to get all the required images, and while certainly not pitch-black, it was definitely low-light! The Z8 performed really well, and the eye autofocus was a great help. I also appreciated the Z8’s backlit buttons.
Shoot #3 – Ultra-macro
The next outing was just into my garden to have a play with my Laowa 100mm f/2.8 2x Ultra Macro lens. This is fun to use, but challenging. Focus stacking is needed to achieve a usable depth of field, but the lens only has manual focussing. With my Z6, I used a simple focus rail and LED lights on static subjects to take multiple photos with slightly different points of focus, before combining them during processing. A friend suggested I could try a different technique with the Z8: ditch the focus rail and LED lights, and instead attach one of my Godox TT685 flash units to the camera’s hotshoe. Then, use a high burst speed to machine-gun photos, while physically moving closer into the subject. I was happy that this produced passable results even though I was new to the technique.

Once again it was the Z8’s fast speed that was proving to be the standout upgrade over the Z6, which is something I wasn’t expecting.
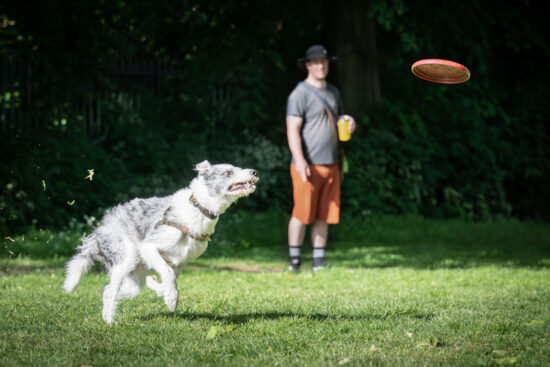
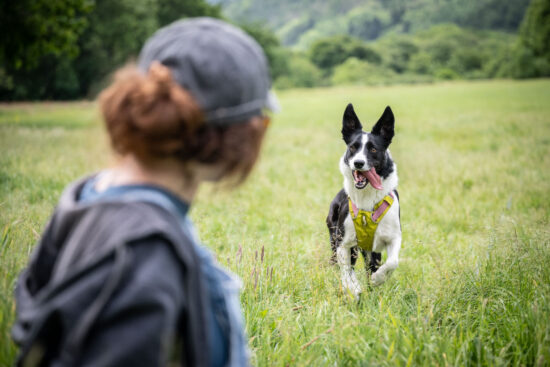
Shoot #4 – Poppy the border collie
A trip to Wales came next, taking shots of a lovely dog called Poppy. She was even faster than Bowie the dog, but my skills with the Z8’s autofocus had improved and so I achieved a better hit rate.
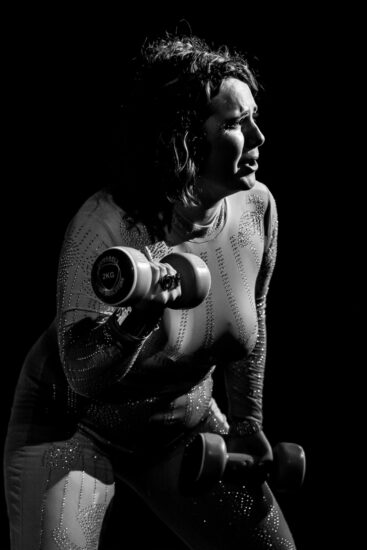
This also gave me an opportunity to investigate battery life. My initial thoughts were that it’s mediocre; not terrible, but not as good as the Z6. I was getting around 500 shots from a fully charged EN-EL15c. However, I’ve come to realise that shot count isn’t a useful way of measuring battery life for the Z8. You could have the camera on for a long time and deplete the battery only having taken one or two pictures. On the other hand, you could use the 120fps mode, clock up thousands of photos, and still have 99% of battery power left. Instead, what dictates battery life for this camera (moreso than any other I’ve used) is simply how long the camera is on for. An EN-EL15c gives me close to two hours of on time, regardless of whether I’m constantly shooting or the camera is largely idle.
To extend battery life, by far and away the most effective method is to simply turn the camera off when you’re not actively using it. With the Z6, when not taking photos I’d have the camera by my side, attached using a strap, but left on. With the Z8 I recommend turning it off during these moments so you’re not draining the battery. It takes less than a second between turning the Z8 on to it being ready for action, so flick the switch and it’ll be good to go before you have it to your eye. This change of habit takes a bit of getting used to, but massively increases the battery life. Now I carry enough batteries to get me through the two hours per EN-EL15c worst-case scenario, but for many events and casual shooting I’m getting closer to four hours before needing to swap in a fresh one.
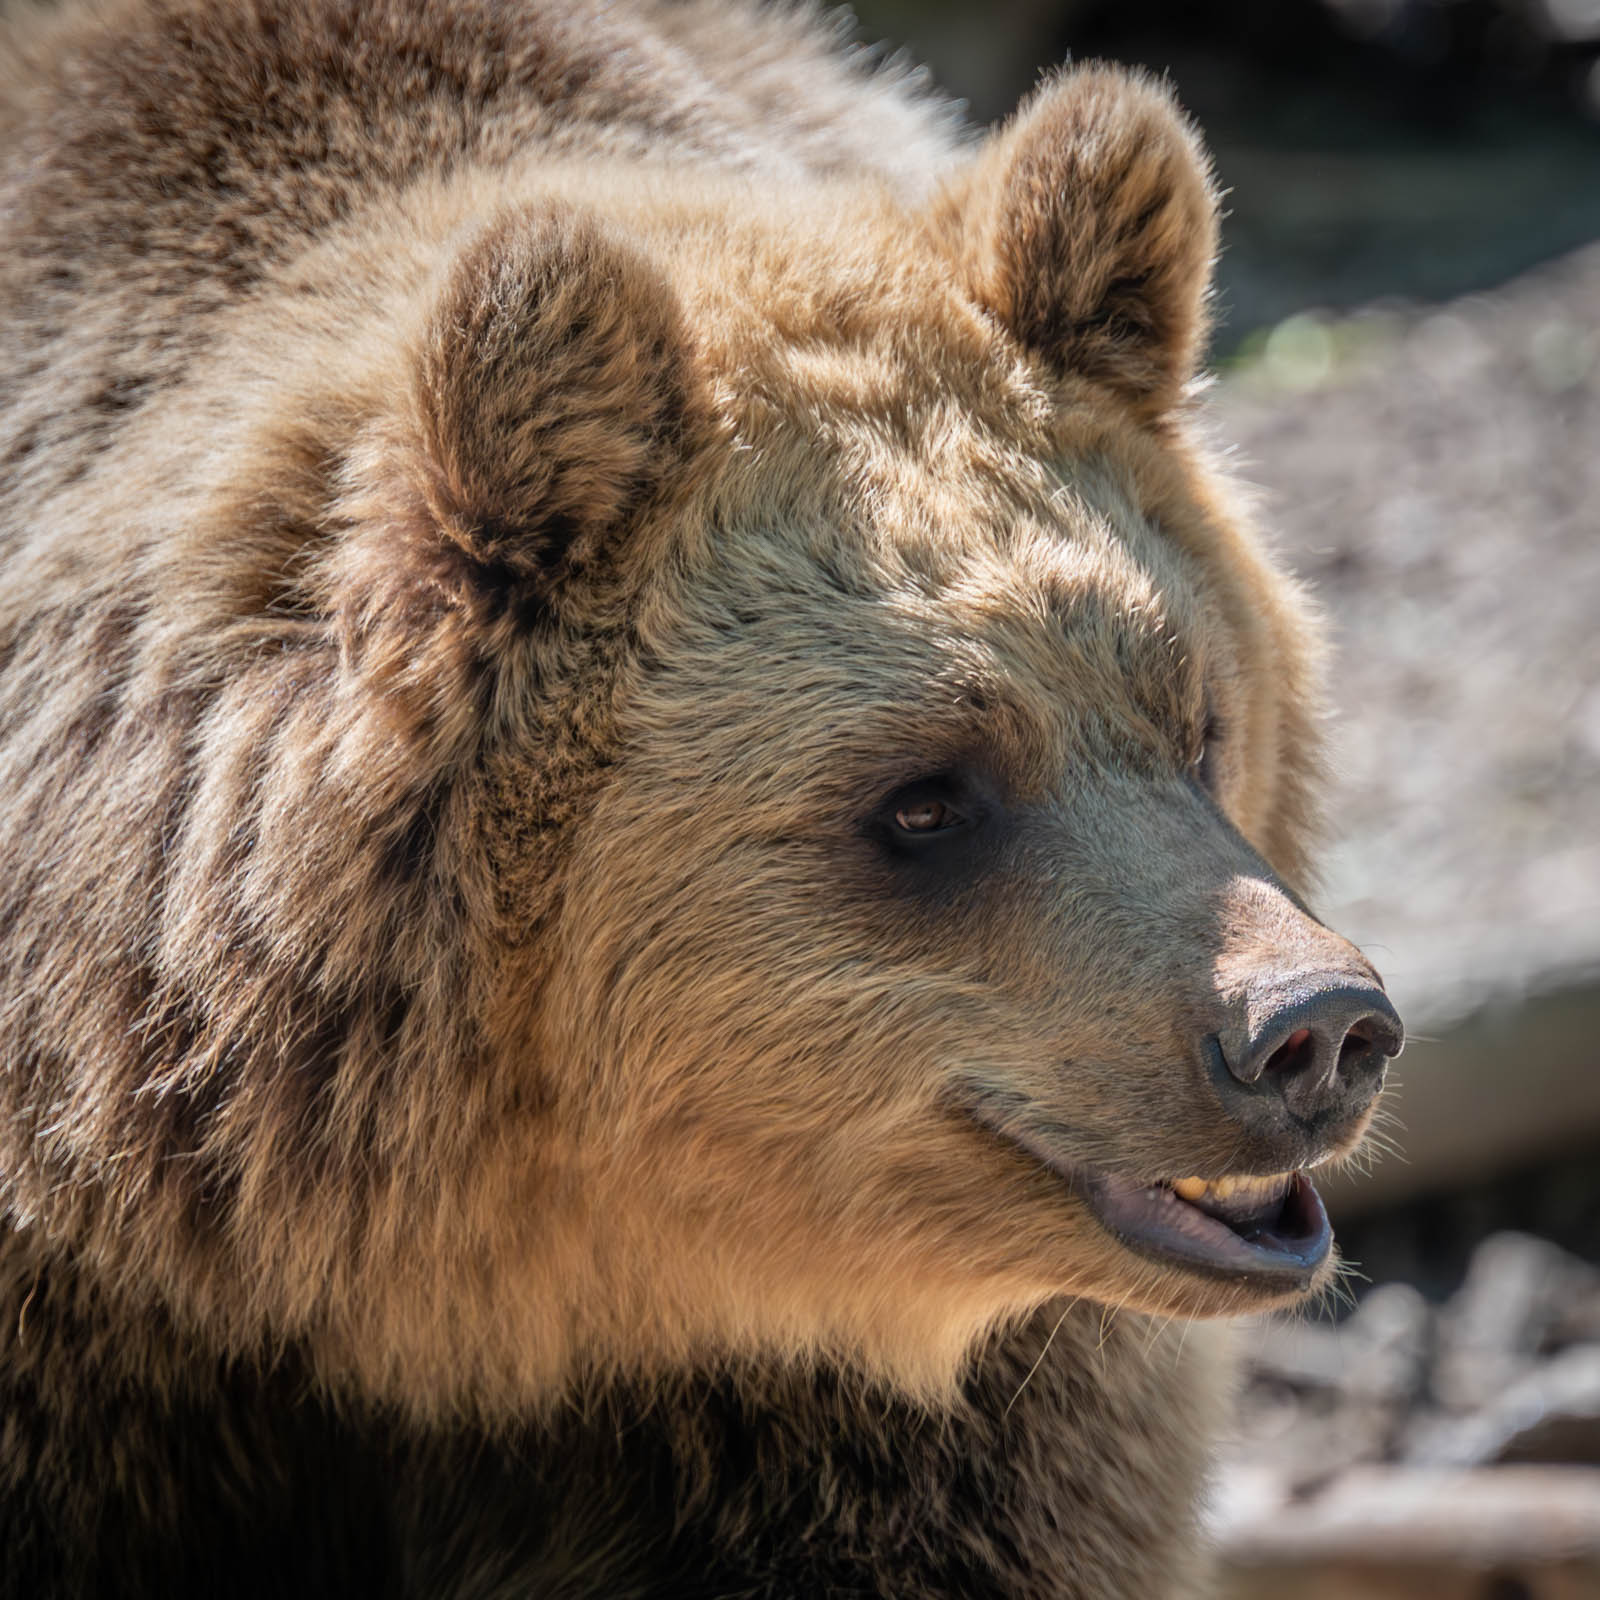
Shoot #5 – Bristol Zoo Project
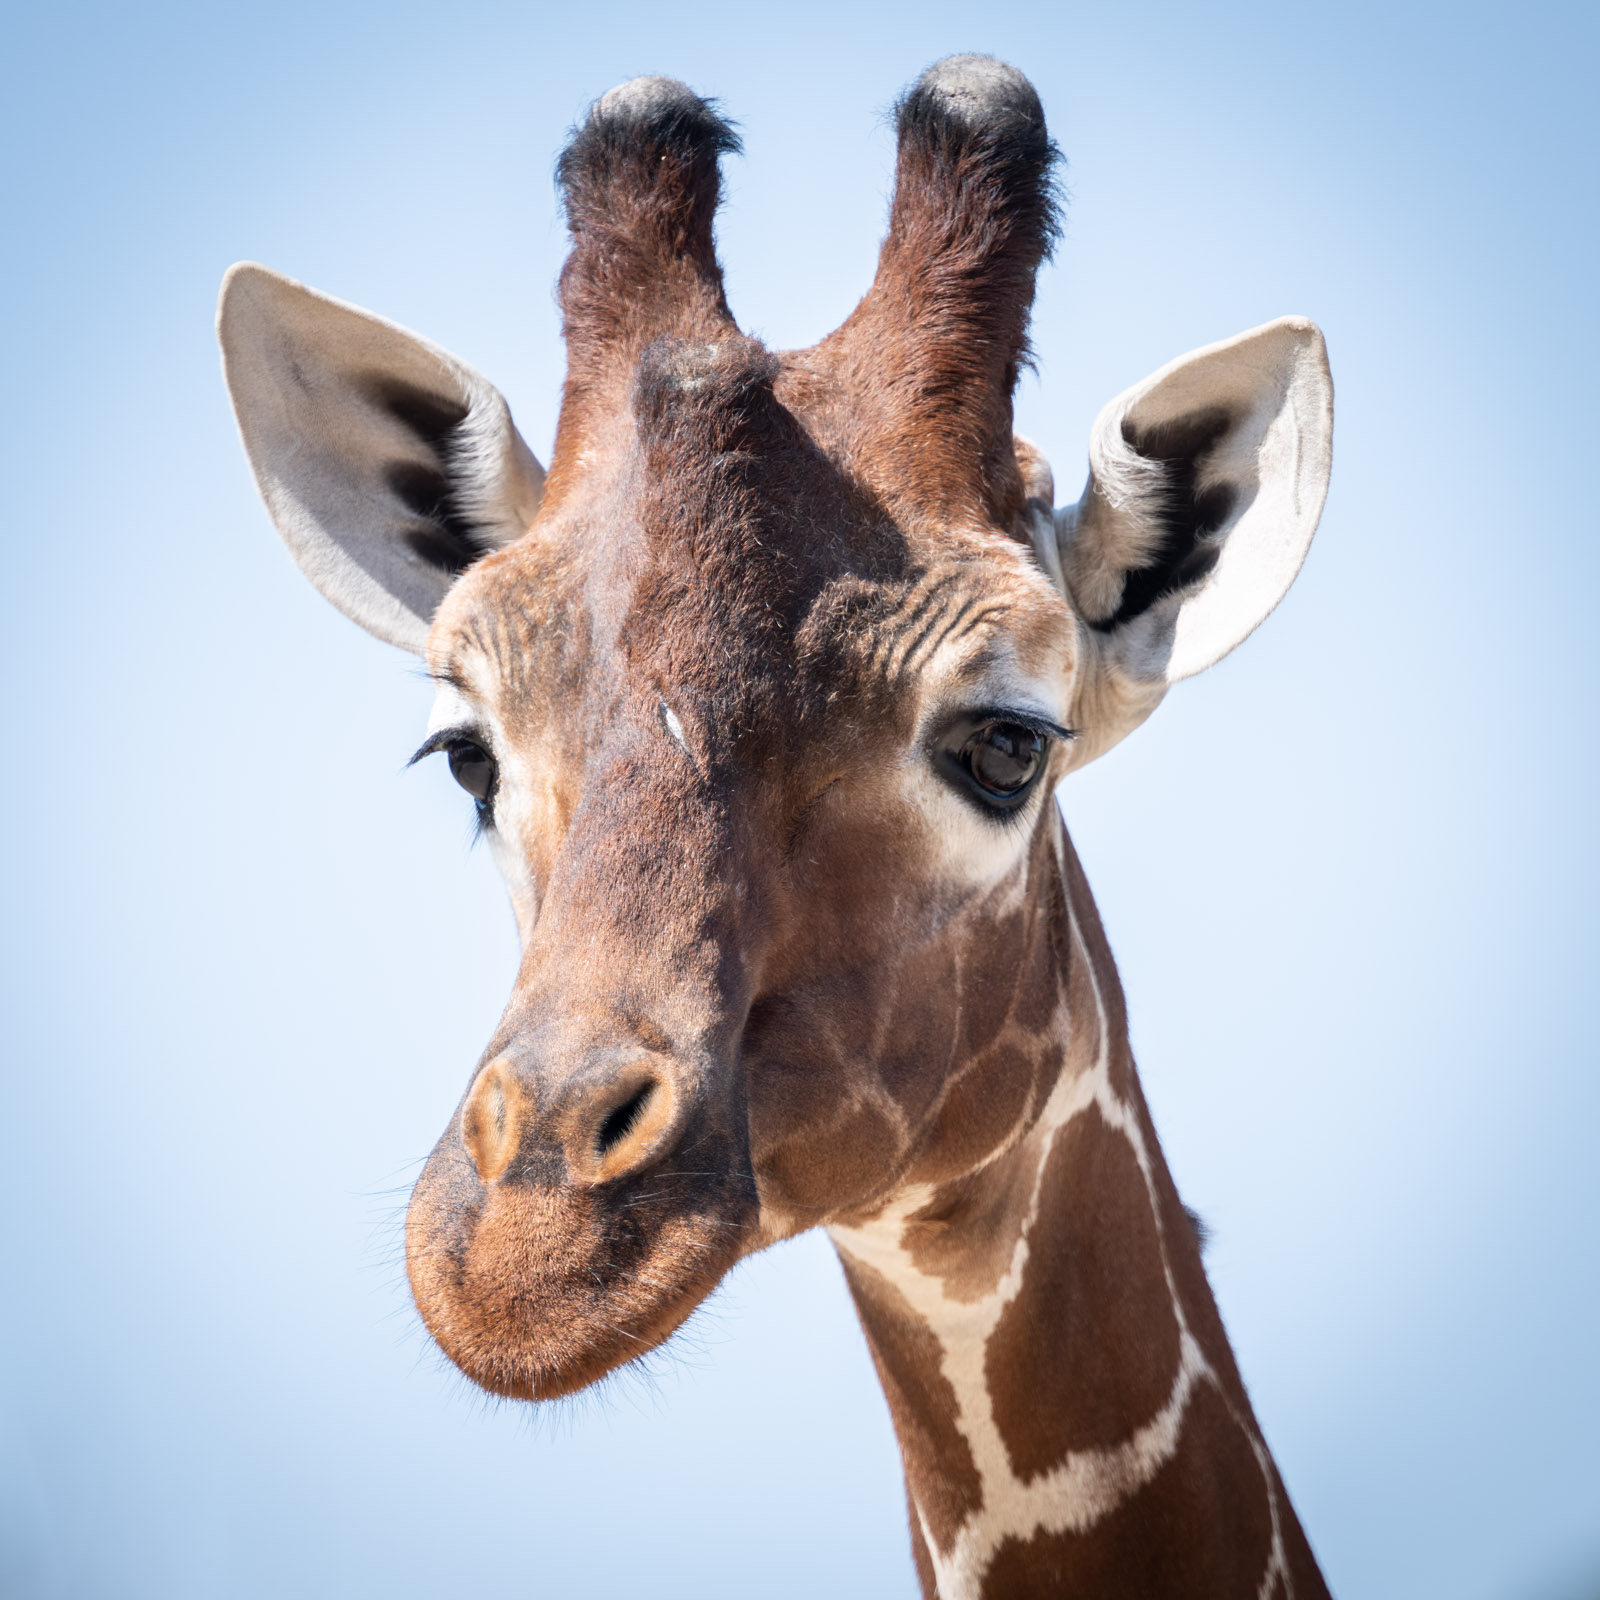
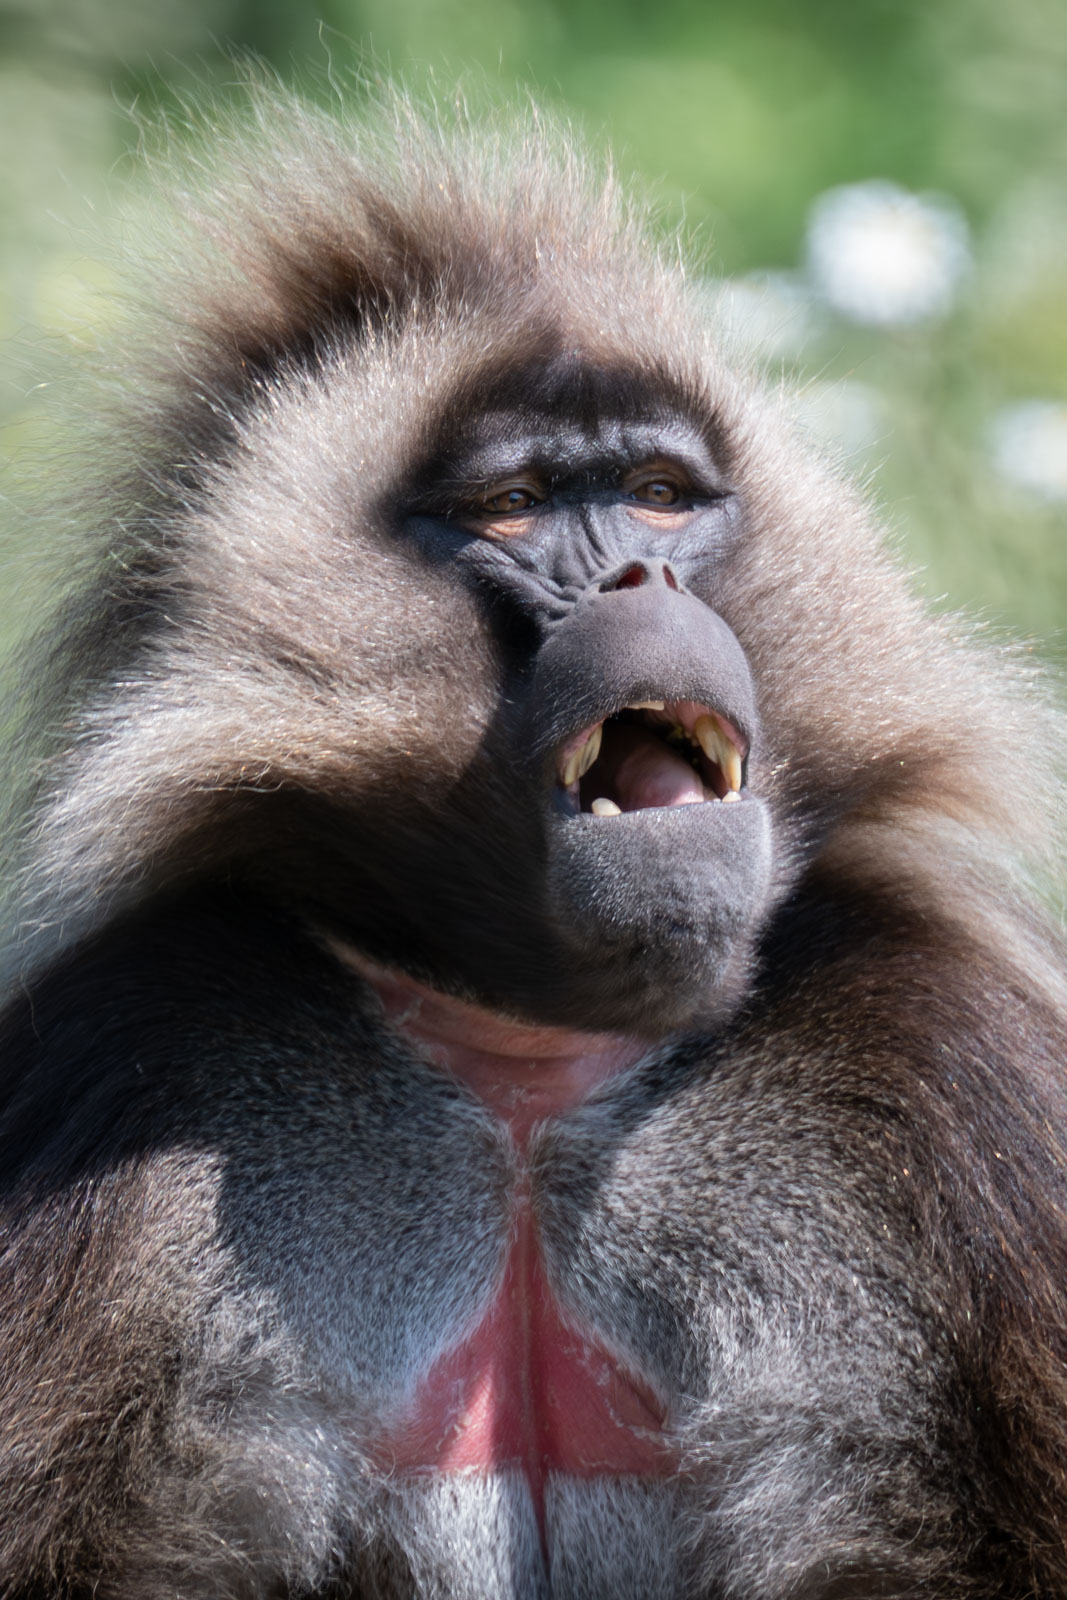
A personal camera outing just for fun next, to Bristol Zoo Project (until recently called Wild Place). I wanted to play more with the Z8, and in particular pair it with my NIKKOR Z 70-200mm f/2.8 VR S lens and TC-2.0x, giving a maximum focal length of 400mm.
Results were positive from the get-go. It was a bright day but the EVF was up to the task, and the lack of viewfinder blackout was a tangible enhancement over the Z6.

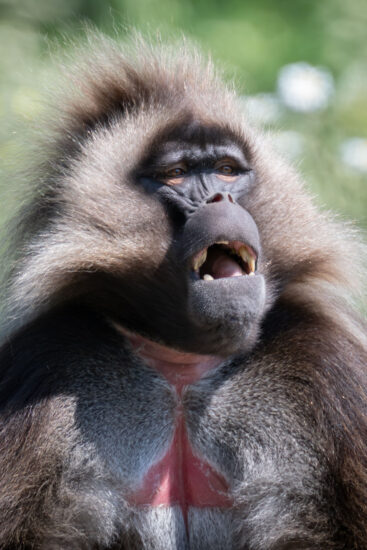
I did find that the eye autofocus sometimes got confused. It tended to lock onto the nostrils of this giraffe, as well as, rather strangely, the red patches on the chests of the geladas. Switching to 3D tracking and manually selecting the animals’ eyes solved this issue.
I also bought the MB-N12 battery grip, and this was the first time I gave it a proper go. My feelings toward it are mixed. Although the build quality is good, it feels just a bit too big for the Z8 and doesn’t fit quite flush with the camera body. It’s like a perfectly good generic battery grip that just happens to fit the Z8, rather than a bespoke piece of kit designed for the camera. But if you need a grip, either for more comfortable portrait shooting, extra battery power, or balancing heavy lenses, then it certainly does the job. It is good that you can hot-swap EN-EL15 batteries for uninterrupted shooting – particularly useful for timelapses and video – and the fact that it can be used as a battery charger is a neat feature. There’s also a psychological aspect to consider, as some clients associate a “big camera” with being more professional!

The extra megapixels gave me the flexibility to crop in quite tightly, and I was impressed at how well the image quality held up. The pictures look nice and sharp when viewed large. The Z8, NIKKOR Z 70-200mm f/2.8 VR S lens, and TC-2.0x certainly makes for a potent mix.

Shoot #6 – Baby portraits
Back to work, with a week of baby photoshoots. Most of the time I’m lying flat on my stomach to be at the subjects’ eye level. Using the battery grip made portrait shooting much more comfortable, and I was thankful to have bought it. I also made good use of the extra articulation the Z8’s rear screen has over the Z6, as it made shooting from different angles a fair bit easier. I didn’t find manipulating the screen to be particularly intuitive though, and a few times I was afraid I was pushing or pulling it in the wrong direction, risking damage. I’m sure it’ll get easier with practice.
Eye autofocus worked a little better than I’d come to expect from the Z6, although still not perfect. I did notice that the Z8 more reliably got eyeballs in focus, whereas with the Z6 it was quite often “eyelash autofocus”.
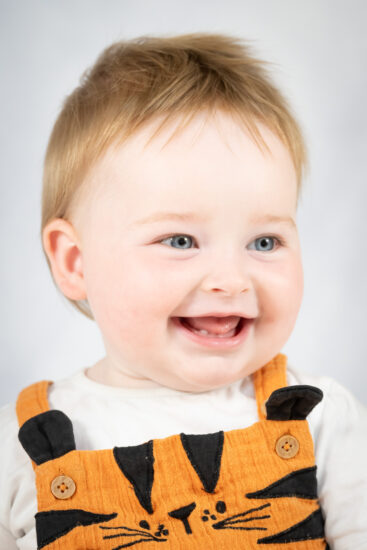
Sometimes a baby will only smile for the first moment they’re put in front of the camera, meaning you need to get a winning shot within seconds. The most popular photos are close-crop head and shoulders with a big smile. With the Z6 that’s what I’d go for straight away. However, the Z8’s extra resolution changed my approach. Instead, I’d get a wider-angle whole body landscape-orientation picture first, knowing that when processing I could made a version of that picture that would be whole-body portrait-orientation; and then use those extra megapixels for a high-quality close crop head-and-shoulders portrait. Make black and white versions too, and you’ve got a selection of six photos that a parent can choose from, all from a single source image taken at the very beginning of a session. Hopefully the baby continues to smile for lots more photos, but the Z8 allowed me to reliably get more sellable photos.
Incidentally, these shoots were back-to-back with no opportunity to turn the camera off, meaning I was depleting an EN-EL15c battery every two hours.
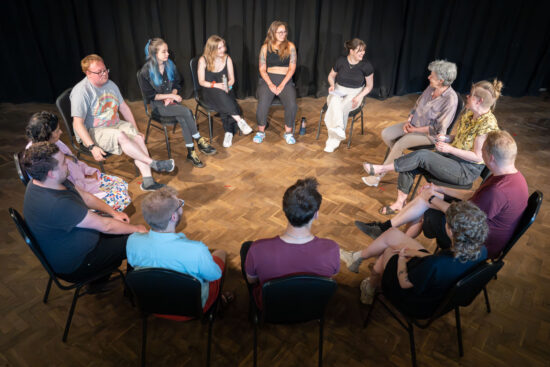
Shoot #7 – The Bristol Improv Theatre
I do lots of photoshoots for the Bristol Improv Theatre, which hosts many amazing shows that are worth seeing. This particular shoot was of a training course, and I decided that taking two camera bodies, each with a different lens attached, would give me the flexibility needed. Previously I’d have paired my Z6 with a D810, but now it would be Z8 and Z6. It felt quite natural switching between the two mirrorless bodies, and before long I wasn’t really thinking about which camera I was using at that moment. This was never the case with the Z6 / D810 combination, which are far more different to each other. It’s a little irritating that the playback button is in opposite corners of the cameras’ backs – top-left for Z6, bottom-right for Z8 – but I’m almost always using S lenses with function buttons programmed to activate image playback, so it wasn’t much of an issue.
I was eager to compare image quality between the two cameras. I actually found it hard to tell which camera had been used to take a particular photo, especially when just looking at previews in Lightroom. It became more evident when zooming in, due to the Z8’s higher resolution, but in all honestly both cameras produced excellent results. Remember, this is with Lightroom’s camera import settings applied; differences may be more evident if comparing completely untouched RAW files. I’ve since set custom file names for each camera, so I can more easily see which one was used.
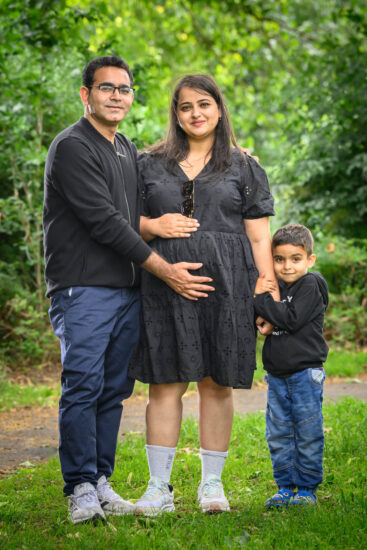
Shoot #8 – Family portrait
Next up was a family portrait with dad, son, and expectant mother. There wasn’t anything too taxing from a technical point of view, but it was a very bright, sunny day, and I was happy to have the Z8’s excellent EVF and increased brightness of the Z8’s rear LCD screen, as this made it easier to show previews to the clients even when we were stood in direct sunlight.
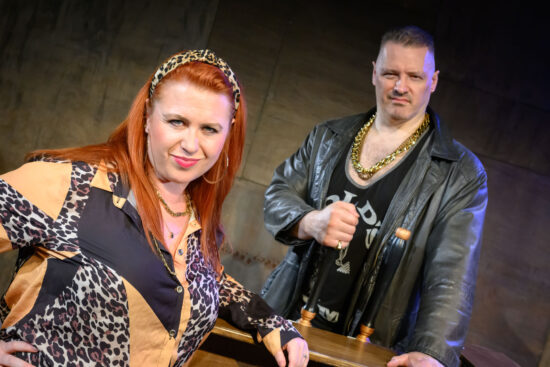
Shoot #9 – Closer Each Day
Another fun shoot, this was taking promotional photos for an improvised soap opera called Closer Each Day. Lots of over-the-top costumes and expressions! The Z8 actually froze at one point, and I had to turn it off, remove and then reinsert the battery, and start it up again. This only took a moment, but it’s not a good thing to experience! I suspect there will be a few of these bugs in the system, waiting to be squashed in a future firmware upgrade.
The rest of the shoot was smooth, and the Z8 produced some really high quality images that I’m sure will be useful for the Closer Each Day theatre company.
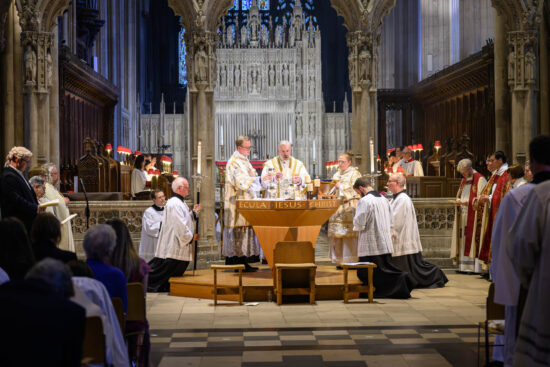
Shoot #10 – Ordinations
I’m a regular photographer for Bristol Cathedral, and had been booked to document three Ordination services for priests and deacons. I decided to again pair the Z8 and Z6 to avoid the need for lens changes.
Being unobtrusive during these shoots is essential. The shutter clack of a DLSR like my D810 would be a huge distraction, so silent mode on these mirrorless cameras is a game-changer. I like that the Z8 has a small speaker and you can assign a very quiet click, simulating a shutter, but so quiet that only you can hear it. That’s helpful to be sure you’re actually taking photos, and if the clicks are very rapid-fire then it’s a hint that you may have left the camera on 20fps mode, whereas a slower speed may be preferable.
During my previous dual-camera shoot I didn’t notice much difference in image quality between the Z6 and Z8, but this time it was a little more evident. There are lots of light sources in the cathedral, and with the Z6 in silent mode I found it difficult to limit the rolling shutter “banding” effect. No such issues with the Z8, and as a result the images looked cleaner.
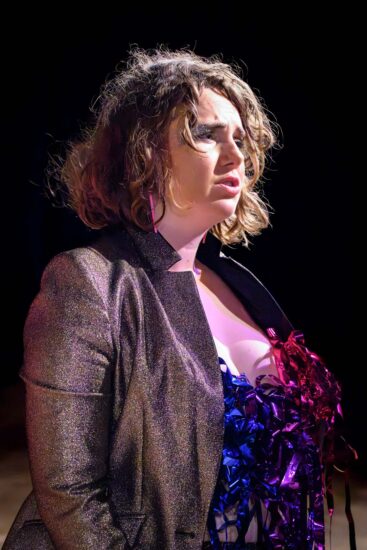
Shoot #11 – IMOGENÉ
I had a very different photoshoot soon after, for The Delight Collective’s IMOGENÉ – a comedy pop diva act parodying the likes of Beyoncé. Lighting during most of the show was very dark, but by this point I had a better feel for the Z8’s autofocus and it performed incredibly well, locking on the performer’s eye even in near-darkness. This was something the Z6 would really struggle with, and I was definitely impressed.
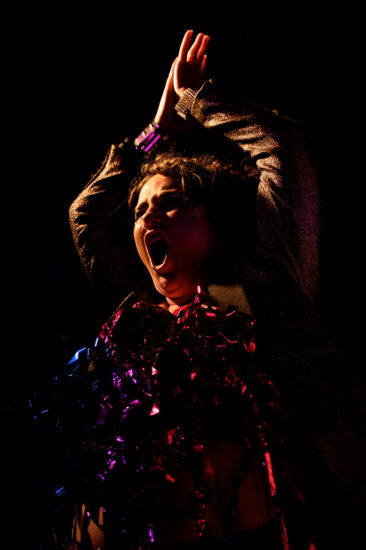
The low-light conditions meant I needed to shoot at high ISOs. The trick to getting usable images was Lightroom’s Denoise AI function, which is basically magic as far as I’m concerned. As an experiment, I took some shots using the Z8’s maximum ISO of 102,400 (Hi2). Here’s an example:
Lightroom Denoise AI’s workflow may be a bit clunky (making DNGs as intermediate files), but the results are astounding. I rarely go near Topaz DeNoise AI anymore.
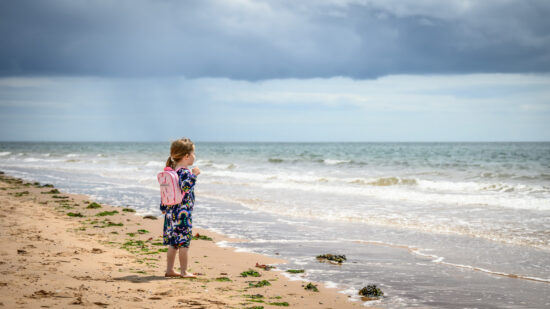
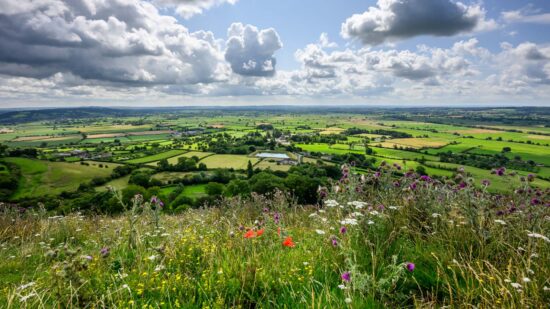
Shoot #12 – Family holiday
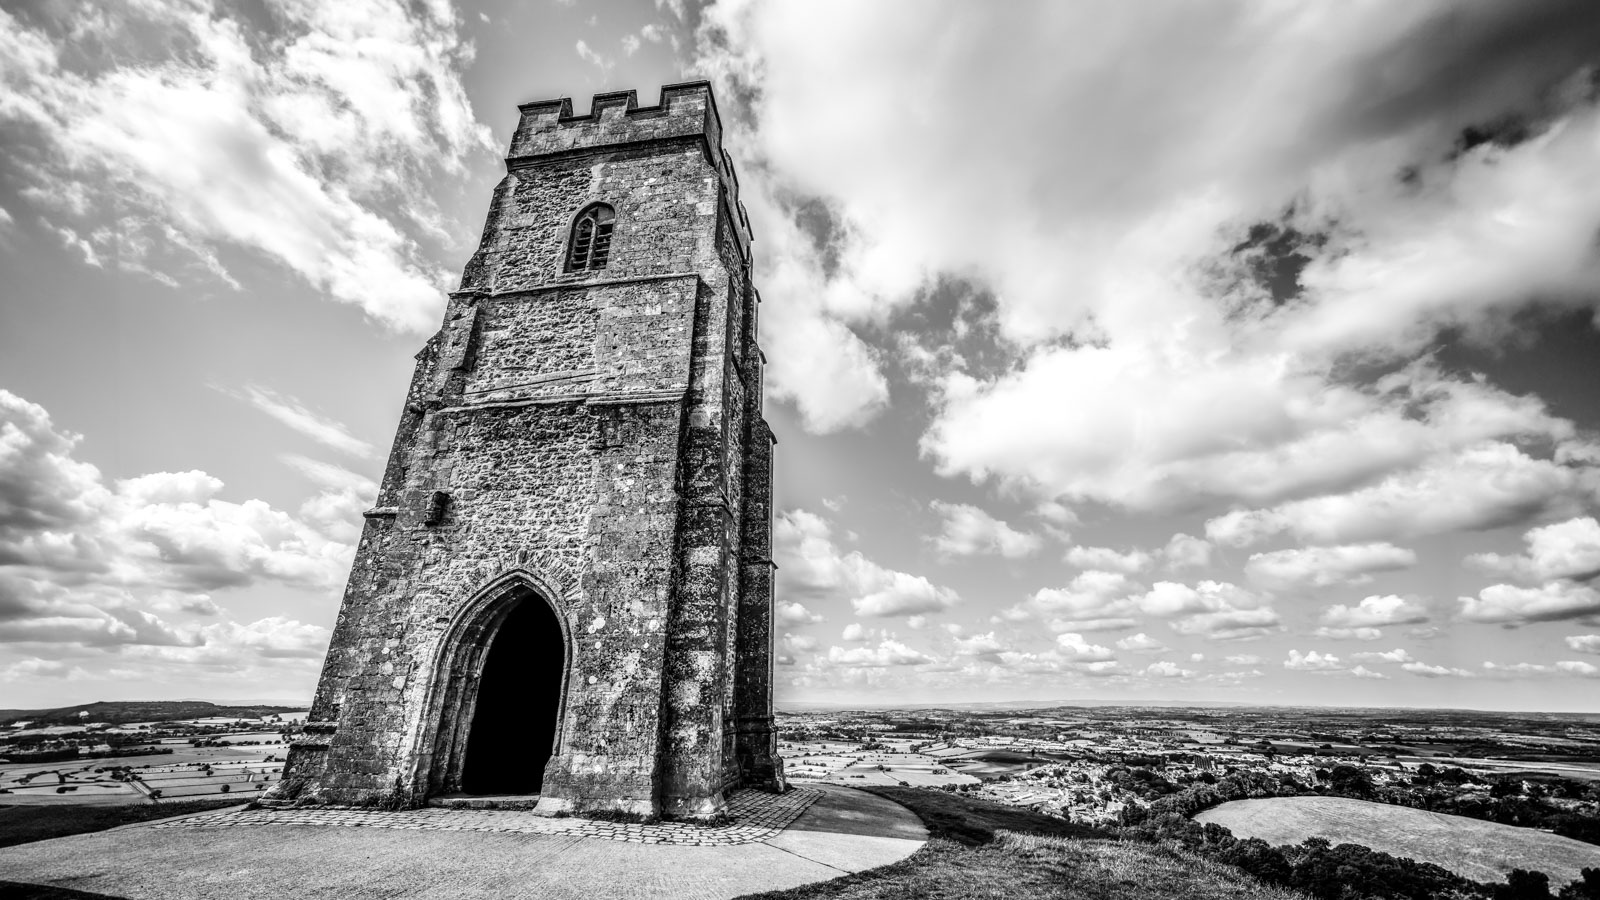
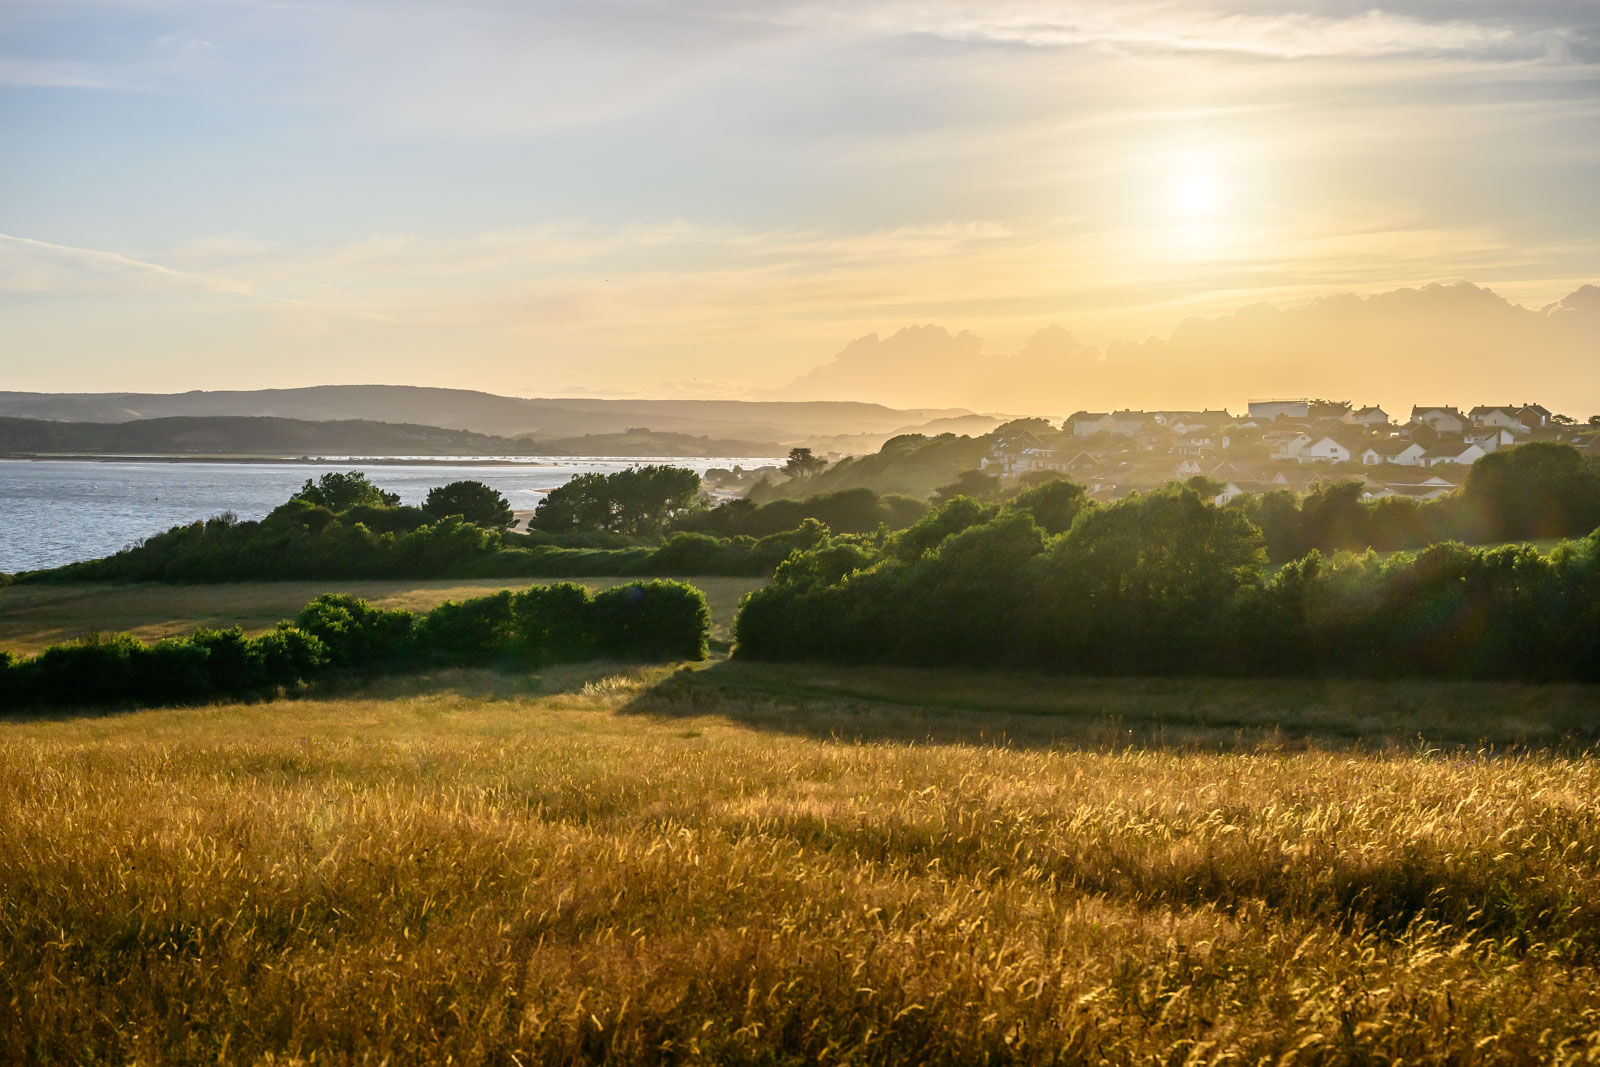
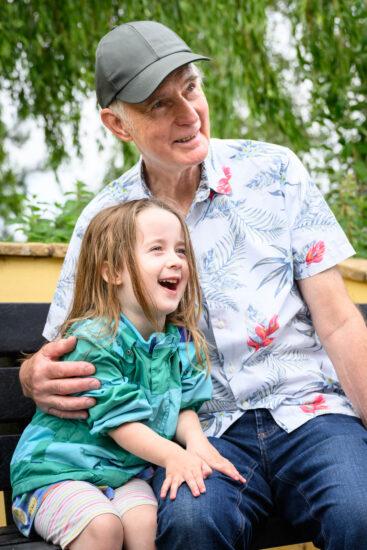
I rounded off my initial Z8 time with a holiday to Devon, on the UK’s south coast, visiting family to give my daughter (previously featured in this Nikon Rumors guest post!) time with her aunt, cousin, and grandparents. A little later we visited Glastonbury in Somerset, famous for its hilltop Tor. In other words, plenty of photographic opportunities!


In conclusion…
The Z8 is great. Really, really great. It’s a complete package that handled everything I could throw at it. It is bigger and heavier compared to the Z6, but consequently feels sturdier. In my opinion image quality between the two is similar, once Lightroom’s import settings have been applied, although the Z8’s extra resolution and lack of rolling shutter banding issues give it an edge in this department. Really though, I think it’s the numerous other enhancements – in particular the higher burst speed – that all come together in the Z8 to give you more opportunities to take amazing shots in the first place.
The Z6 is still brilliant, and I’m impressed at how it doesn’t just hold up alongside the latest-and-greatest, but actually pairs well as a second body for event shoots.
Since beginning writing this article a few issues have come up, so I’ll mention my experiences here. First, memory cards overheating. I haven’t encountered this, but I don’t shoot video so that’s probably why. The memory card does sometimes feel very hot to the touch when I take it out of the camera though. And the lens mounting / strap lugs service advisories… well unfortunately I’ve fallen foul of those. I’ve completed the online form and am waiting for Nikon to tell me when I should send my Z8 in for repairs. Apparently, I should anticipate it taking 20 – 25 days – not very good Nikon! I’ll forgive them if they give us a Z6iii next year.
As well as being a freelance photographer, Lee also runs the website Urban Astrophotography.
If you have an interesting idea for a guest post, contact me here.