“From a thought to a photograph” is by Christophe Anagnostopoulos (website | YouTube | Flickr | Instagram | Vimeo):
Intro
The first thing I always say to the participants of my workshops is to always spend enough time in preparation.
I strongly believe that in order to make a good photo, no matter the genre, you have to be prepared as best as you can.
Preparation for astrophotography, at least for me, means not only finding the “ideal” location, checking the weather conditions, setting the gear, etc, but most importantly, to envision the image you want to make before even leaving your home.
How the elements will be arranged and set on the frame.
In astrophotography, as we are mostly working on difficult, dark conditions, it is not ideal to start searching for possible points of interest and framing scenarios during the night.
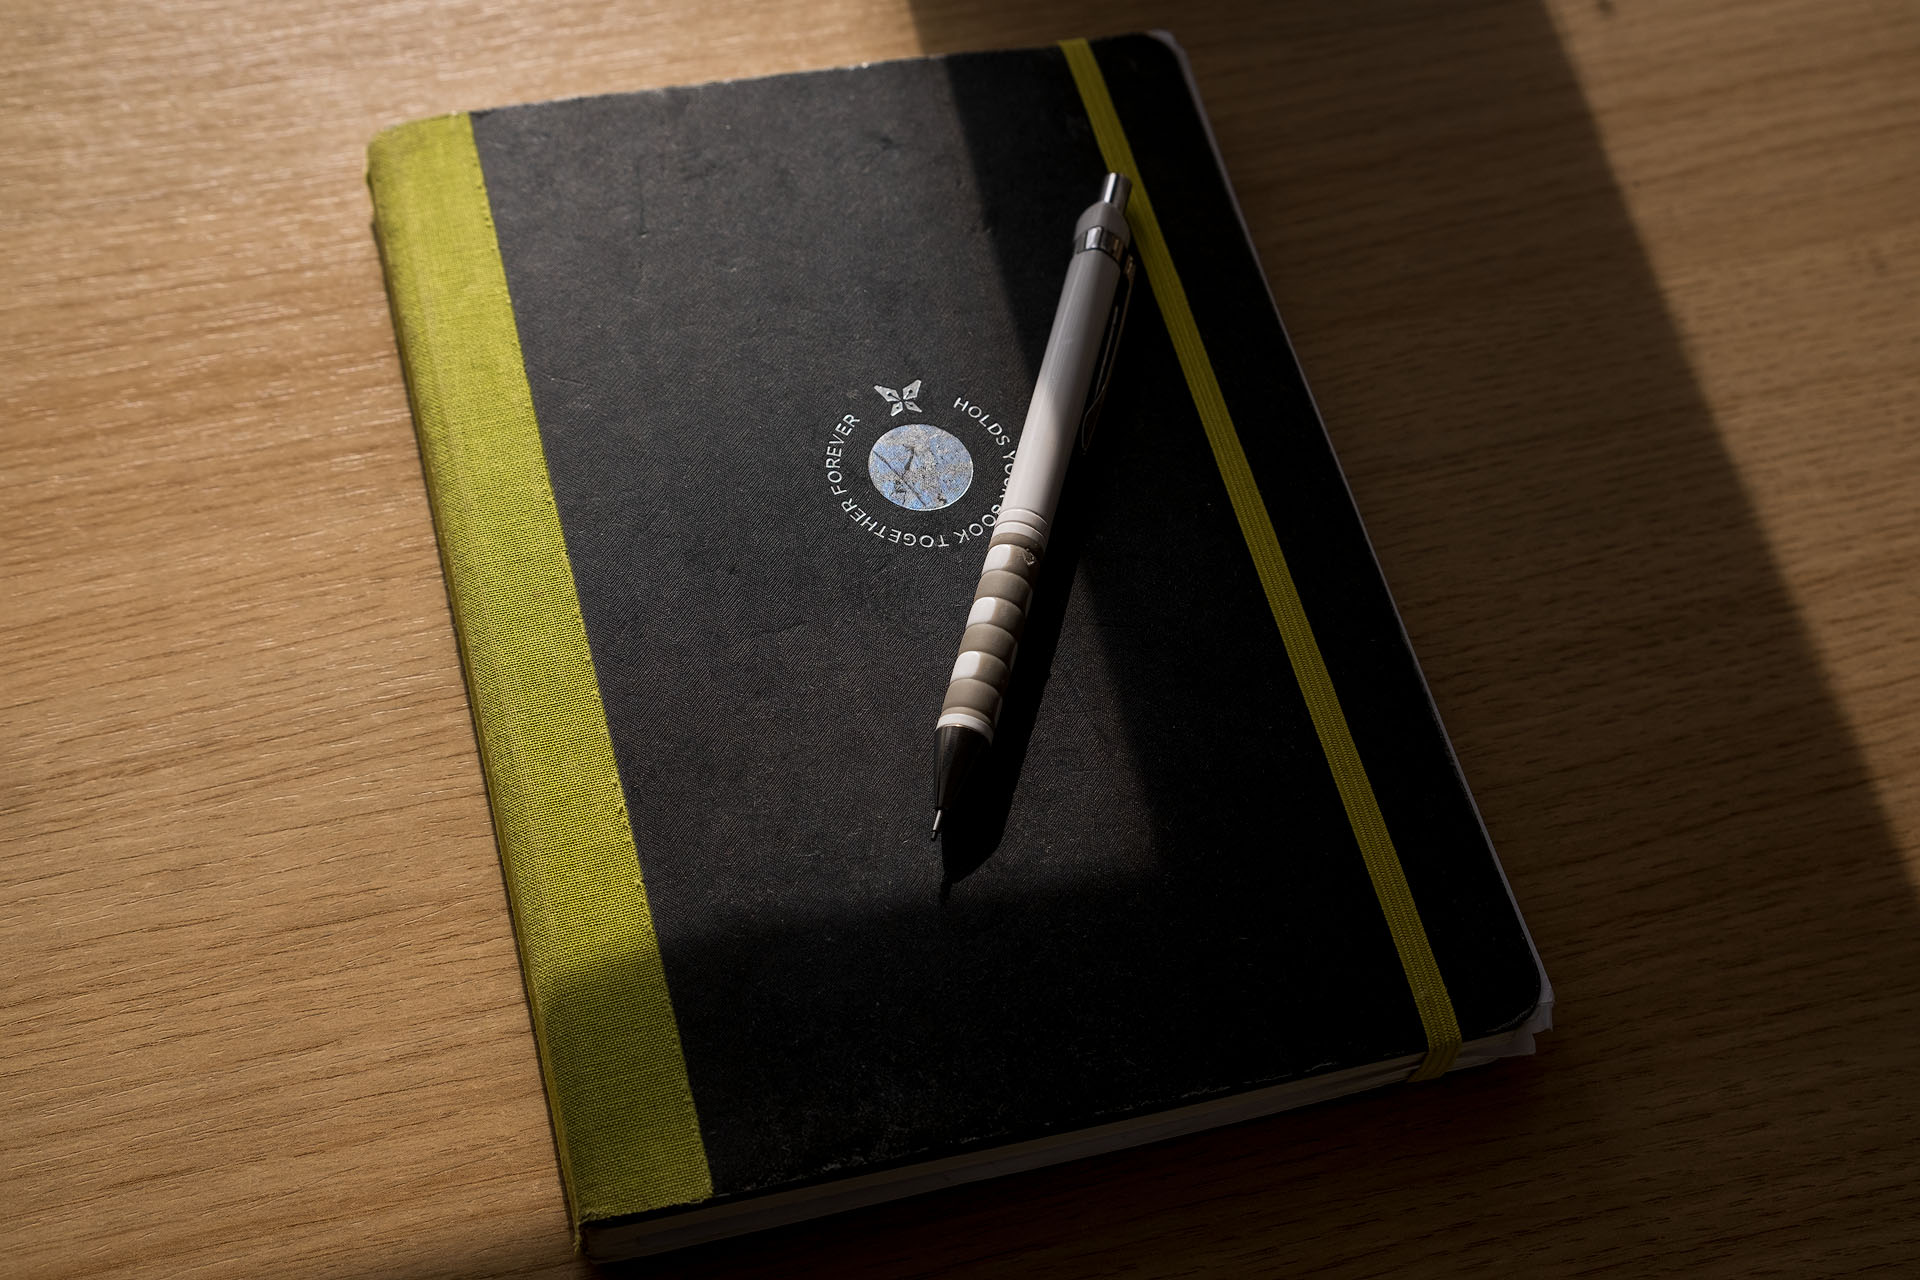
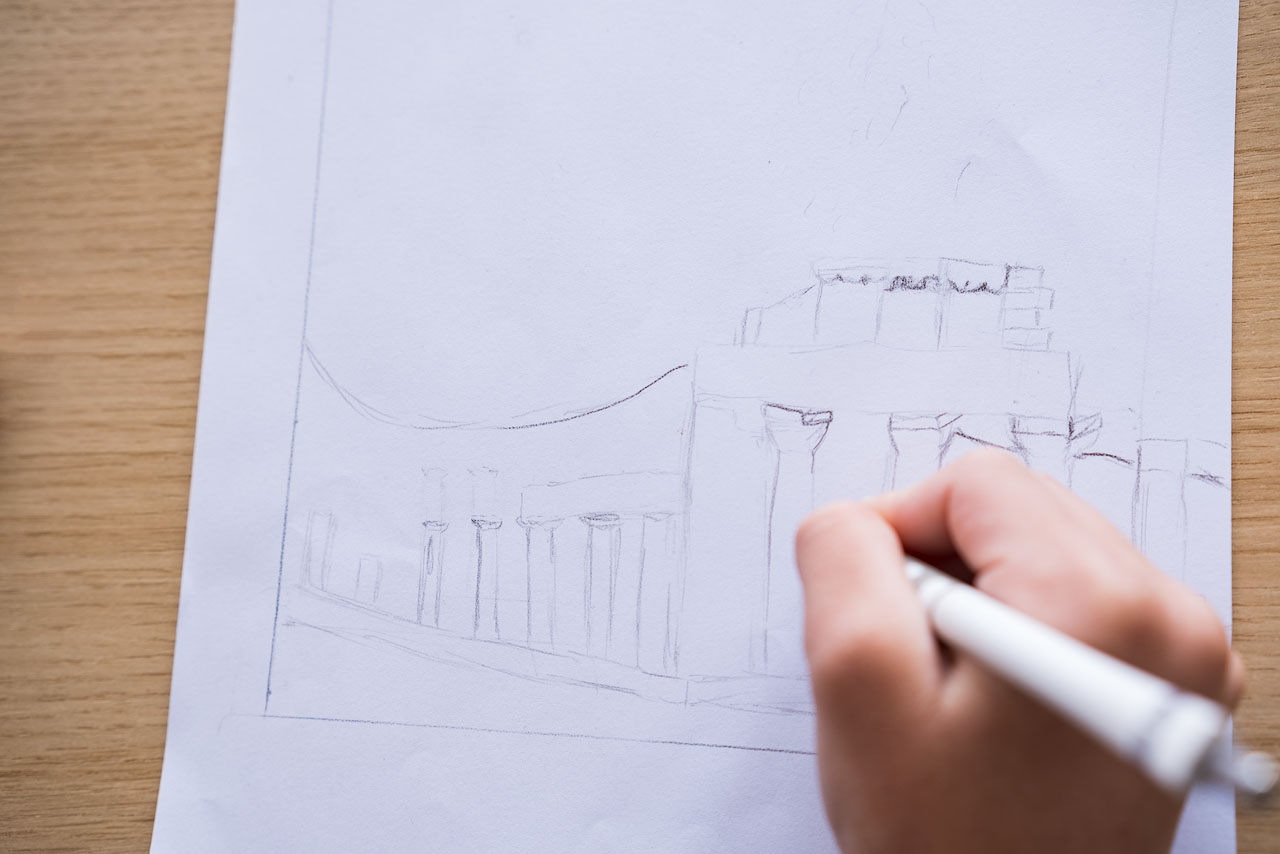
This is why my all-time favorite tools when envisioning a photo or an even bigger project are these: a pencil and a notebook.
Paper and Software
Thankfully, there are also many great tools available that can help an astrophotographer on our days to be better prepared.
Tools like Stellarium, Google Earth, and Photopills.
These tools can help a lot, especially if you plan to visit a location for the first time.
However, I strongly propose when visiting a new location, to always get there during the daytime and familiarize with the environment, checking if there are animals nearby or even a risk of falling or hitting yourself.
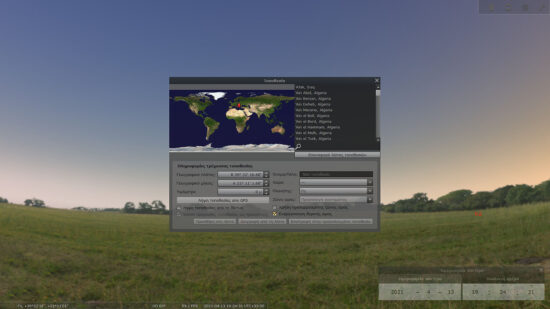
- Stellarium

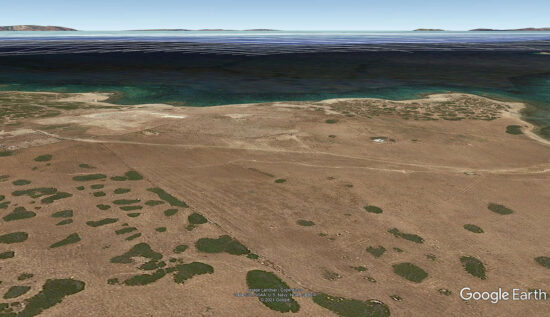
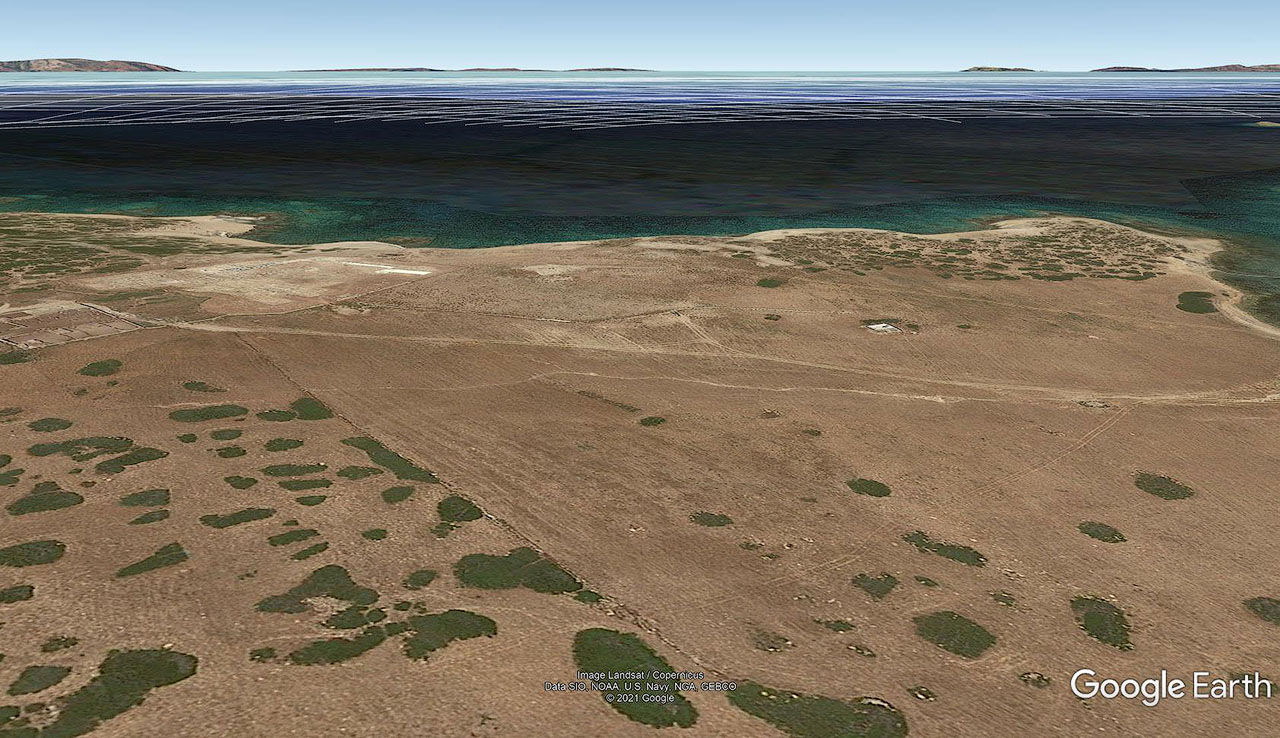
- Google Earth Pro
Location: Antiparos island, Greece
I feel extremely lucky to live in a small but very beautiful island.
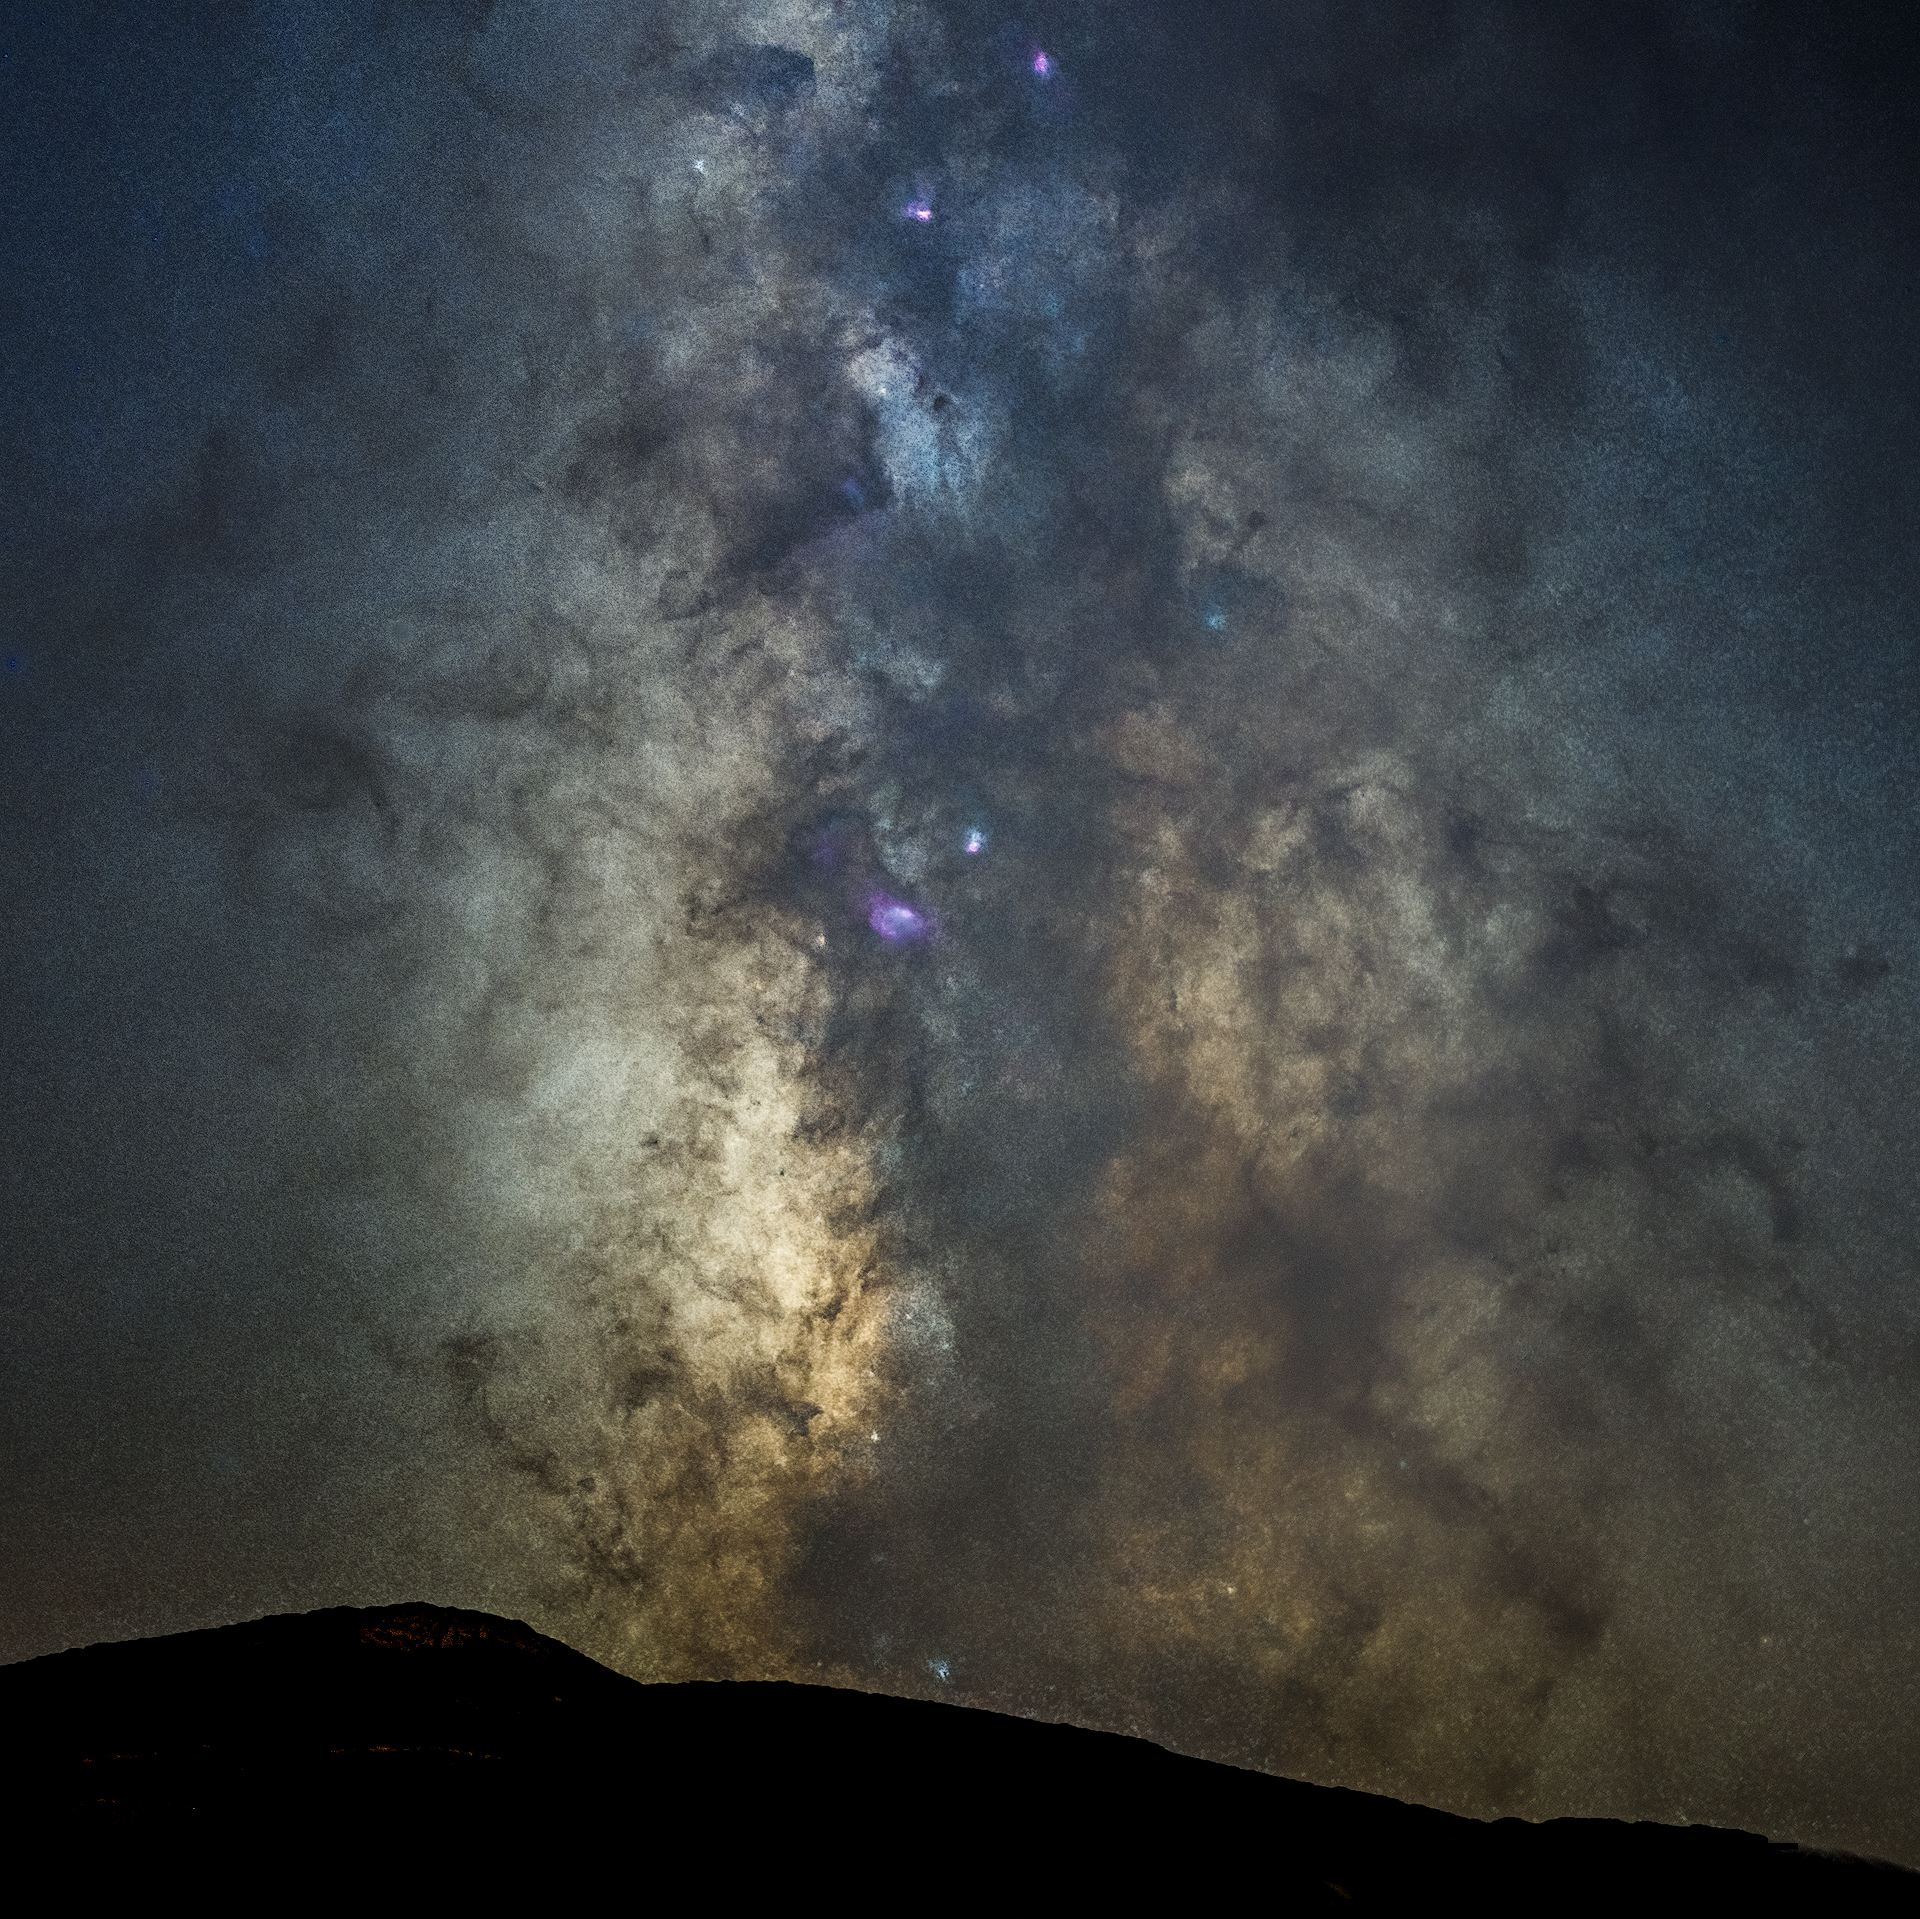
It is one of the few places left in the Aegean sea with low levels of light pollution, even during the summer season, and actually, during my summer workshops, the participants can see the Milky Way Galaxy with their naked eyes!

Despotiko Island
My goal was to capture the Milky Way Galaxy above the restored Temple of Apollo, in Despotiko island.
Despotiko is a very small and uninhabited island, located on the southern side of Antiparos.
From the small village of Agios Georgios, it only takes 5 minutes by boat to get there.
Important Notice: A special permission and security clearance was required in order to access the Archeological Site.
Although the island is uninhabited as mentioned before, which means there are no artificial structures or lights in the island, there is still some faint light pollution coming from the villas of Agios Georgios village that can be seen, mostly into the marbles of the Temple.
Thankfully, the faint light pollution does not ruin the view towards the night sky, and actually, it provides a nice soft ambient illumination to the foreground.

Planning and Preparations
I had visited the island many times during daylight, filming the works of the restoration for the archaeological team, but I haven’t visited the island during the night.
During my last visit, in August 2020, I took some readings with my compass, marking the coordinates, and checking some possible framing opportunities for the final nightscape shot.
I wanted to create a photo with the Temple in the foreground and the Milky Way on the back, but the restoration works on the Temple, and the steel support frame removal was scheduled to be finished somewhere around the last week of September.
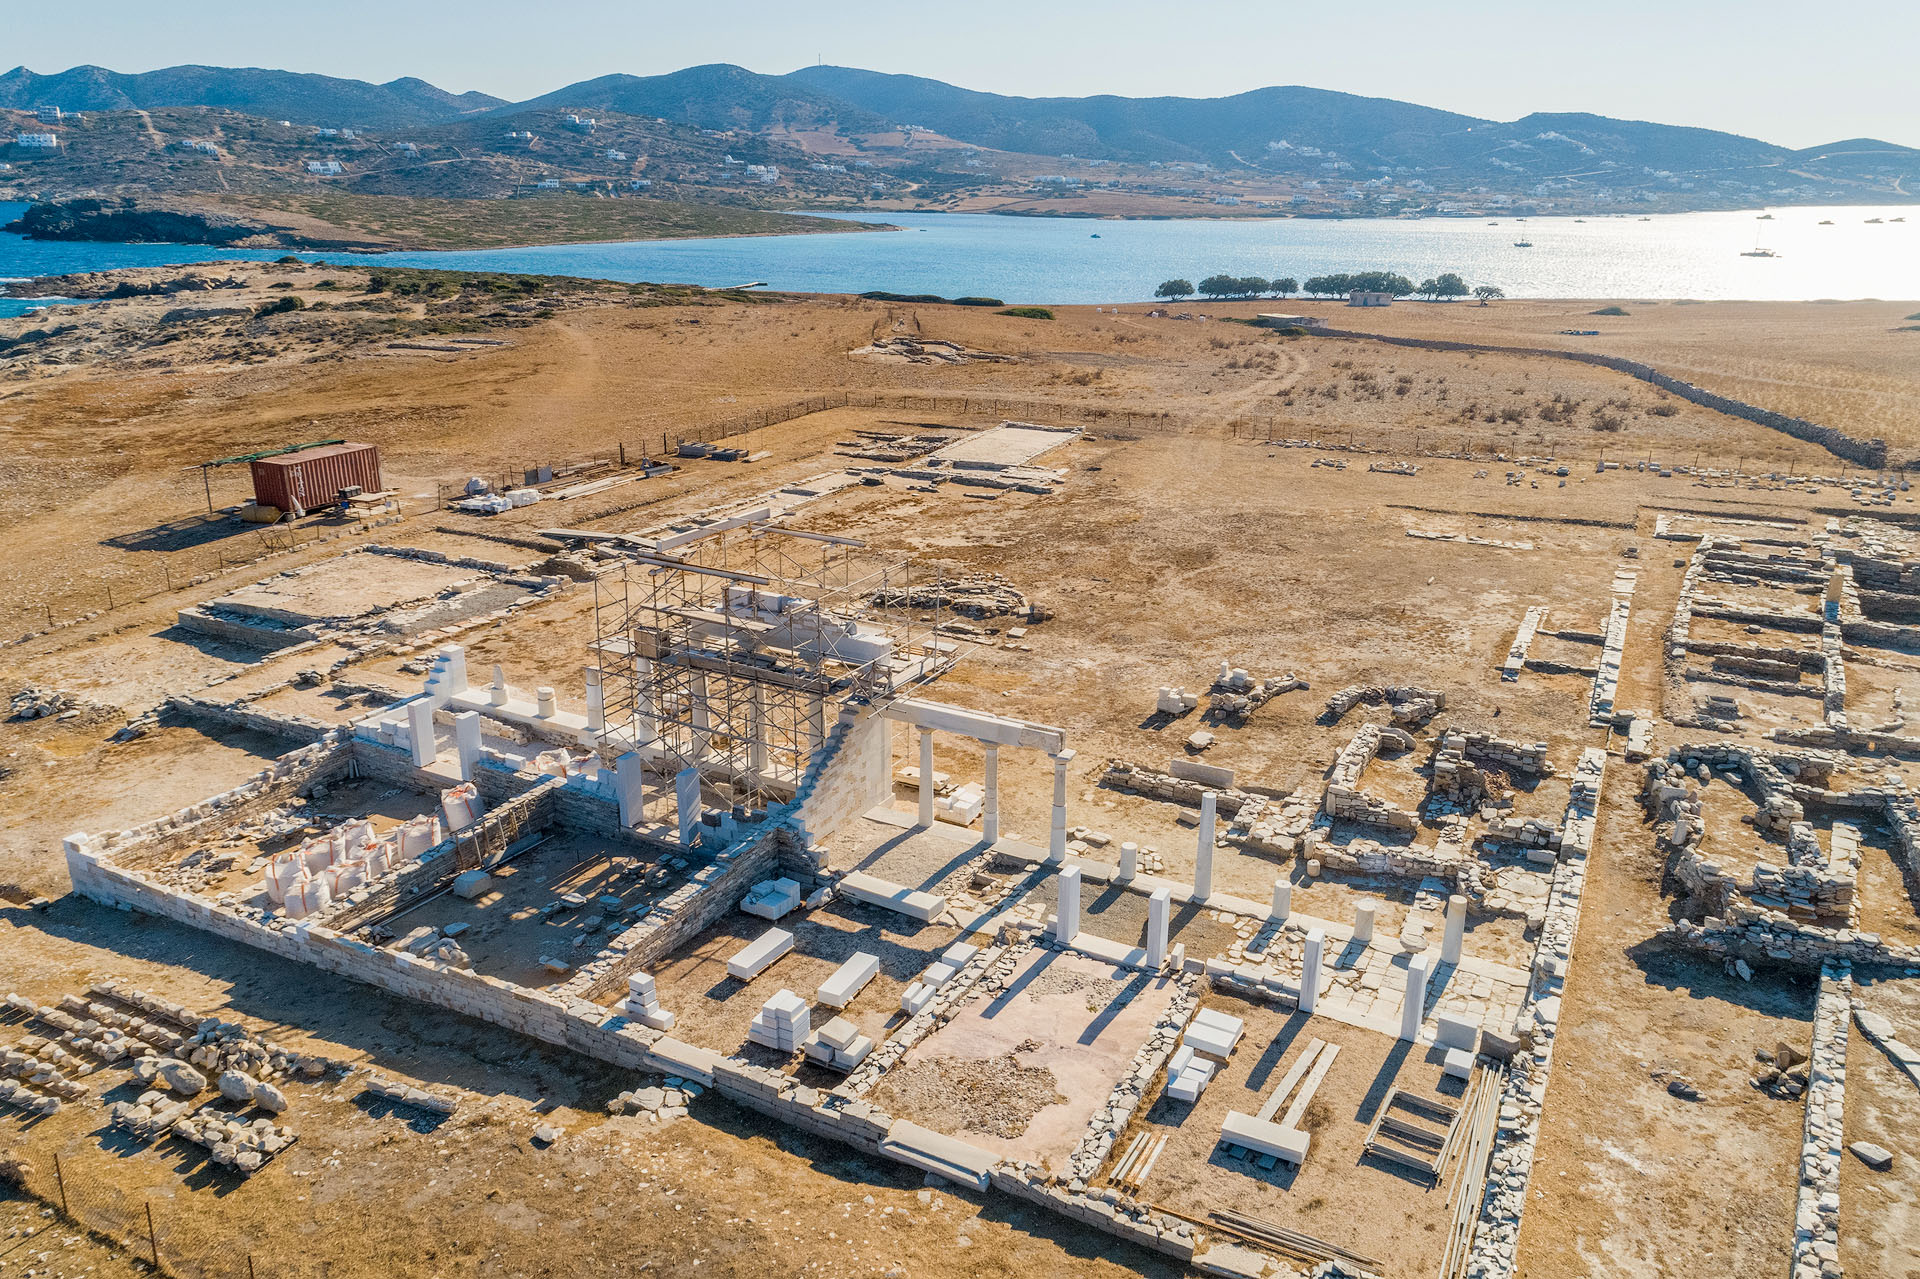
The temple before the removal of the steel support frames.
I also didn’t want to miss any details from the galaxy core, like the Lagoon Nebula (M8), due to the location of the Temple and my framing, so the Milky Way should be positioned more to the South-West. That practically meant that the shooting should be done on a date near the end of the Milky Way season, somewhere around the middle of October.
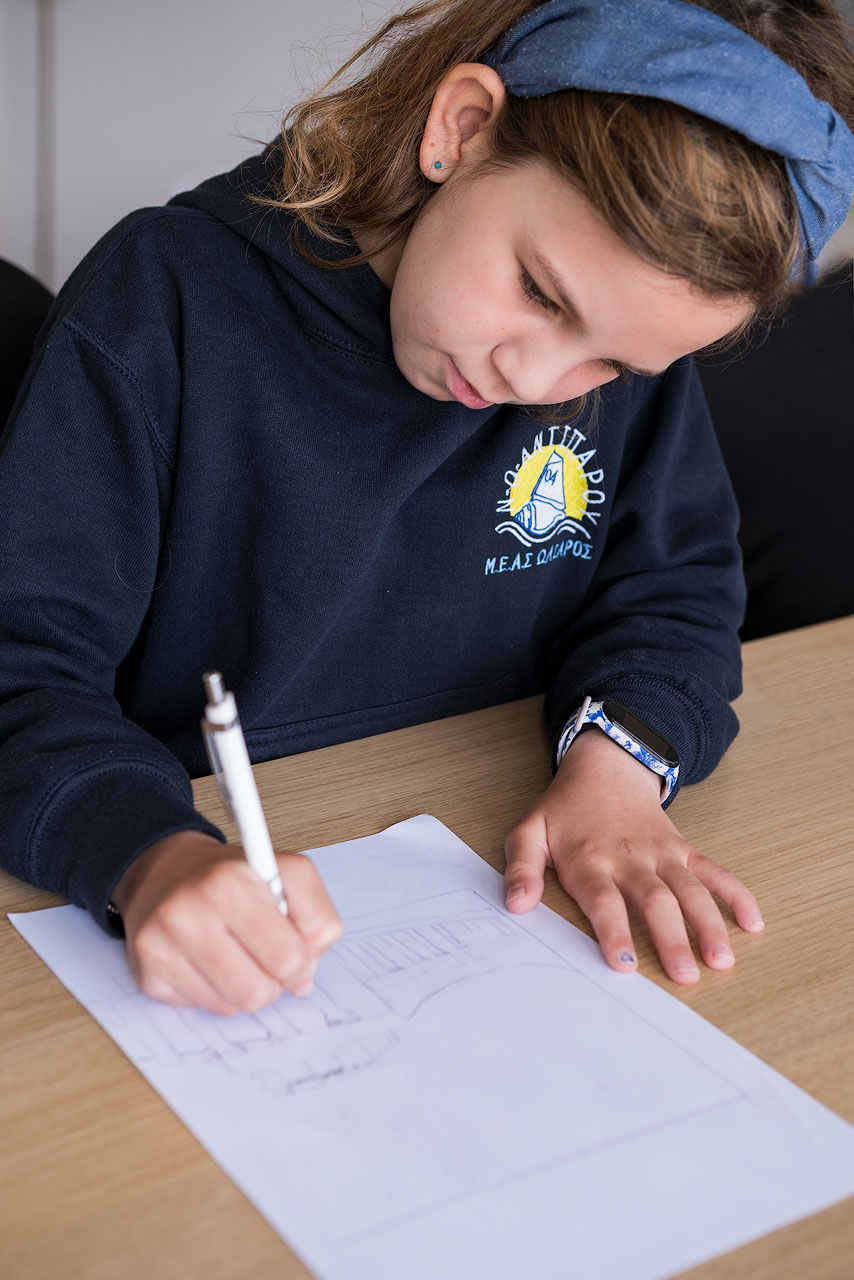
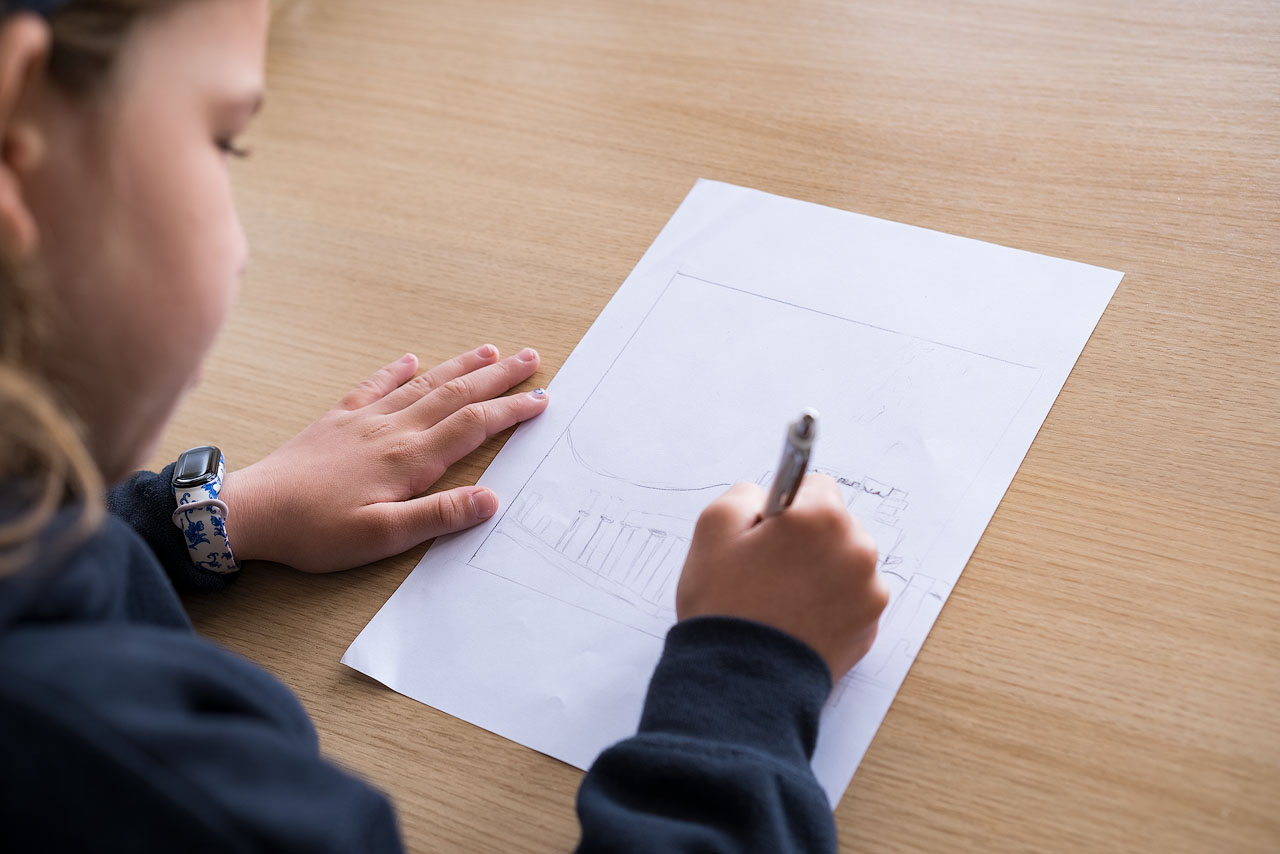
But let’s get back on framing and drawing with a small note:
I honestly suck at drawing, and my first draft sketches were rather terrible, but the last couple of years with the help of my daughter Melina, who is amazing in drawing, the job gets done very nicely! I can check the basic elements of the composition and only apply micro-edits on location.
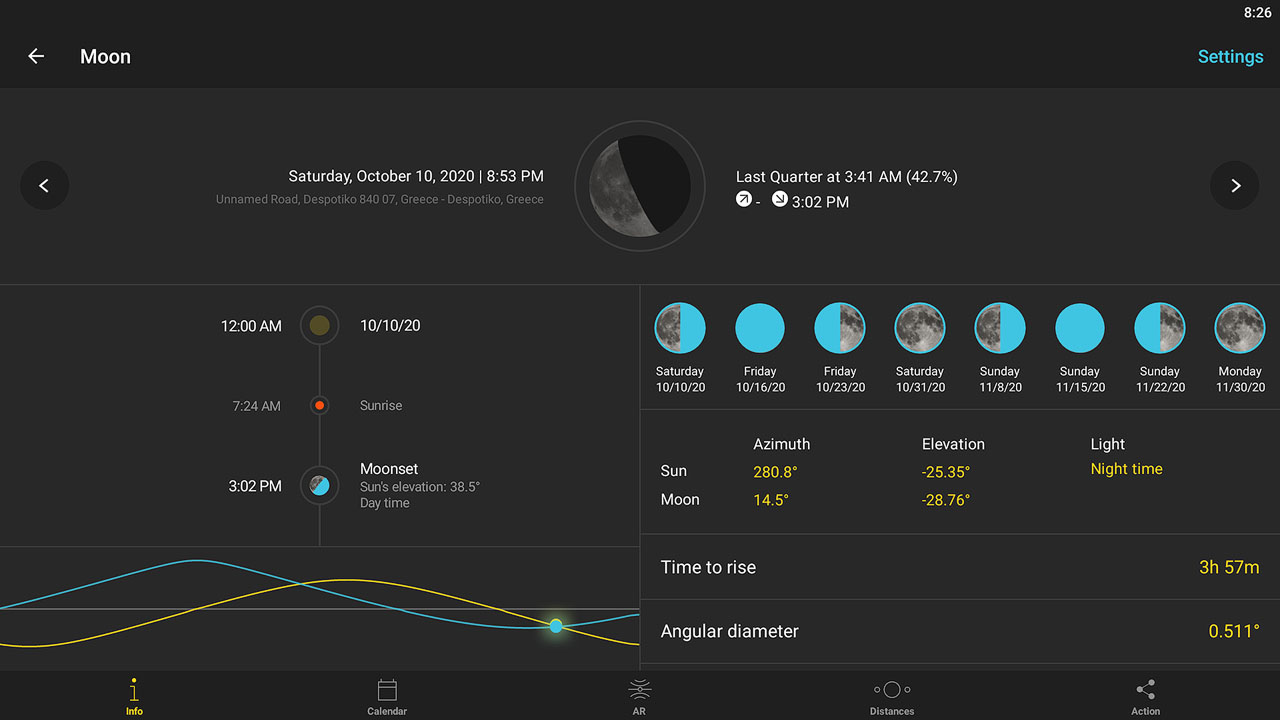
After checking Stellarium and Photopills, and although the New Moon was on October 16, I decided to make a visit on October 10, 2020, at around 20.00 (8 pm) in the evening.
The Moon wasn’t going to be a problem, as it would rise at 00.01(12 am) but the Milky Way would be long set till then.
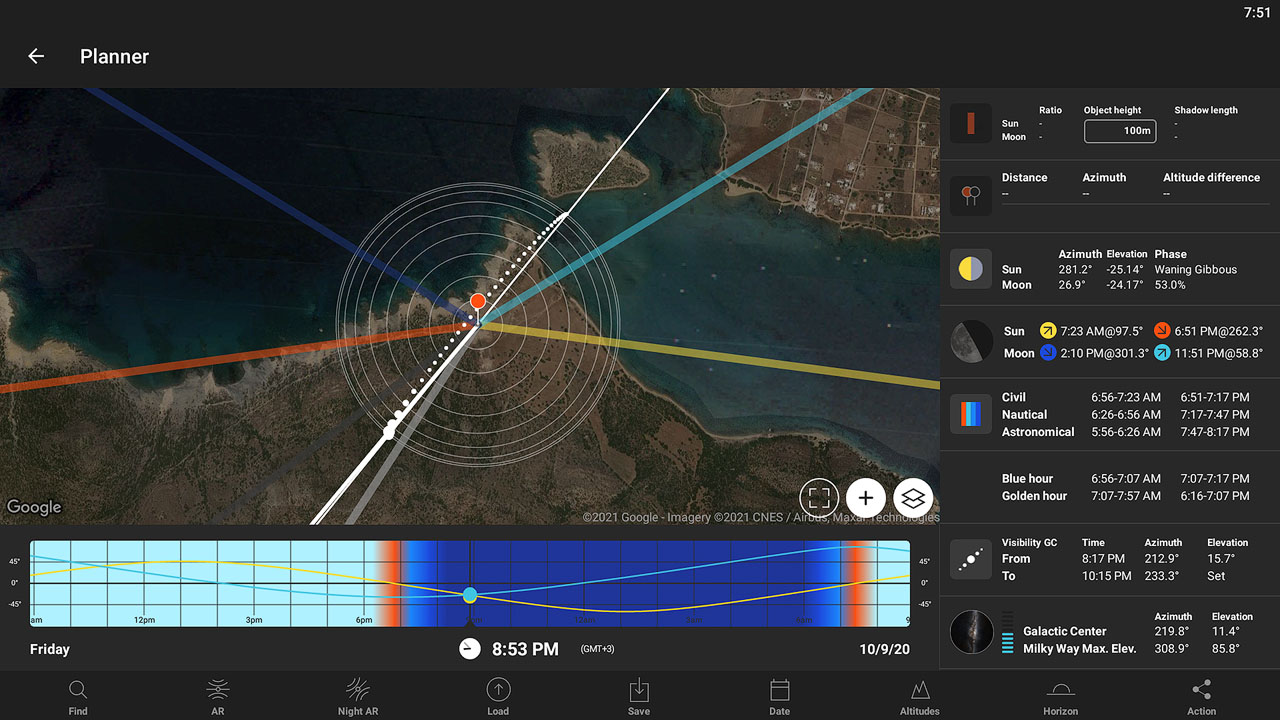
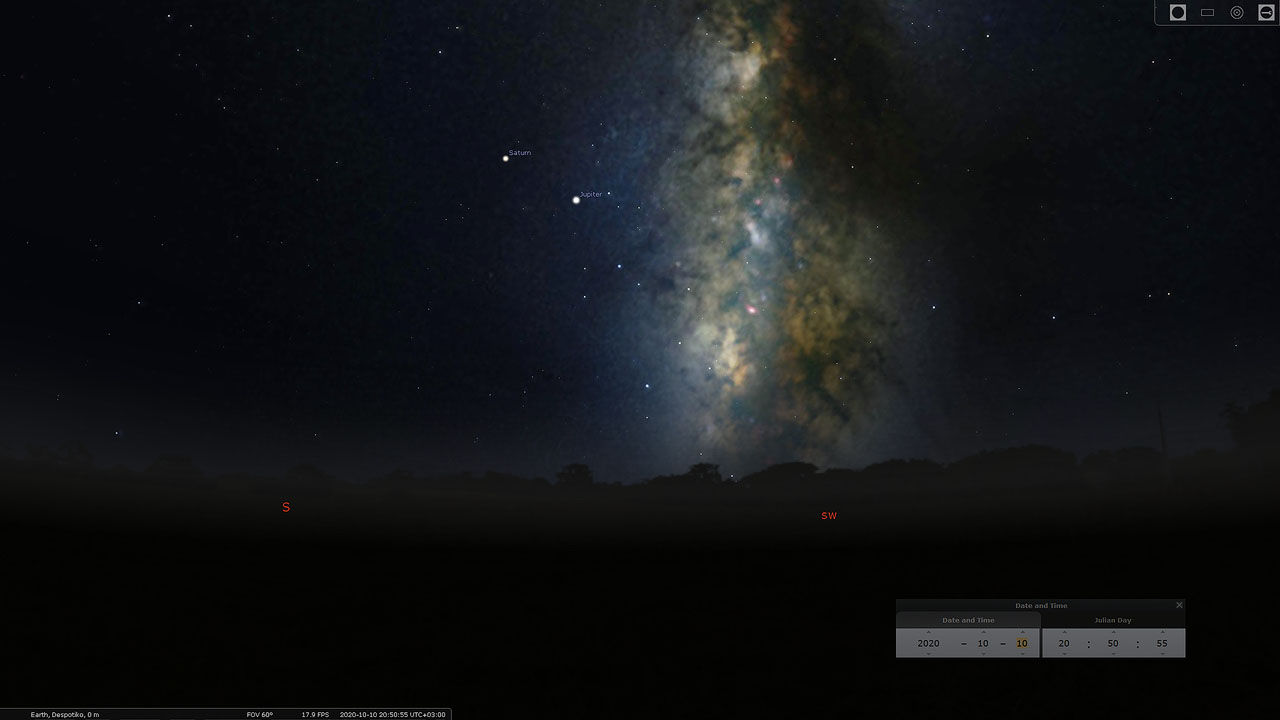
According to Stellarium, Jupiter and Saturn would be visible on the left side of the Core, so that added an extra point of interest on the frame.
The previous days the wind was rather strong for the time, and it helped cleaning even more the atmosphere, but it also added an extra point of difficulty in terms of reaching the island with the boat.
On the evening of October 10, the winds stopped, giving us an opening window of a couple of hours to visit the island, make the shots and return safely (a big thanks to Pipinos for the night boat ride).
The Photo-Shooting
As shown and mentioned before, my vision was to make the Milky Way as big as possible in proportion with the Temple, so the use of an ultra-wide-angle was out of the question.
My lens selection was my favorite Tokina opera 50mm F1.4 to go along with my Nikon D850.
Due to the high pixel pitch of the sensor (4.35 microns) as also the narrow field of view of the lens (47°), I could only expose for 3 seconds at F1.4 to avoid star trails, so the use of a star tracker was necessary.
By using Slik ECH-630 Astra star tracker, I didn’t have to use the lens wide open, so I chose an aperture of F2 to improve the details and minimize coma, while also having enough light getting into the sensor.
Despite being at a Bortle 3 location, I also used a Cokin Clearsky light pollution filter to improve overall contrast as also saturation in magenta tones.
I also chose to go for a vertical panorama workflow and thus, the final image was stitched in Photoshop from eight (8) vertical shots, resulting in a final image size of 70mpx (8425×8425).
Each of the eight (8) frames had a shutter speed of 20 seconds and ISO 3200.
Some small basic edits were also applied in Photoshop, mostly on contrast, highlights, shadows, and noise removal.
This is the final result:

Personal Thoughts
The reason for making this post was to show what someone could achieve with a little bit of preparation and planning.
We often have ideas on our mind, visualizing possible sceneries and photos.
It’s easier than someone might think to try to transfer your thoughts on some paper, even on a basic sketch, and then think how this shot can be created.
Having a basic draft of your composition in front of your eyes can help you make the frame even better.
And after your composition is finalized, you can think about what tools are needed, what the conditions or the time of year should be in order to make it real.