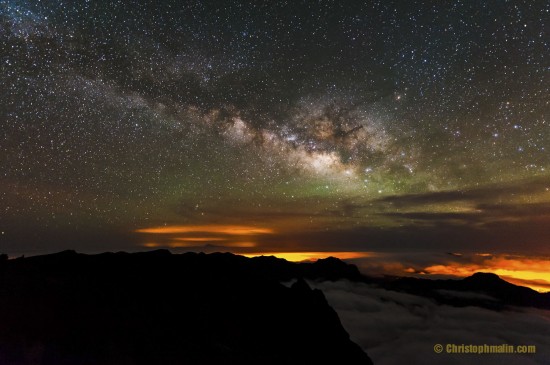
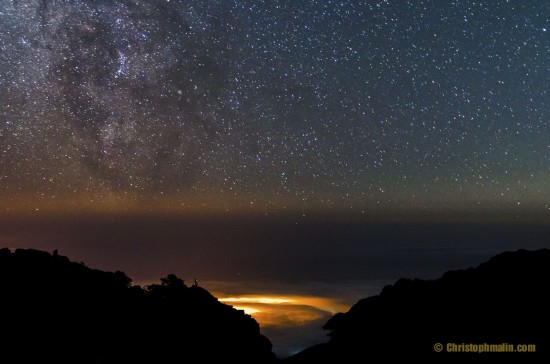
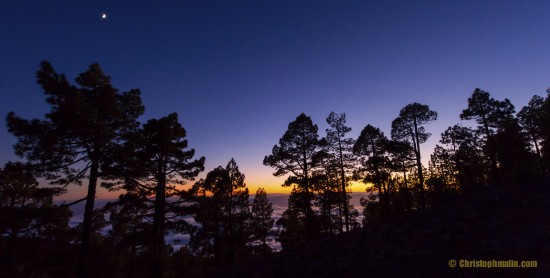
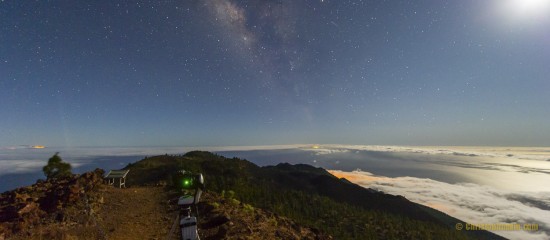
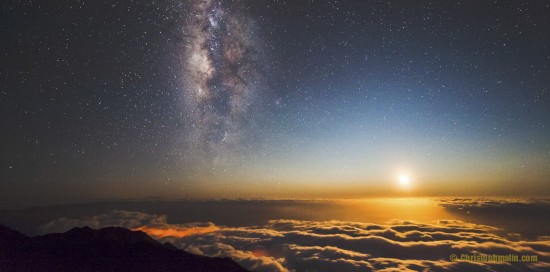
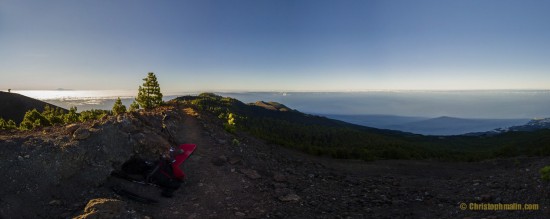
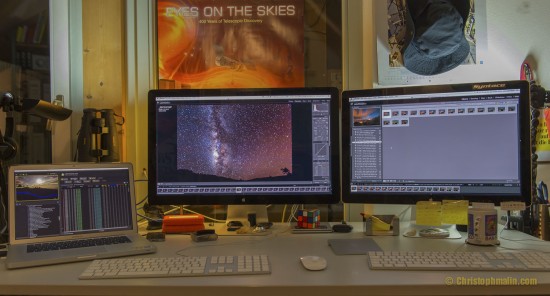
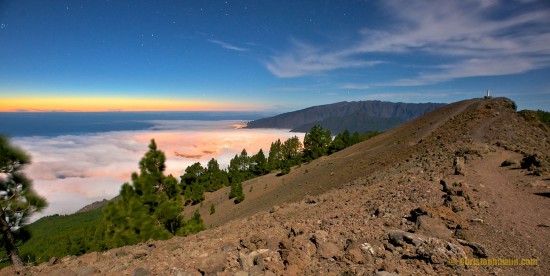
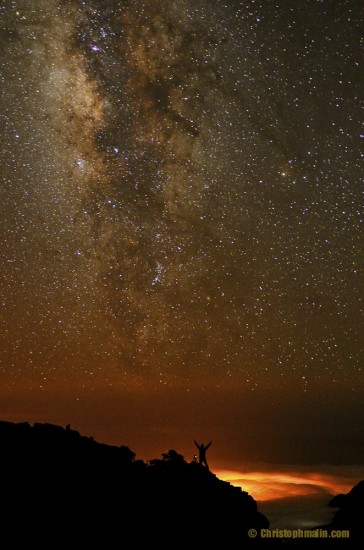
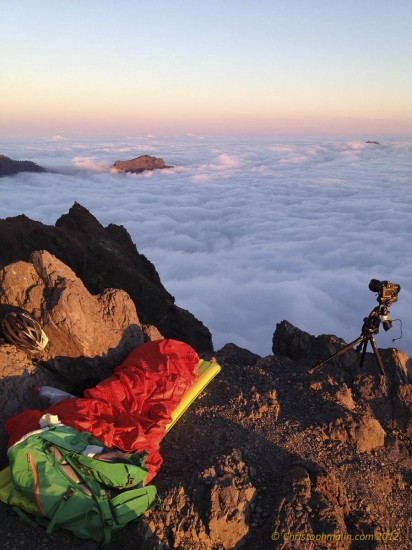
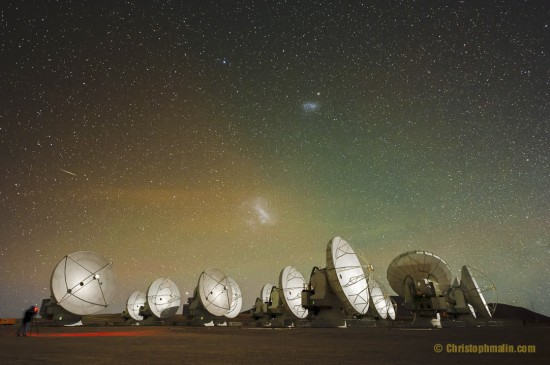
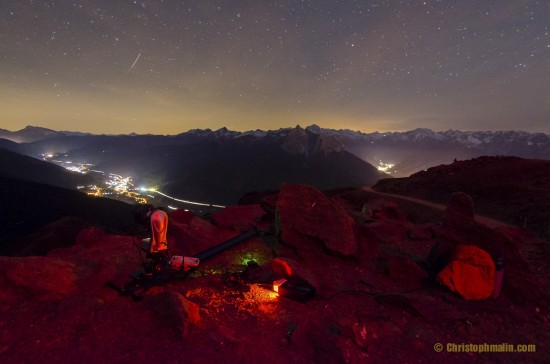
In today’s guest post Christoph Malin (see previous articles) talks about his journey during the making of the short documentary film Island in the Sky shot at the Island of La Palma, near the coast of Morocco (click on images for larger view):
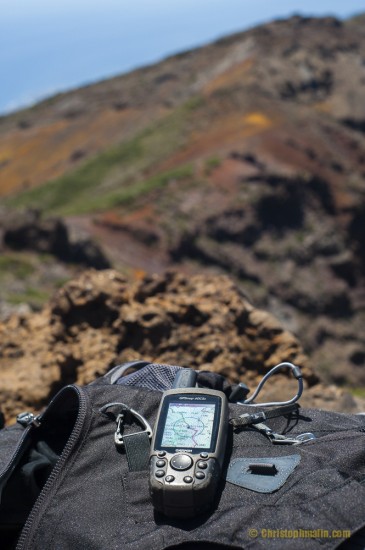
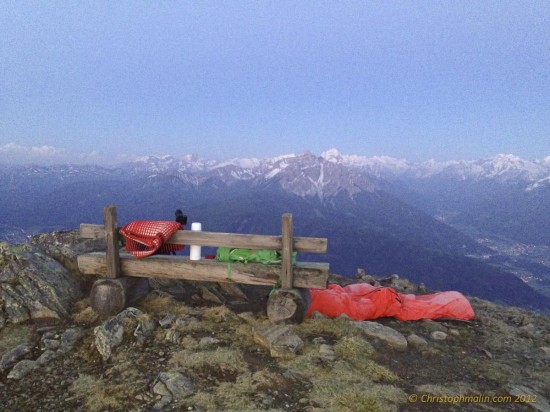
Imagine yourself resting on a lonesome hiking trail in the middle of an island, 2000 m high above the blue Atlantic.
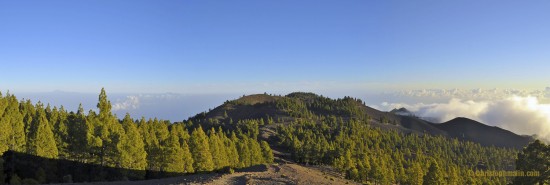
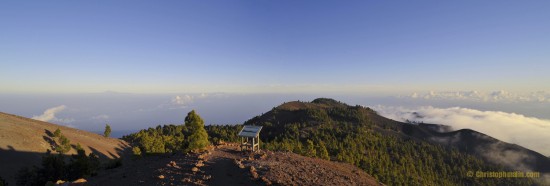
Inhale fresh air, smell the refreshing scent of pine forests glowing green above black volcano sands, no sound but the wind in century old trees.
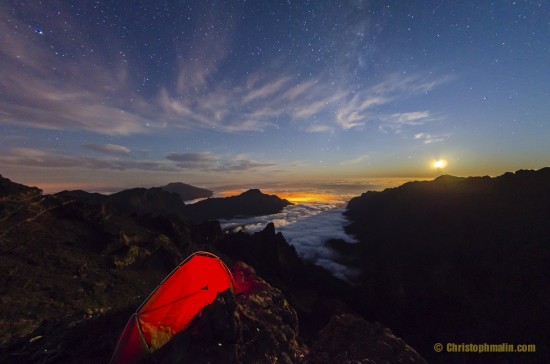
You’ve been hiking the last two days and have camped a starry night at the 2450 m high Caldera de Taburiente, worlds largest erosion crater.
Since you started, the whole day you didn’t meet someone else. Time for a lunch break.
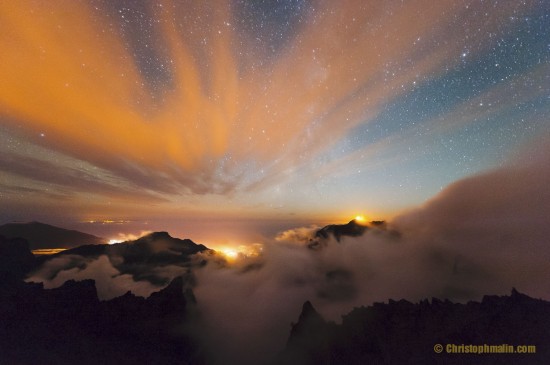
In front of you, the volcanic chain called “Cumbre Vieja” flows into the passing clouds. In the distance to the left you see Tenerife Island with Teide, Spain’s highest mountain (3700 m). It is another 6 hours walk until your hike ends at Fuencaliente Lighthouse south, but again you will enjoy another starry night, with stars raining down on your sleeping bag.
Welcome to La Palma, the most western of the Canary Islands. The Canaries are a volcanic island chain similar to Hawaii, but in the eastern Atlantic. La Palma is a teardrop-shaped island with many volcanoes on it, dominated by the Caldera de Taburiente, that was once an enormous shield volcano. Today the caldera is about 9 kilometers (6 miles) across. It has a huge wedge missing from the side where the caldera collapsed hundreds of thousands of years ago, dumping several cubic kilometers of rock into the sea in a catastrophic landslide. Standing on the Caldera ridge or hiking the epic volcanic trails that lead trough this unique archaic landscape is life-changing.
A long journey for a short film
This short film, the full length version of my 2011 “The Island” teaser is a homage to La Palma – “Europe’s Hawaii”, like some call it. But since the teaser, this project was at times like never ending for me. Other film projects kept me busy, and I did a lot of travelling. But as often as I could I returned to Palma to get the teaser finished into its long version, and as often as I could I worked on the rendering of the film.
Oh, and it’s always nice to have an excuse to return to this beautiful island, but I more than once got thrown back – bad weather, equipment malfunction or whatever.
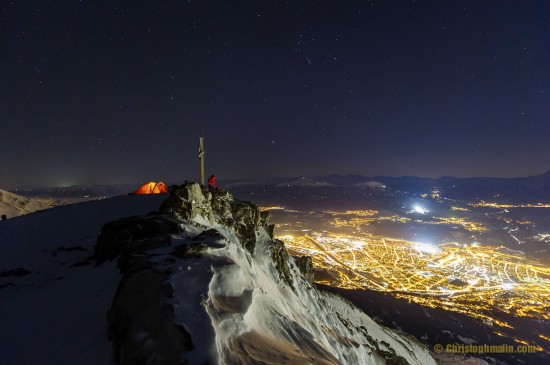
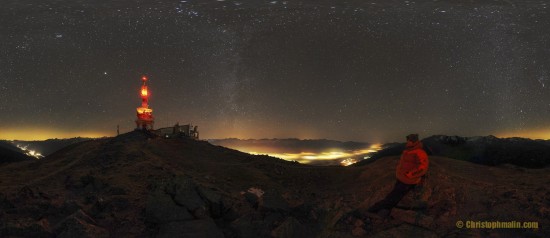
When at the island, I again hiked up Volcanoes, stayed awake all night on stormy ridges, slept like a dead on the beach next morning.
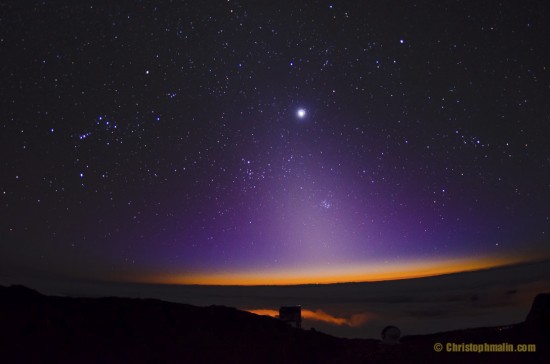
Pre-processed nights footage at the apartment or even the car later, to validate what scenes worked, or needed to be repeated. Hurried back up the mountains before sunset for new setups. When all gear was running, finally got some rest and watched the clouds and stars move. Feeling small in the universe. And tired and dizzy, as well.
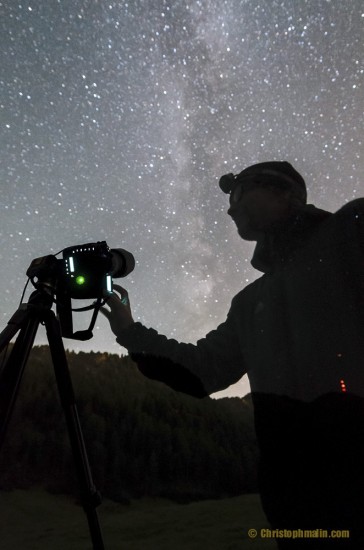
Night time-lapse filming is an art, a struggle to live from, tough on your biorhythm – and needs a lot of passion, love and dedication. Passion for the work, love for nature and wilderness, being alone in the night. Back at the office in the time-lapse studio it needs dedication and endurance in front of my workstations working trough the image data.
Processing, re-processing, selecting and de-selecting footage, additional filming added up to the footage, there was a lot of old and new material to process. This is the toughest part for me – I am not the office guy. I hate sitting in front of a computer screen too much. And that is what you do with Timelapse…
After collecting and cleaning up the project, 906.65 GB and 83846 RAW images as well as some movie-sequences (although I did not use them in the final version) remained for processing. There is no automatism, each software at the workflow still needs to be fed with images to deliver results… So you are multitasking. On some key scenes of this film I have worked over several months, pulling them out again and again, trying different variations on color-reprocessing, iterating many times. I am still not sure if they are good now. You judge.
To make things worse, during the project, new, improved software and workflow methods like LRTimelapse evolved, so I changed the entire software and processing. Reprocessed nearly all of the early material for the better. But now, finished!
Equipment: Nikon D700, D7000, D3s, AFS 14-24/2.8, AFS 24-70/2.8, AF 50/1.8, AF 16/2.8 and AF-DX 10/2.8 Fisheye. I would have loved to test the D4 or D800, but they were not available at the time. Today I work with D4 and D600 and love both machines.
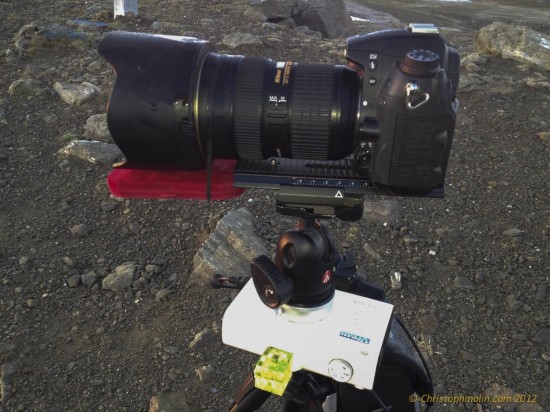
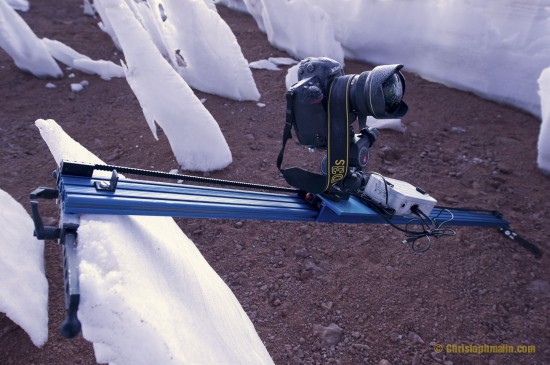
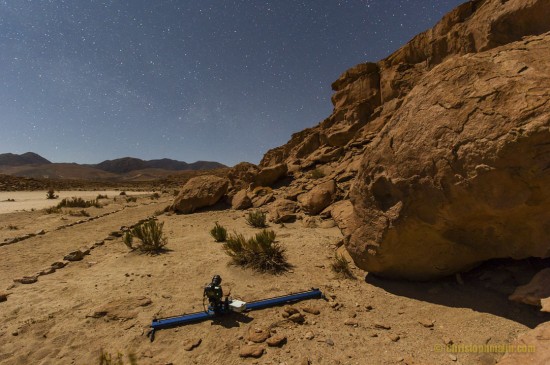
I also used the Dynamic Perception Stage Zero Dolly with MX2 Merlin Interface, where possible. A cool new tool that I never want to miss anymore, is the “Polarie” by Japanese Telescope manufacturer Vixen. It’s a small, simple and totally reliable panning device that can also be used as a great tracking mount to track stars (for panning see Part 6 here).
Current processing workflow: Nikon View NX, Adobe Lightroom LR4, LRTimelapse, Apple Motion, Final Cut Pro X.
Regarding time-lapse workflow and Camera see FAQ below.
Thanks to all who did support me during this project, especially my family. Thanks to Babak Tafreshi of twanight.org for providing the legendary GRANTECAN Intro and MAGIC-from-the-side footage. Props to the folks at IAC.es, visitlapalma.es and Nikon NPS! Jesse Hozeny has provided an awesome soundtrack with “Miles High”! This ended a long search. Thanks also to Phil, Adam and Luna for writing some wicked reviews at slate.com, wired.com and nationalgeographic.com. And a huuuuge “Thank you” goes to Dr. Brian May of QUEEN for writing about “Island in the Sky” on his blog. It is great to know that Dr. May shares the same passion for one of the most beautiful Islands in the world.
Cheers,
Christoph Malin*
That Guy with the Tent
Christophmalin.com | Facebook | Twitter | Twanight
P.S.: Check some of my other films: Astronomer’s Paradise, Urban Mountain Sky, ISS Tronized.
Fine Art Prints of Island in the Sky and others are available on Zenfolio.
*Christoph Malin, 42, is ESO photo ambassador and an Austrian based outdoor journalist and astrophotographer specializing in time-lapse night sky photography of the Alps and other mountain and desert regions.
FAQ time-lapse workflow, camera suggestions etc.
What basic gear do you need to produce a time-lapse astrophotography film?
A sturdy tripod, a DSLR camera, an external intervalometer (if your DSLR does not feature a built in, like most Nikons) and a PC with lots of HDD space. Sounds easy, but now it get’s complex.
Regarding the camera, lowest lens aperture and high ISO performance are essential with your glass. Lens aperture is key as with f2.8, 1.8 or even 1.4 you are able to catch more light. Common all-round lenses with apertures starting at 3.5 or 4.5 will force you to use High ISO ranges immediately. Depends on the body you use, and how well he can cope with high ISO, if that works out.
What’s all that about “Image Noise” and High ISO with time-lapse?
This brings us to the next issue: The DSLR Camera should have a good, usable ISO range. It makes no sense if your DSLR carries high ISO settings, but images get noisy all over the place once you select an ISO higher than 800. A good article on “Image Noise” can be found here.
Usual ISO for Astrophotography time-lapse starts at ISO 2500 and may go up as high as 8000 at certain situations, it also depends if you shoot moonlight or very dark places like here.
Lowest noise as possible on the images of sequences is preferable, as due to the nature of time-lapse sequencing, image noise – depending on camera model and high ISO – can get visibly “moving” and be very visible in the film. With time lapsers it’s sometimes also called “moving grain”, does not look very good and also does not go away much, when downscaling to 1920 x 1080. See an example here, at 06:10 at „Island in the Sky“. That noise is from a D7000 with ISO 2500. It is important to not confuse image noise with over saturated pixels. Those red, green, blue, white pixels get visible after a certain magnification on high ISO images, and best practice on processing recommends to remove those pixels to for time-lapse.
How many of these you get, depends on the outside temperatures. On warm summer nights, one suffers much more over saturated pixels, than on a mountaintop at -20 degree. And while over saturated pixels in Deep Space photography get removed by software via Dark Frames (imitated by most DSLRs with their Noise Reduction Function, where you have to wait about double exposure time after taking a long exposure), you can’t do this with classic time-lapse processing software.
However, cameras with FX Chips and lower megapixel count (12 or 16 MP better than 22 or 32) are preferred to APS-C or Four Thirds. First, the smaller the chip the higher the pixel density gets at a given resolution. Higher density / smaller chip = more noise. Lower density / bigger chip = less noise.
Also lower pixel counts ease the workload later in post processing. It can make up a difference up to a couple hours, if you process 3500 images of a full night time lapsing in either 12 MP, 22 MP or 32 MP format. The latter being the worse and most intense on your computing hardware.
Furthermore, shooting time-lapse sequences in RAW format is recommended, so you can squeeze out every valuable bit of information of those precious images. But RAW images consume more room on your hard disk, and require more CPU or GPU power on post processing.
So your PC should not be older than 3-4 years (Core i5 and i7 preferred), have plenty of HDD space (2 to 4 TB), fast interfaces (eSATA, USB 3.0, Thunderbolt etc recommended) for Data Transfers etc. Chip Cards will also fill up quite fast, so you need some more for your DSLR, 32 or 64 GB recommended.
A software workflow very common these days is using Adobe Lightroom and LRTimelapse, a clever XMP-keyframe editor. Later for rendering the sequences, most people use Adobe After Effects or Apple Motion. A great source (also with an eBook on time-lapse processing) is to be found here.
What kind of budget do you need to get started?
As stated before, FX cameras are recommended. They just show so much less noise than APS-C models. For example: Nikon. Regarding Noise and High ISO the D3s, D4, even the older D700 as well as D600 on ISO 2500 beat a D7000, D90, D80 etc by far at the same ISO. Although the D800 makes for a surprisingly excellent astro camera up to ISO 2500, it’s huge files are a pain to process as sequences with 500 images or more – even with current cutting edge computer hardware – and thus rather a no-go in time-lapse.
However, as FX cameras are far more expensive due to their nature of full size chips, and lenses with apertures starting at f2.8 (except some classic like AF 50/1.8) are also never a bargain, you can easily budget EUR 3000 instantly on the camera hardware.
As for Nikon, used D700’s or D3s are a good deal for time-lapse that can save some money, but are not as “sharp” anymore on pixel resolution. It is shocking to see with good Lenses that provide high resolution, how much sharper images of a D600 are compared to D700, same goes for D3s vs D4 (the D3s has ultra large pixels with 8.45 Microns).
For the PC hardware: A good high-end PC that does not slow down so much when confronted with some GB or even TB of time-lapse sequences shot during a holiday weeknights, will set you back about EUR 1300 to 1600. If your kid has a powerful Gaming PC, you might want to consider using it as a time lapse processing machine, once he sleeps 😉 Those PCs can sometimes work surprisingly well, but you have to check first, if it’s Graphics Card (GPU) supports time-lapse processing and rendering software.
Current Core i5 or i7 notebooks can be used too of course, but they get very hot during hours of post processing.
As a noob, what targets would you suggest? i.e star trails, Milky Way? Are some easier to capture than others?
Stacked Star trails are a fun “side product” of time-lapse footage (see my film Iss Startrails – Tronized)
Every time-lapse sequence (if available as JPGs) can be stacked into star trails – easiest software for that is StarStax. It is nice to experiment what footage works with Startrails or not, and there are always surprises.
Wide angle shots of the Milky Way, moonrises or moonsets are nice to start with. They are the most easy ones and immediately reveal their beauty to the eye of the viewer. Moving clouds under starry skies, Mountains, Rivers all add up – be creative! Kings Class of course are Aurorae, Airglow, Transitions, Motion Control and all that.
Your top five tips for emerging time-lapse photographers?
1. Patience and dedication. Don’t throw away everything if the first time-lapse gets a disaster. Stay at it, learn and get better, you will love the results – but be aware: you need a long breath, and failures happen all the time. Here in the “making-of” part of my Film “Urban. Mountain. Sky”, you can see some epic fails.
2. Planning is everything. To be at the right place at the right time is essential with time-lapse filming. You should be able to answer questions to yourself on your planned Location before like: time of sunset, sunrise, moonrise, moonset, where happens what in the sky at what time. Allow at least 2 hrs in advance to set up your equipment at a location. It also helps if you visit a location a couple of times before during various times of day and year, so you see how the light changes then. Locations can always provide for unwanted surprises, and even turn out not suitable for reasons you finally realize by the time of shooting.
Of course, you cannot for example exactly predict Auroras and where they show up. But you should have a basic idea, where to go to see them. And get away from light polluted places, if it is not a planned part of your scene.
3. Good equipment preparation is mandatory. Do a test run every once with your rig at home like you would have it in nature at the location. It also helps testing it at low light. This does not mean that you need to be able to build your rig in total darkness and know any step blind. But it helps building everything up, and see if it works, or something misses. Do a checklist.
Fresh batteries are essential, dew heaters for certain times of year. Always have backup batteries and chips to store more images to with you. And use a flashlight with a red light (classic: Petztl Tikka XP), it protects the adaption of your eyes to the darkness and your footage, unless you point the red light directly into your lens ;).
4. Dress correctly and take your time to relax at the location to enjoy the night sky. Except equipment installment and disassemble at the location, as well as a hike to and from it, time-lapse filming is mostly standing or sitting around, nose piercing – so you get cold soon. Sometimes you have to change a battery or restart a intervalometer, but that’s it basically for the night. Enjoy starry skies, and be sure to take a refreshing one or two hour nap in between! It helps. In general, Winter nights are better for time-lapsing regarding time to nap in between. In summer, when the sun sets at 09:00 p.m. and morning glow starts at 03:00 a.m., you don’t get much sleep at all.
However, be prepared for the cold creeping into your jacket and trousers anytime during the night, especially when ambient moisture goes up and temperatures drop.
There is nothing more frustrating than a great location you have to finally leave, because you are simply getting too cold and it gets dangerous. Always let your family know where you plan to take footage. Have a good sleeping bag, if it’s windy, a good small tent for shelter. A good mountaineering equipment is basically a good idea if you shoot at the outdoors.
5. Get a permit. If you take footage at public places inform yourself about modalities. Same for nature shots, get a permit from the landowner if mandatory. Sometimes you may get asked by police, hunters or general or passers-by, what exactly you are doing in the middle of the night with all that camera stuff (and while this happens, your shots may be ruined by car lights etc).
An iPad or similar device is nice then to show starry sky images or footage of your work – people then instantly realize that you are no burglar, spy or any other threat to safety. Because you can’t show images on your camera, it is engaged with time-lapse 😉
What you recommend to more experienced time-lapse photographers in regards to capturing trickier targets and investing in more advanced equipment?
Possibilities are endless. You could start getting an expert in so-called transition shots. From Day to Night to Day. There are several methods of doing them, and quite some interesting approaches on equipment or software for that (Little Bramper, GBTimelapse, LRTimelapse “Holy-Grail” Approach etc).
For Equipment there are a multitude of Motion Controlled Rigs out there, classic OpenSource ones like the Dynamic Perception Stage Zero Dolly, that got the wave rolling, to more sophisticated ones like Kessler Cranes / Dollies or Camblocks.
As for capturing trickier targets… This could be exotic places, far deserts etc.
But I for myself have concentrated also on the target of getting the best quality out of my footage which I process in 2K or 4K. I also rework tricky scenes often and experiment with coloring, highlights, shadows, luminance etc.
Processing workflows have also changed a couple of times the past two years, with Apple getting more and more important to the scene with Apple Motion, which renders up to 5 times faster than Adobe After Effects. Or wonderful software like LRTimelapse, which makes transitions much easier.
Hardware wise, there is no limit on equipment. The fastest machines currently on the market for consumers on time-lapse processing, are actually server based workstations (be it Windows, Unix or Hackintoshes, the original MacPro’s are getting into age). Those workstations come with 8 to 16 core Dual CPU mainboards, 128 GB RAM, lightning fast interfaces like Thunderbolt for massive data transfer rates on RAIDS with up to 12 TB storage, and hardware SSD RAIDs. Such a machine can render 2 to 3 hours faster during a day of time-lapse processing, but costs up to 18000 EUR or more.
But if you do a lot of time-lapse processing you get tired of waiting on processing, so at one point you invest it, just to have the jobs finished quicker and have more time to get out to shoot new footage. Just an example: 1 Week of footage taking with 3-4 12 MP DLSRs can lead up to 2 TB of RAW data worth of three weeks processing excluding days of working on tricky transitions, that don’t work out the first time. That is the reality with professional time-lapse filming.
How do you plan your shots and locations?
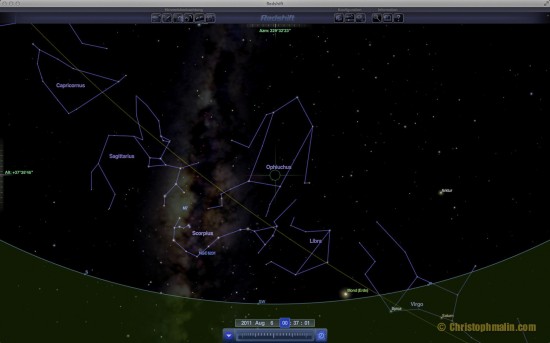
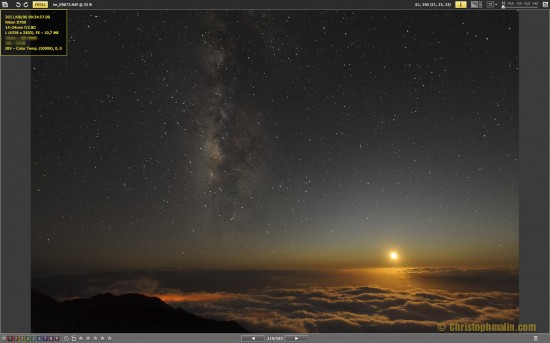
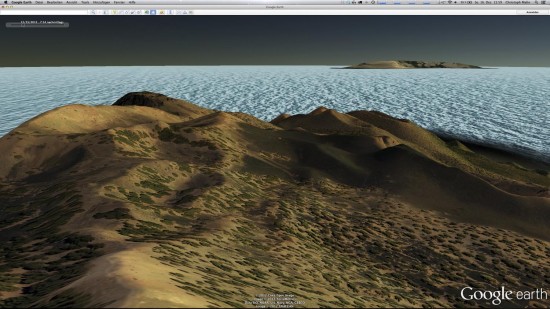
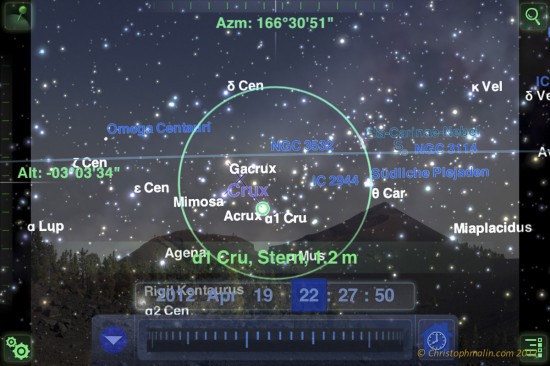
I plan my locations via Google Earth, a lot of research on the web, travel books, various sources, personal visits. For the planning of the shots (day, time etc) I use “Redshift” for iPad, iPhone and Mac. As well as “Stellarium”, which is opensource.
Text and Photos by: Christoph Malin.
If you have an interesting idea for a guest post, you can contact me here. Check also Christoph’s latest video called Adventures after dark:
