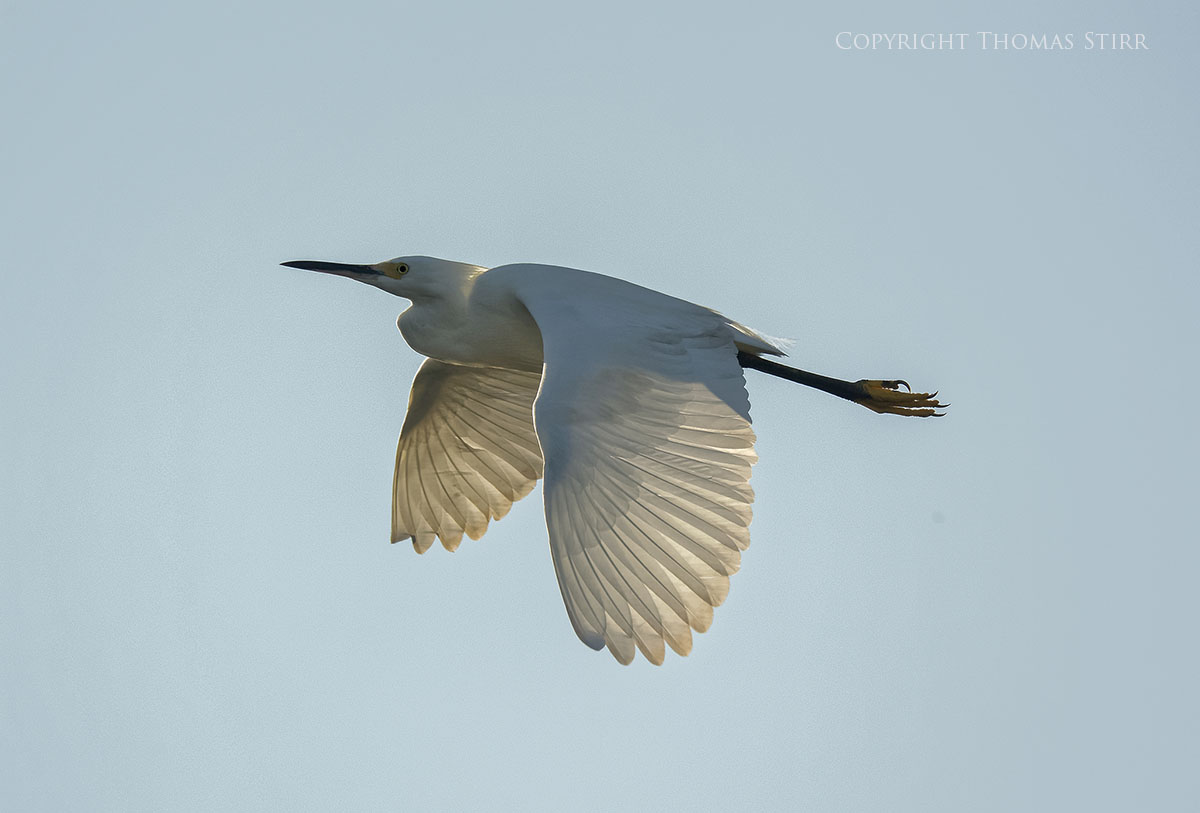


Photographing birds in Cuba with Nikon 1 is by Thomas Stirr (photography website | general website | YouTube):
While on vacation I always enjoy wandering around the resort with my camera and capturing a variety of images.
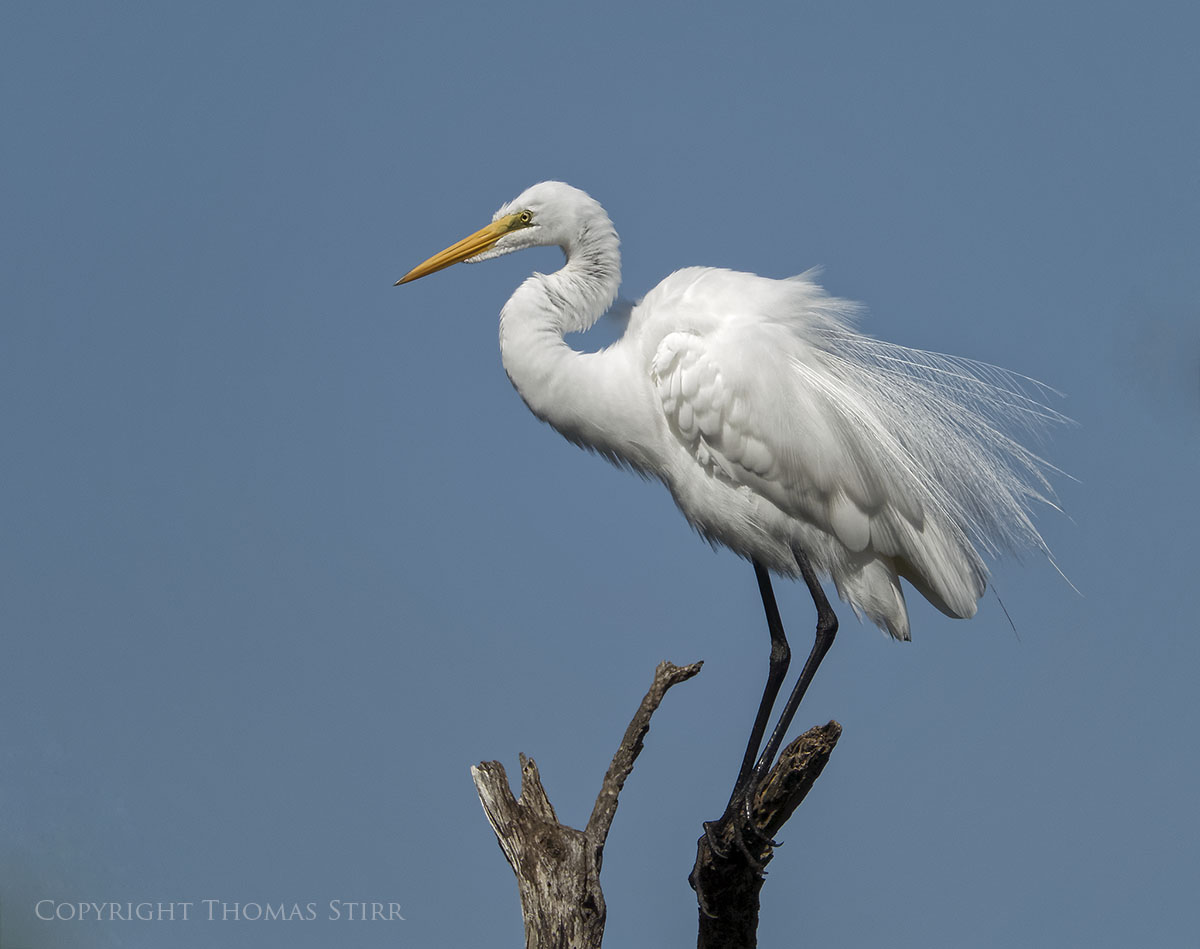
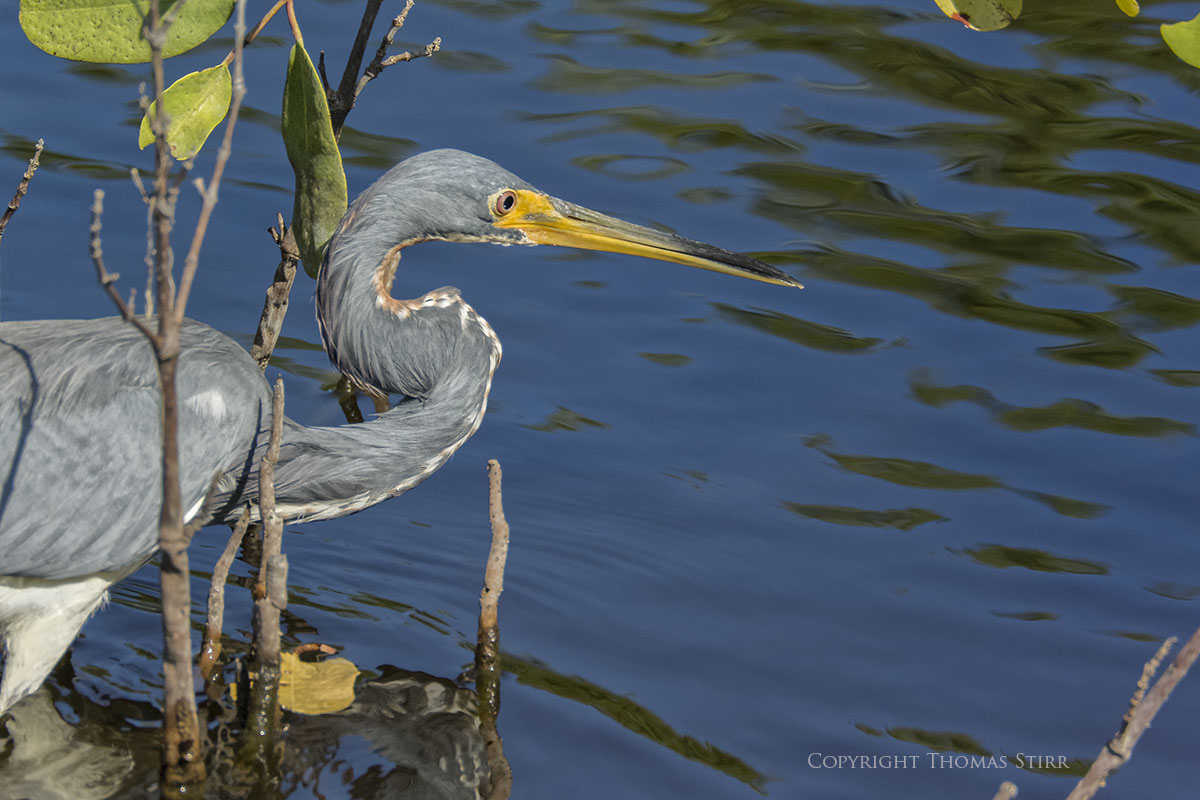
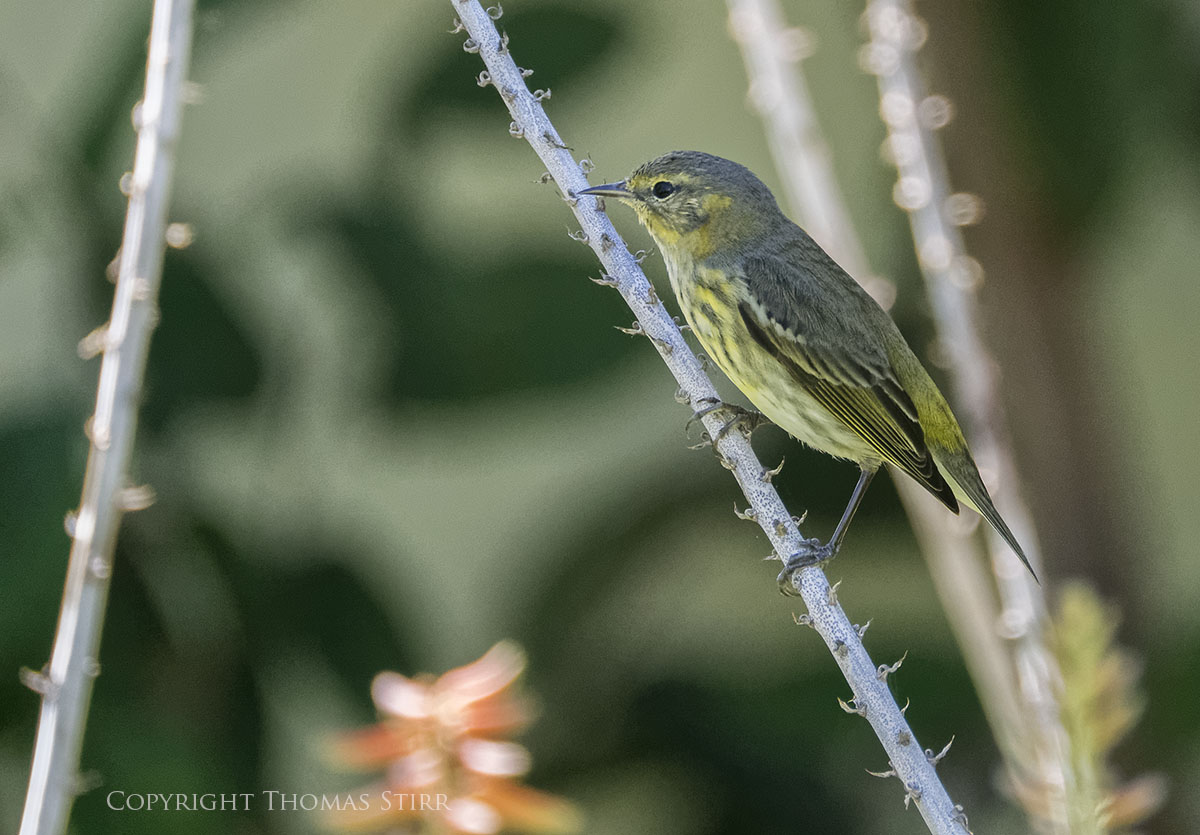
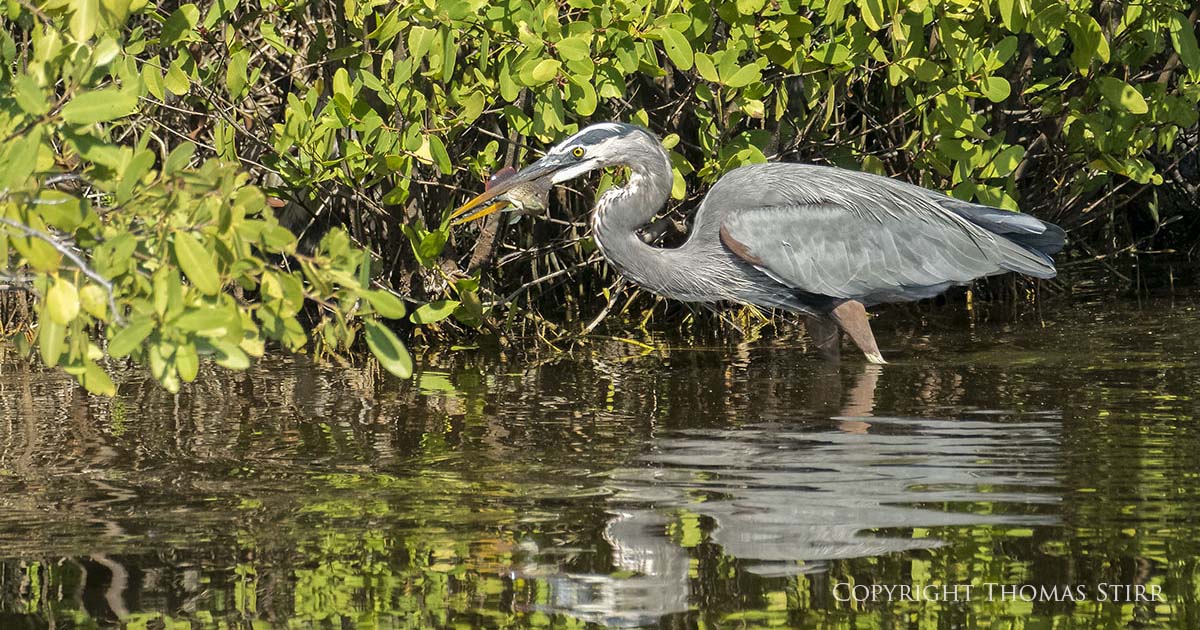
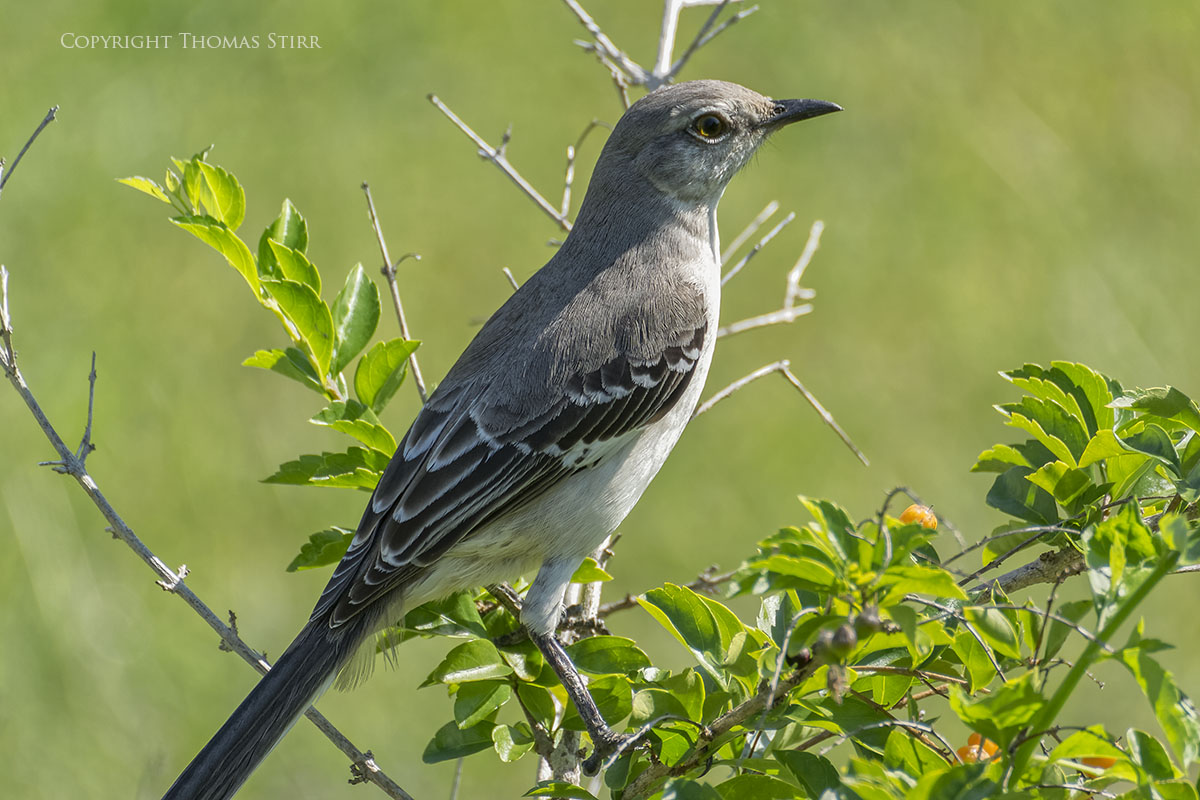
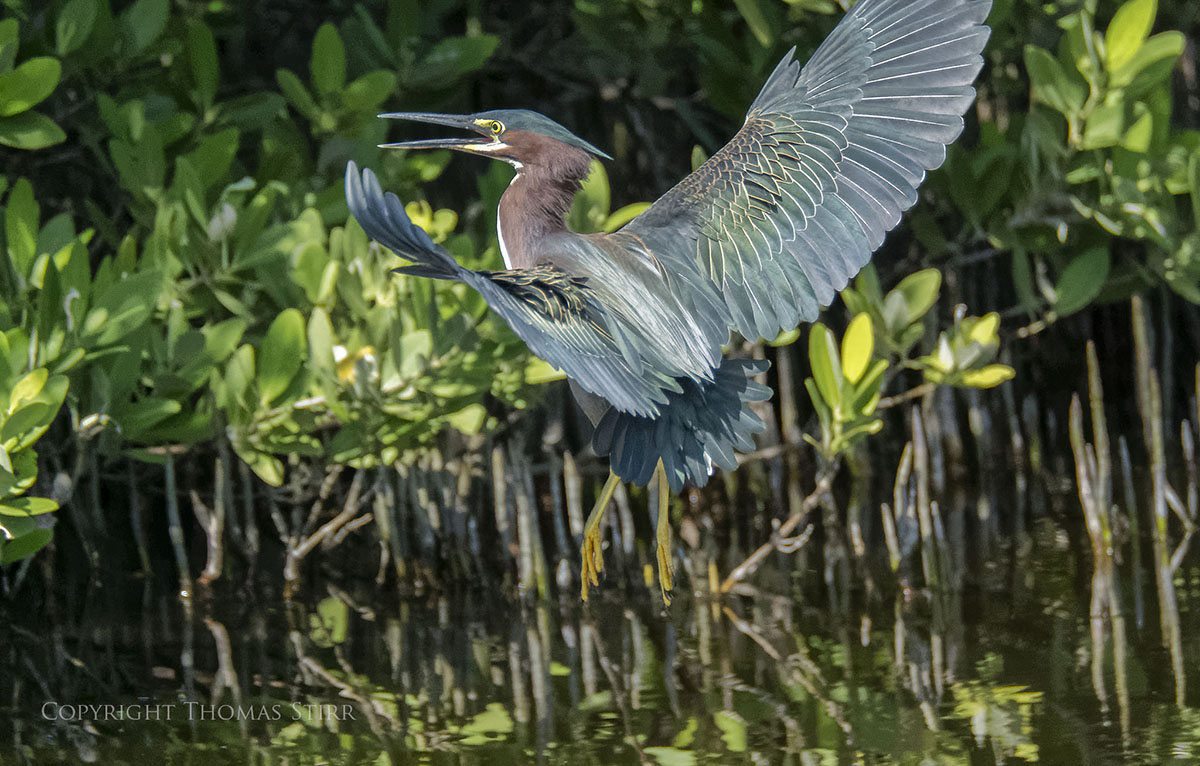
During our recent, return visit to the Rafael Freyre area of Cuba I had the opportunity to capture a number of images of birds in the marsh area that is adjacent to the resort, as well as on the resort property itself.