Nikon Z9 dynamic range test by Dré de Man:
Sensor
The camera uses a sensor that looks very similar to the one in the Z 7. That alone is a brave decision because up until now the top cameras for photojournalists from Nikon and others used special sensors tuned to high ISO performance. Personally, I’m very happy with that decision, because the gains at very high ISO values of sensors like the one for the D6 were relatively small and the loss of dynamic range at low ISO was relatively large. It looks like the sensor offers the best of both worlds – as did, in fact, the sensor of the Z 7 (II).
Compared to the latter, Nikon did add an extra stack, which does the processing for the autofocus. But it looks like there is more to the sensor than just an extra stack. It has 5.5 million sensor photodetectors more than the Z 7 II, while the effective pixel count is exactly the same (45.7/52.4 vs. 45.7/46.9). I yet have to hear from Nikon what the function of all those extra photodetectors is. You don’t need 5.5 million pixels for dark frame subtraction et cetera, so they might be used for autofocus. If so, it’s strange that the effective pixel count is exactly the same as the one of the Z 7 II. The extra pixels could also be related to IBIS, but almost 2 mm extra sensor length for IBIS sounds weird.
Effective pixel count
We don’t see this large difference in the Sony A1, but the Canon R3 has a similar difference. Some journalists think that the stack would go to the expense of dynamic range and performance at high ISO. So I was very much interested in doing a test of the dynamic range and high ISO performance. During the years I have made many tests of dynamic range and noise, so I could compare it to other cameras. Thankfully, I was able to use a beta version of Nikon NX Studio. Later I reprocessed the files with the final version 1.1.0.
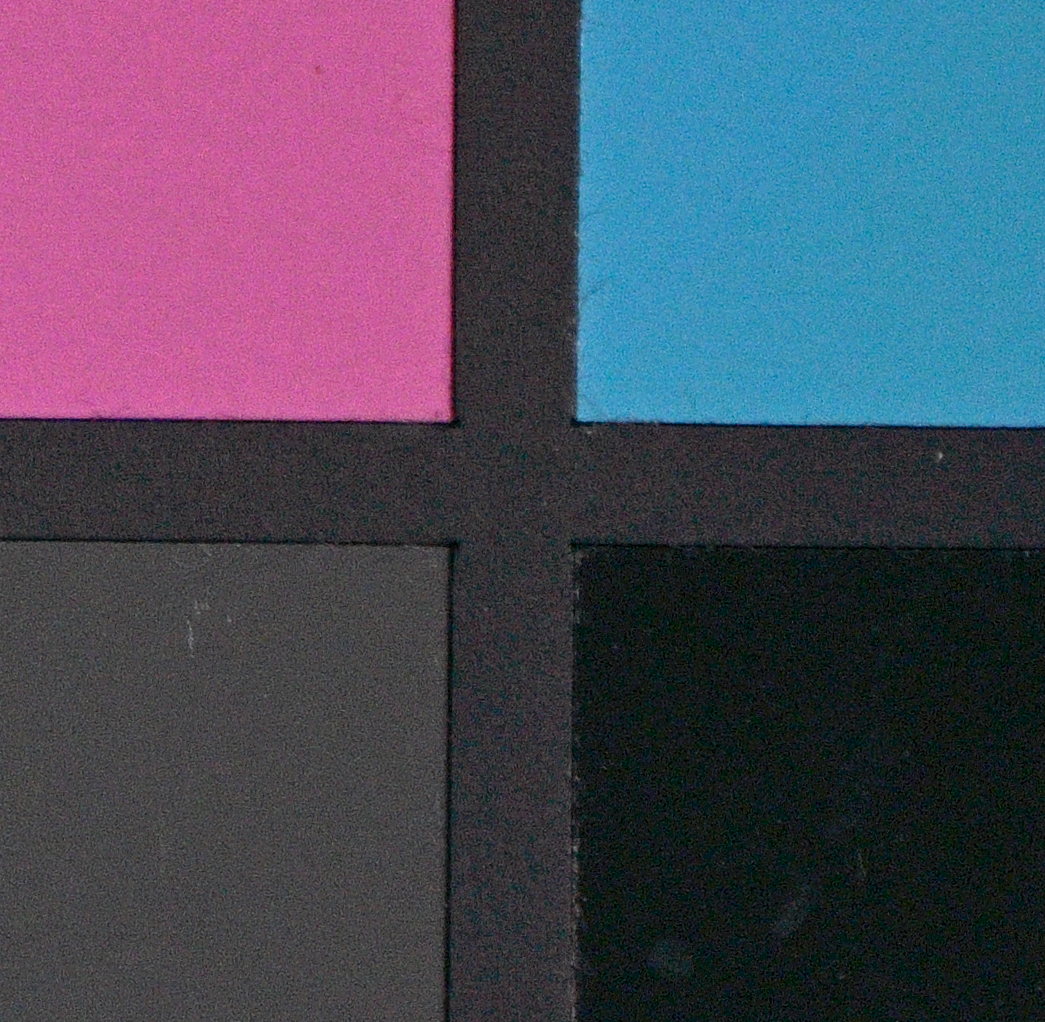
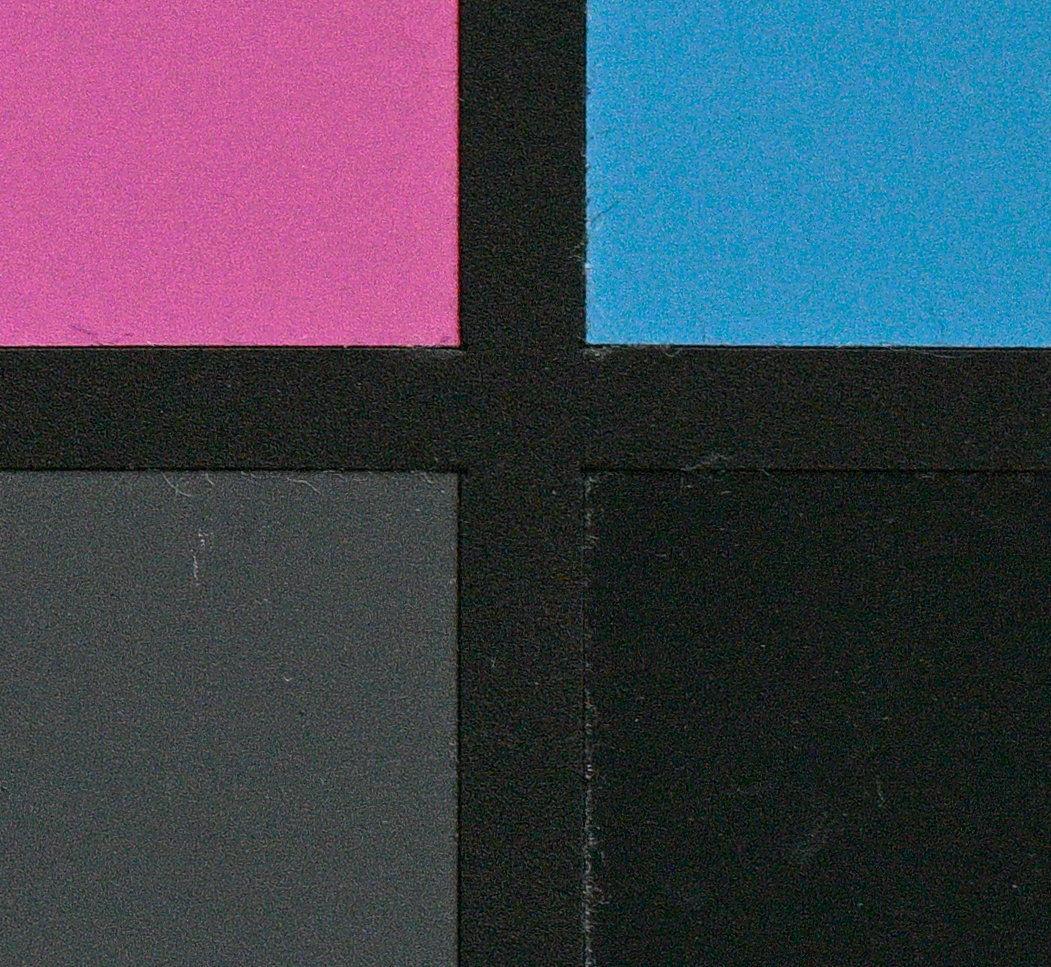
Nikon Z 7II:

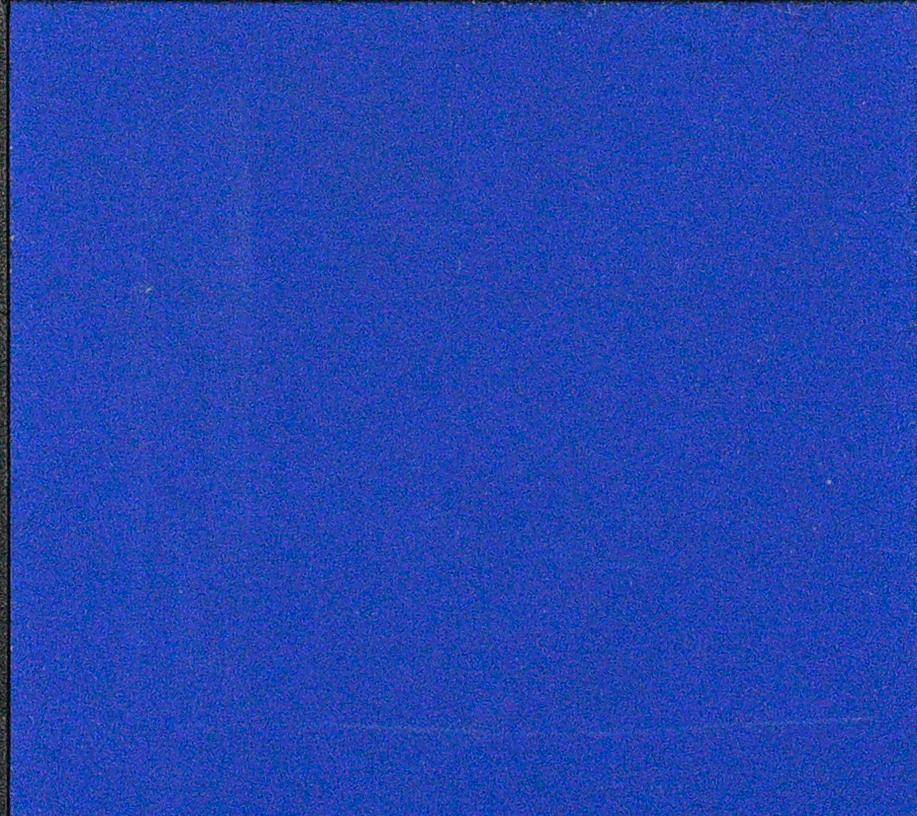
Nikon Z 9:
The procedure I use is simple yet effective. I make a series of pictures of a Macbeth color card, starting from the right exposure measured with an incident light meter for the nominal ISO. I end up with a range from around + 3.5 to – 7. Then I process the RAWs using exposure compensation (above + 5 plus a curve) from mostly about plus 2.3 to approx. minus five, always taking care to process using middle grey to the same value.
MacBeth card
For the saturation point of the sensor, I just look for the exposure where the lightest patch of a MacBeth color card still shows some detail, based on a standard picture control setting (gamma value). But to be sure I also check whether I can gain details by changing these settings.
To judge the minus five-point I compare the resulting noise visually with a set of already tested cameras and usually one reference camera used in parallel, just to be sure. In my opinion, lifting shadows beyond the point of minus five is rarely if ever necessary or advisable (in such a case HDR or luminosity mask are a better solution). Of course, there are visible details below minus five, but they are of no practical use.
Nikon Z 7II:
Nikon Z 9:
Nikon NX Studio beta
Normally I use Adobe Camera RAW since this software offers the largest dynamic range. At this moment Adobe Camera Raw doesn’t yet support the Z 9, but Nikon NX Studio beta does and I just compared the results from the Z 7II with the Z 9, using Nikon NX Studio.
UPDATE – reprocessed the files with the final version, 1.1.0. Got exactly the same results.
Nikon Z 7II:
Nikon Z 9:
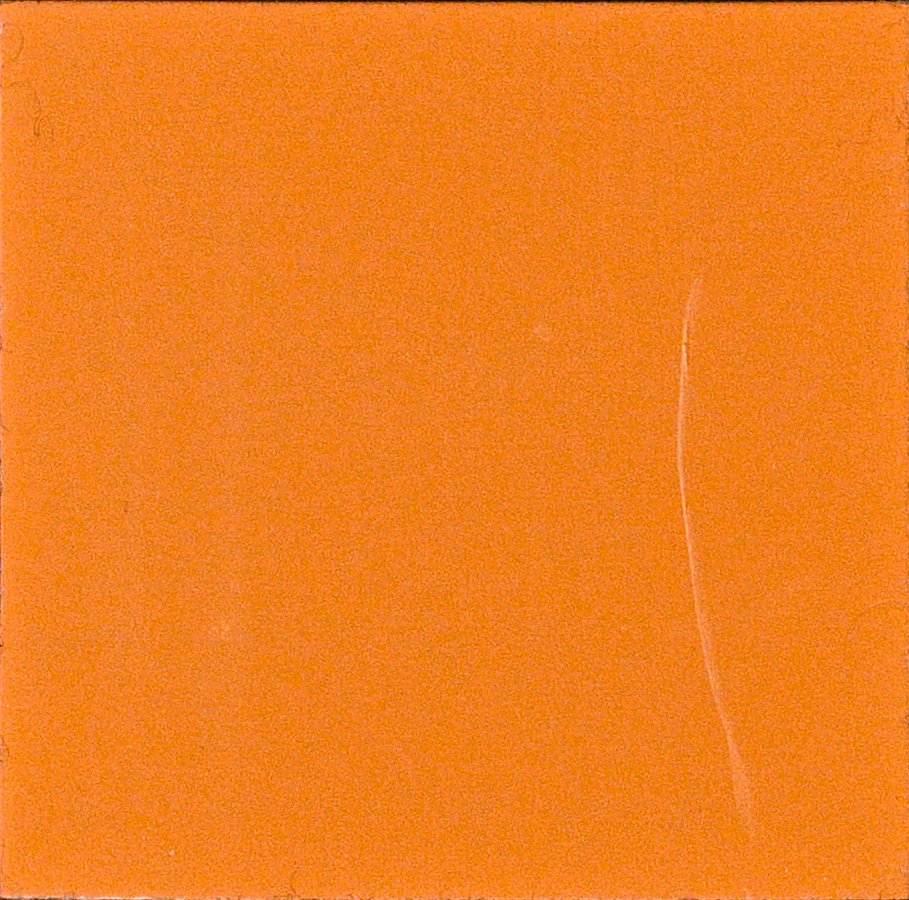
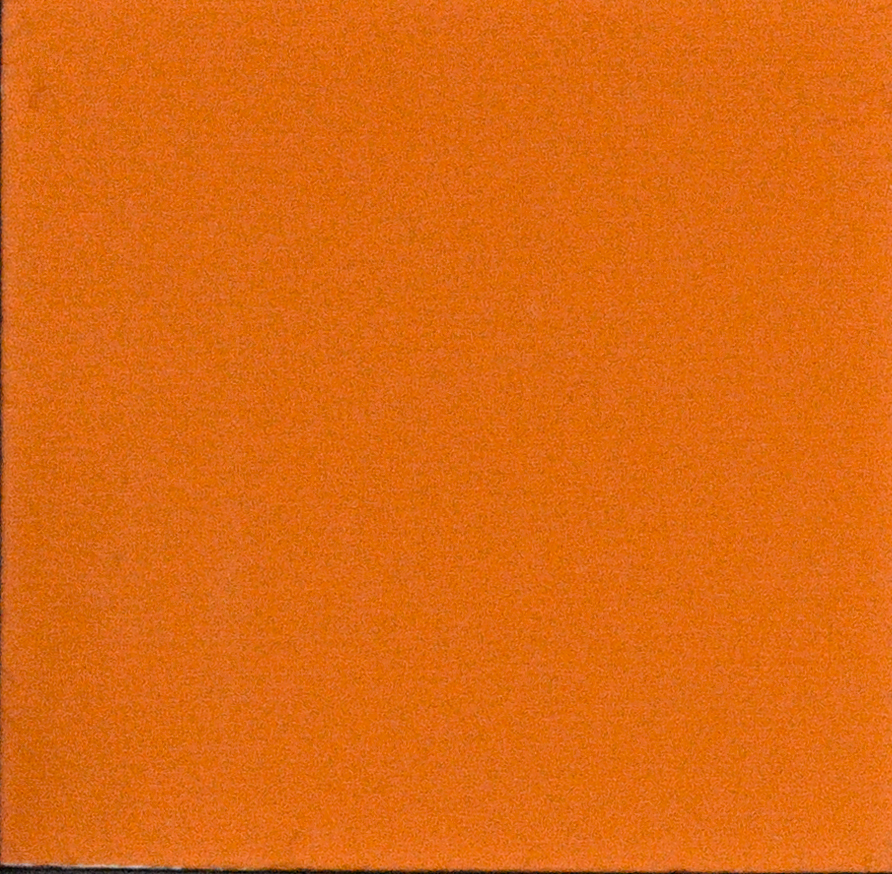
Nikon Z 7II:

Nikon Z 9:
I don’t measure noise, because i.m.o. all methods of quantizing noise lack a useful relation to the subjectively experienced noise. Instead, I just compare the results to those of other tested cameras and the reference camera visually. In this case, I just present you the results, so you can do the comparison yourself. But what I see, is that in most if not all patches noise is equal or even somewhat less than the Z 7II shows.
This is remarkable since in this test the Z 7 II even got about 0.25 stops more light. It’s very clear that there is no effect whatsoever of the stack and you can neither see any banding or other artifacts. For the results of the high ISO test, I also got comparable results. Comparing was done only at ISO 3200 and 6400, but in the light of the similarity, I would be utterly surprised if the Z 9 would do worse than the Z 7II at any ISO value. All pictures have been processed with the same Nikon NX Studio beta *and final 1.1.0 * version, without using any noise reduction.
The Z 9 uses a sensor that looks very similar to the one in the Z 7. That alone is a brave decision because up until now the top cameras for photojournalists from Nikon and others used special sensors tuned to high ISO performance. Personally, I’m very happy with that decision because the gains at very high ISO values were relatively small and the loss of dynamic range at low ISO was relatively large. It looks like the Z 9 sensor offers the best of both worlds – as did, in fact, the sensor of the Z 7 (II).
Compared to the latter, Nikon did add an extra stack, that does the processing for the autofocus. Some journalists think that this would go to the expense of dynamic range and performance at high ISO. So I was very much interested in doing a test of the dynamic range and high ISO performance. During the years I have made many tests of dynamic range and noise, so I could compare it to other cameras. Thankfully, I was able to us a beta version of Nikon NX Studio.
The procedure I use is simple but effective. I make a series of exposures starting from the right exposure measured with an incident light meter for the nominal ISO, using the test camera and normally one extra camera as a reference. I end up with a range from + 3.5 to – 5, mostly even to -6 or -7. Then I process the RAWs using exposure compensation (in extreme cases plus a curve) from maximum (mostly about plus 2.3) to approx. minus five, always taking care to process using middle grey to the same value. To find the top of the dynamic range, I just look for the exposure where the lightest patch of a MacBeth color card still isn’t completely overexposed, based on a standard picture control setting (gamma value). But to be sure I also check whether I can gain details by changing these settings. For the bottom (minus five stops), I compare the resulting noise visually with a set of already tested cameras and one known camera used in parallel, just to be sure. In my opinion, lifting shadows beyond the point of minus five is rarely if ever necessary or advisable (in such a case HDR or luminosity mask are a better solution). Of course, there will be recognizable details beyond this point, but in my opinion, they are not relevant, since you can’t use them in an acceptable photo.
Normally I use Adobe Camera RAW since this software offers the largest dynamic range. At this moment Adobe Camera Raw doesn’t yet support the Z 9, but Nikon NX Studio beta does and I just compared the results from the Z 7II with the Z 9, using Nikon NX Studio.
I don’t measure noise, since i.m.o. all methods of quantizing noise lack a useful relation to the subjectively experienced noise. I just compare the results to those of other tested cameras and the reference camera visually. In this case, I just present you the results, so you can do the comparison yourself. But what I see, is that in most if not all patches noise is equal or even somewhat less than the Z 7II shows. This is remarkable since in this test the Z 7 II even got about 0.25 stops more light. It’s very clear that there is no effect whatsoever of the stack and you can neither see any banding or other artifacts. For the results of the high ISO test, I also got comparable results. I tested only at ISO 3200 and 6400, but in the light of the similarity, I would be utterly surprised if the Z 9 would do worse than the Z 7II at any ISO value. In the pictures, you always see the Z 9 at the left and the Z 7 II at the right. All pictures have been processed with the same Nikon NX Studio beta version, without using any noise reduction.
All pictures are details from those two images below, and even they are cropped (they are about twice as wide). I had to choose very large details because with smaller details WordPress jpg-compression would have made it impossible to show the noise.
You’ll find the complete review on nikonzone.com.
If you have an interesting idea for a guest post, you can contact me here.