Wedding Photography on Mount Everest Base Camp by Jørn and Tora (Facebook | Website | Instagram, see also previous [NR] guest post):
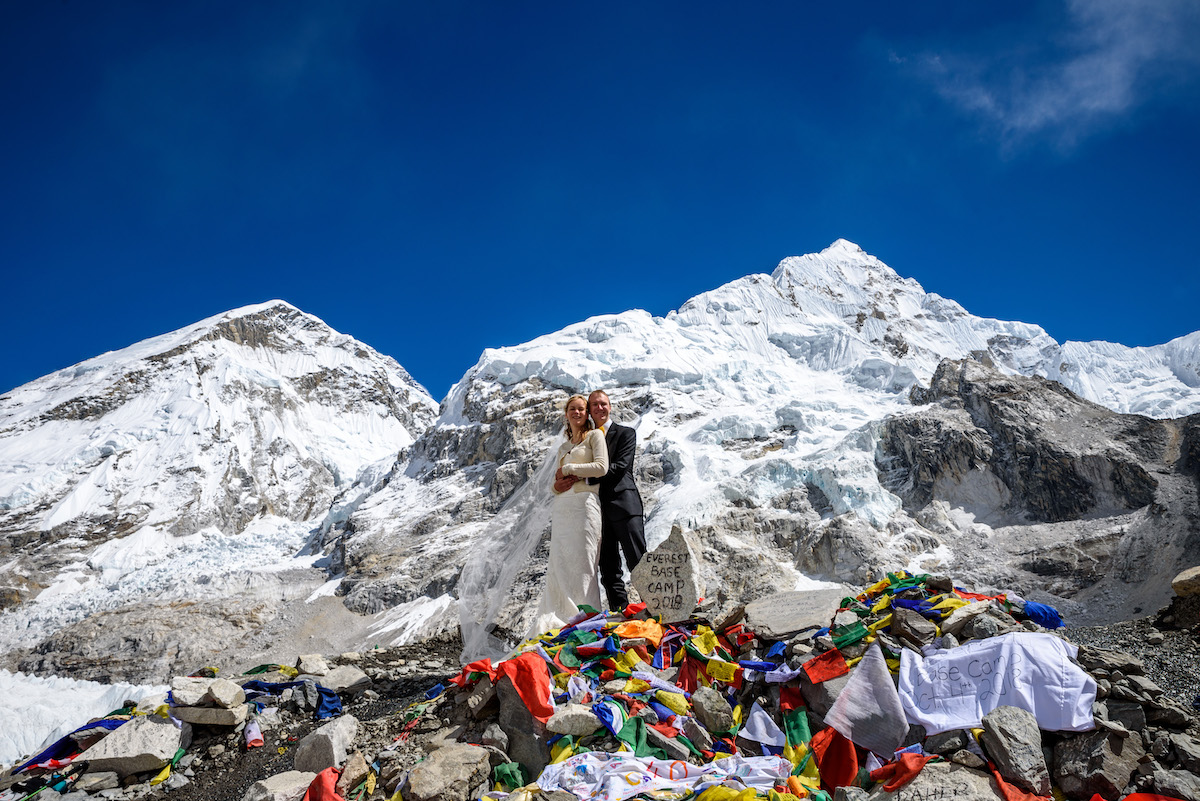
If you read any Norwegian newspapers some months ago you might have seen an article about a couple who got married on Mount Everest Base Camp. Well, that groom in the photo, that’s me. And this is the story of how I shot my wedding photos at 5364 meters above sea level.
Believe it or not, but there are actually wedding photographers specialising in shoots like these. However, such services come with a five-digit $ number, way above our budget. Therefore my soon-to-be wife and I embarked on what most wedding photographers would probably advise you never to do: shoot your own wedding photos. Especially when you are not even a professional photographer.
That being said, credit where credit’s due: Although some photos where shot on a tripod by me, we also got help by our friend Beth Rudd for the other ones, more about that further down.
If you want to read more about how on earth we ended up in a wedding dress and tuxedo at Mount Everest Base Camp we have written about this on our travel blog here and videos documenting the journey here. But as this is a photography site I’ll dive into the practicalities of photographing in such a remote and hostile environment.
We were limited to 15 kg per person for the trek (airline restrictions flying into Lukla, known as the most dangerous airport in the world). This had to include clothing, camera gear and everything else, so weight and thus gear were very limited.
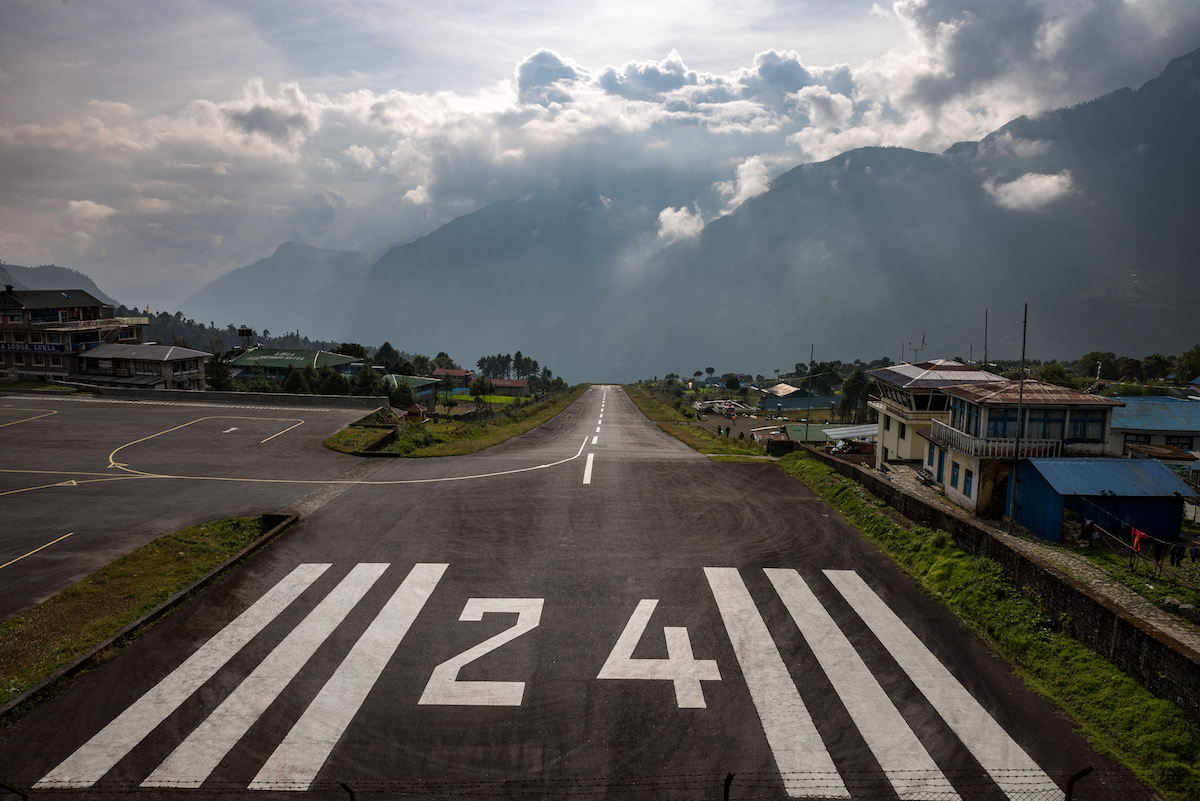
The dangers of the airport in Lukla is unfortunately not an exaggeration. A bit over a year before we went there a fatal accident happened. When we traveled back home bad weather caused the airport to shut down and we had to leave using a helicopter. Six months later another fatal accident happened. It involved the very same helicopter we flew with and three people lost their lives.
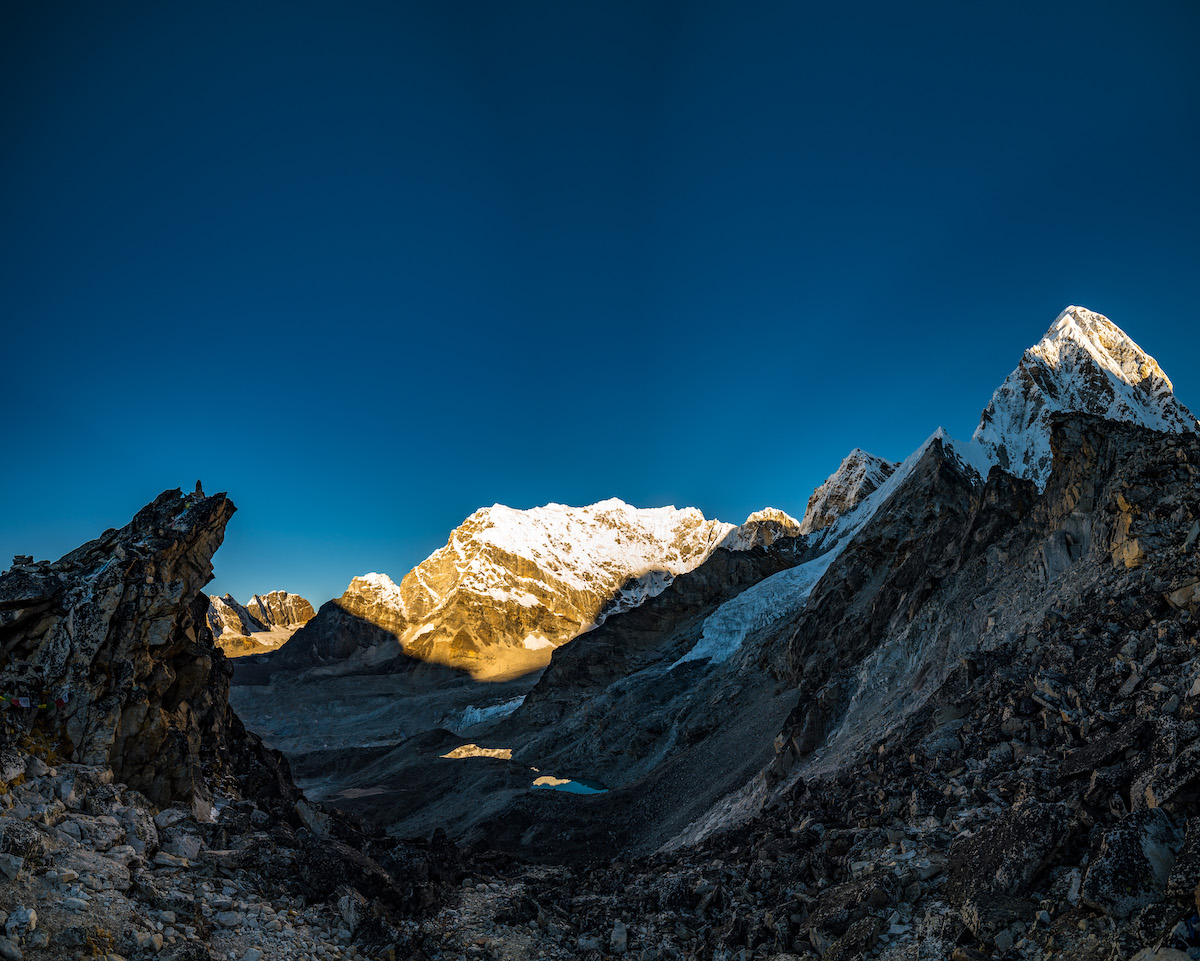
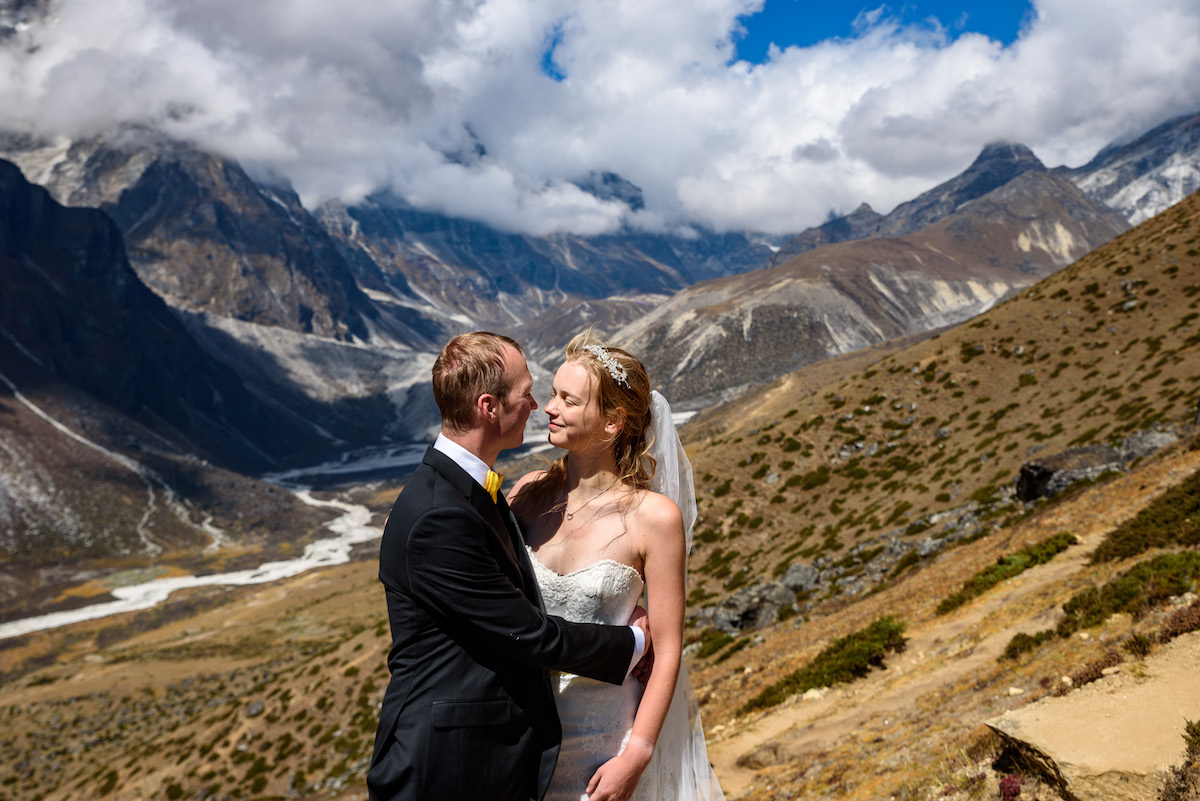
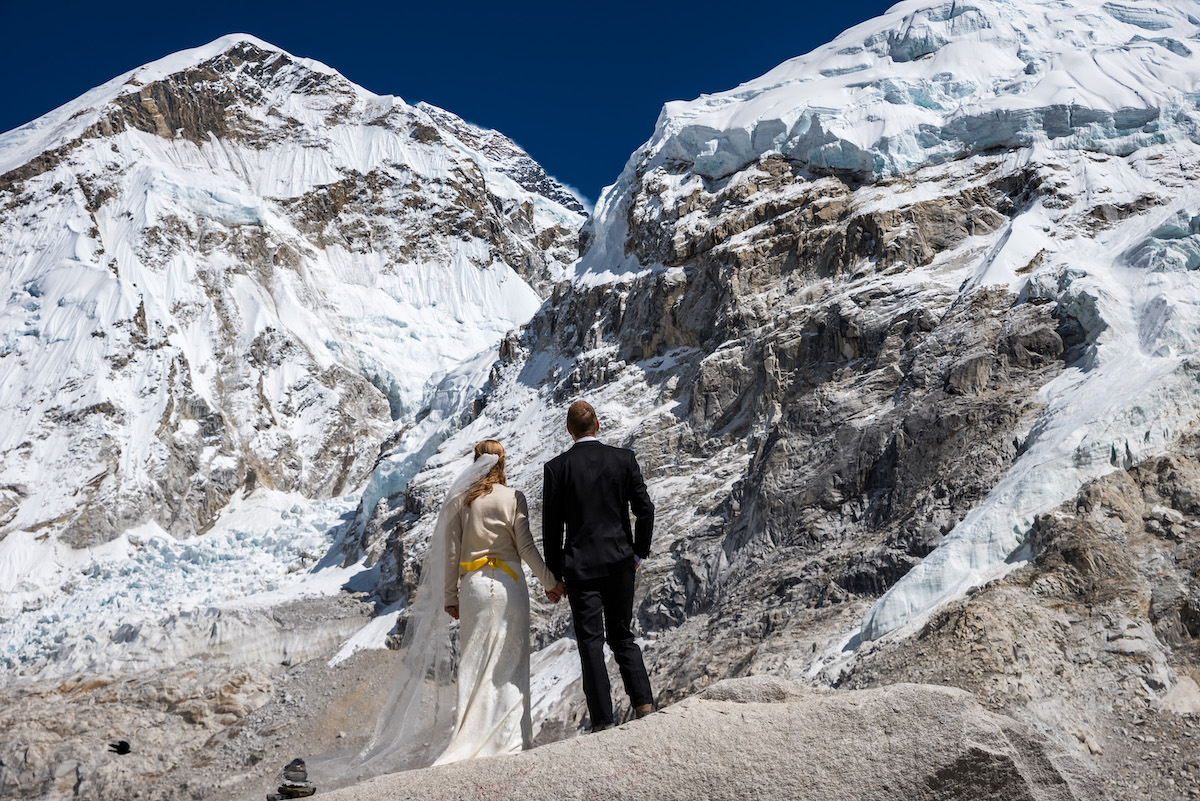
The landscape in the Himalayas is stunning, but also challenging. This photo was taken at about 5600 meters, about the maximum altitude for rescue helicopters to take off and land, and just above the altitude where humans can live permanently.
While many photographers shoot between 50 and 200 mm at large apertures for weddings I went in a completely different direction due to the importance of the background. If we blurred out the background we might as well have shot it in our back yard! Therefore the lens selection became a Samyang 14 mm f/2.8 and Tamron 24-70 mm f/2.8. I could not afford the weight of duplication of lenses for backup purposes, so to compensate I also threw in a Nikon 50 mm f/1.4G. It is super light and did not make much of a difference weight wise. The Nikon 14-24 mm f/2.8 was also considered, but it is so much heavier than the Samyang that we decided to go for the light option.
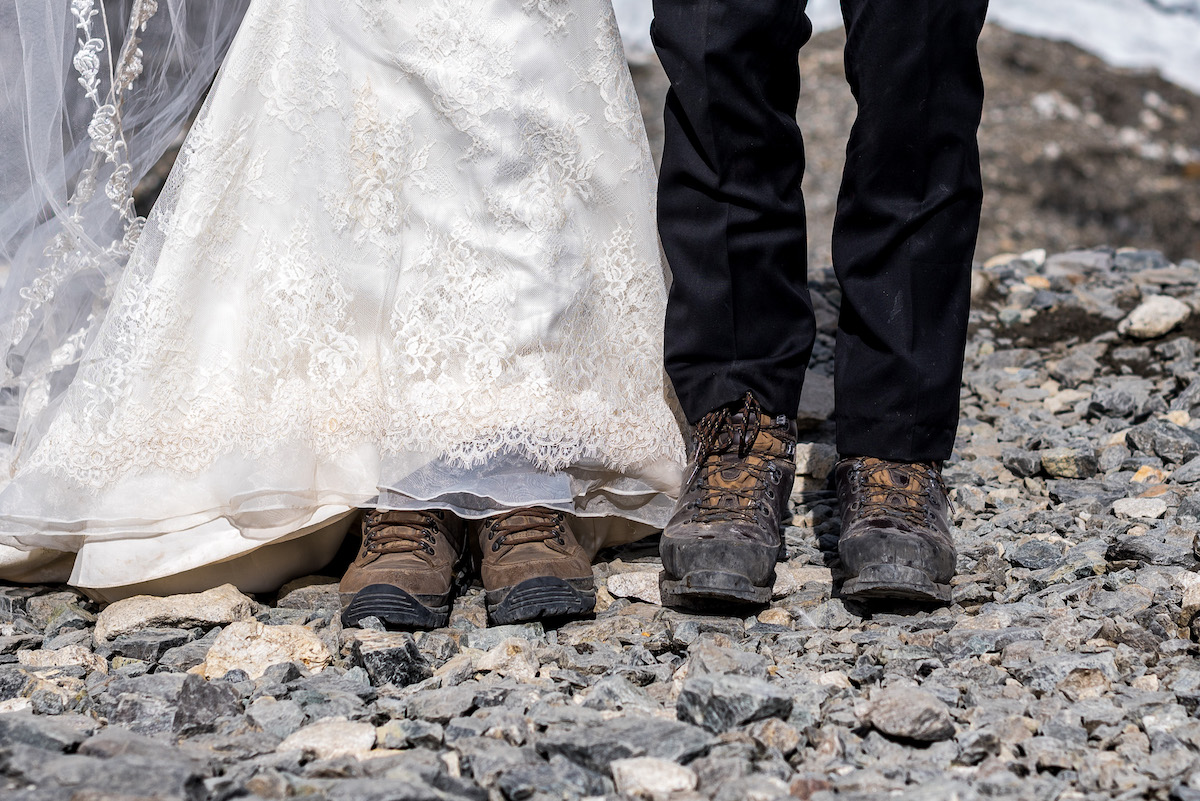
Photographer: Beth Rudd
The 50 mm lens was useful for more up-close details to highlight the abnormal wedding footwear.
For camera bodies, I already had a Nikon D750 that I trust and like, so that became the main camera. The D810 and D850 were also considered, but I ended up with the D750 for backup purposes and because of my experience with it: Reliability trumps image quality ten times over when you are in such a hostile environment as the Himalayas and while the D810 and D850 have better weather sealing and build quality the D750 was the one I knew inside-out and had tested in all kinds of harsh environments. Only bringing one camera would still be a risk, so I bought a second D750 as a backup body, and it allowed me to use different lenses without having to expose the sensor. That was a wise decision for two reasons: The Himalayas are incredibly dusty and we did partially break one camera.
Last I also brought two GoPro 5 Blacks for B-roll and various quick video moments. And a lot of batteries. 10 EN-EL15 and 8 GoPro batteries for being exact. Plus 26 memory cards and a 20 Ah power bank.
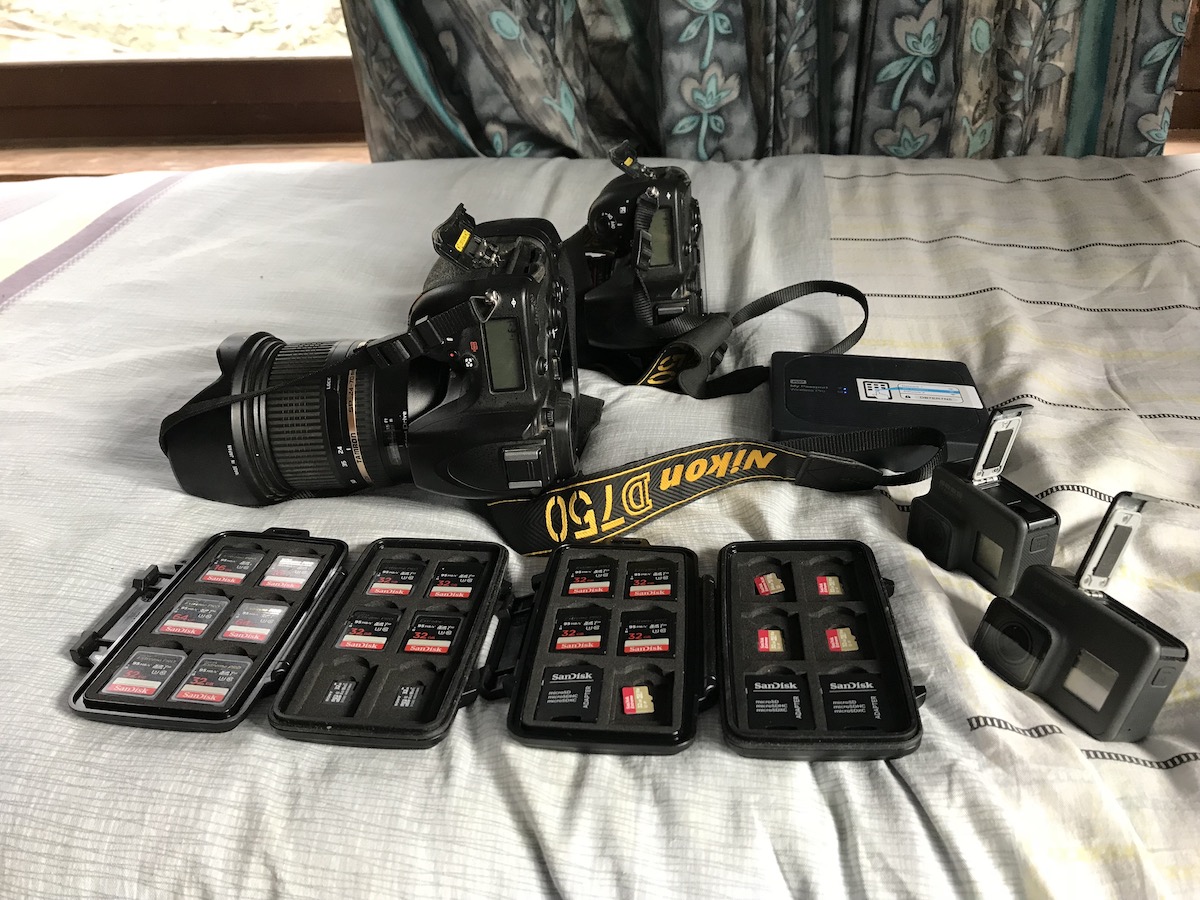
Two DSLRs, two GoPros and a whole lot of memory cards
The last three key parts of the photography kit was a dust blower (lifesaver!), a Sirui carbon fiber tripod and a WD My Passport Wireless Pro backup hard drive.
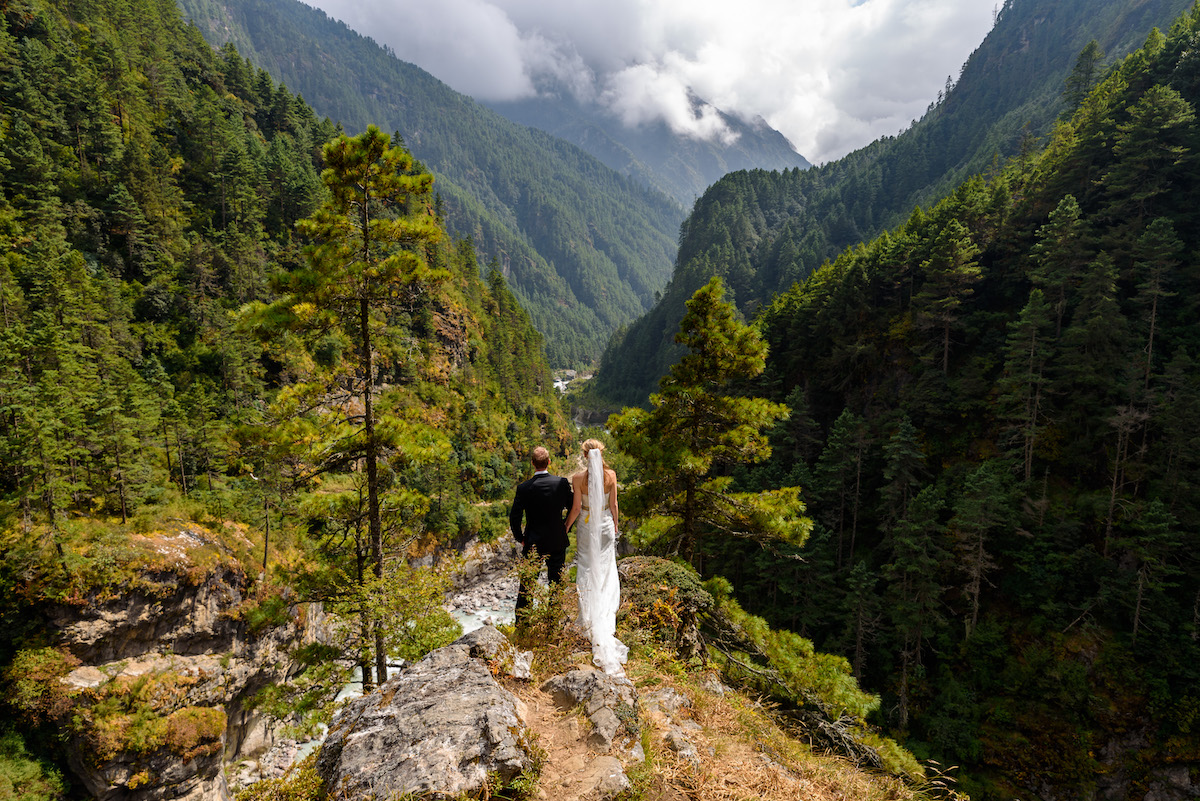
The hike itself was 130 km return trip and we stopped a few times along the way to shoot some photos, both for the variety of scenery and to ensure some photos in case altitude sickness got the better of us before we reached base camp.
Photographer: Beth Rudd
Showers are few and far between in the Himalayas. This was our first photo in wedding attire taken at about 4200 meters above sea level, after several days of hiking without showing. So happy that cameras don’t capture smell!
Photographer: Beth Rudd
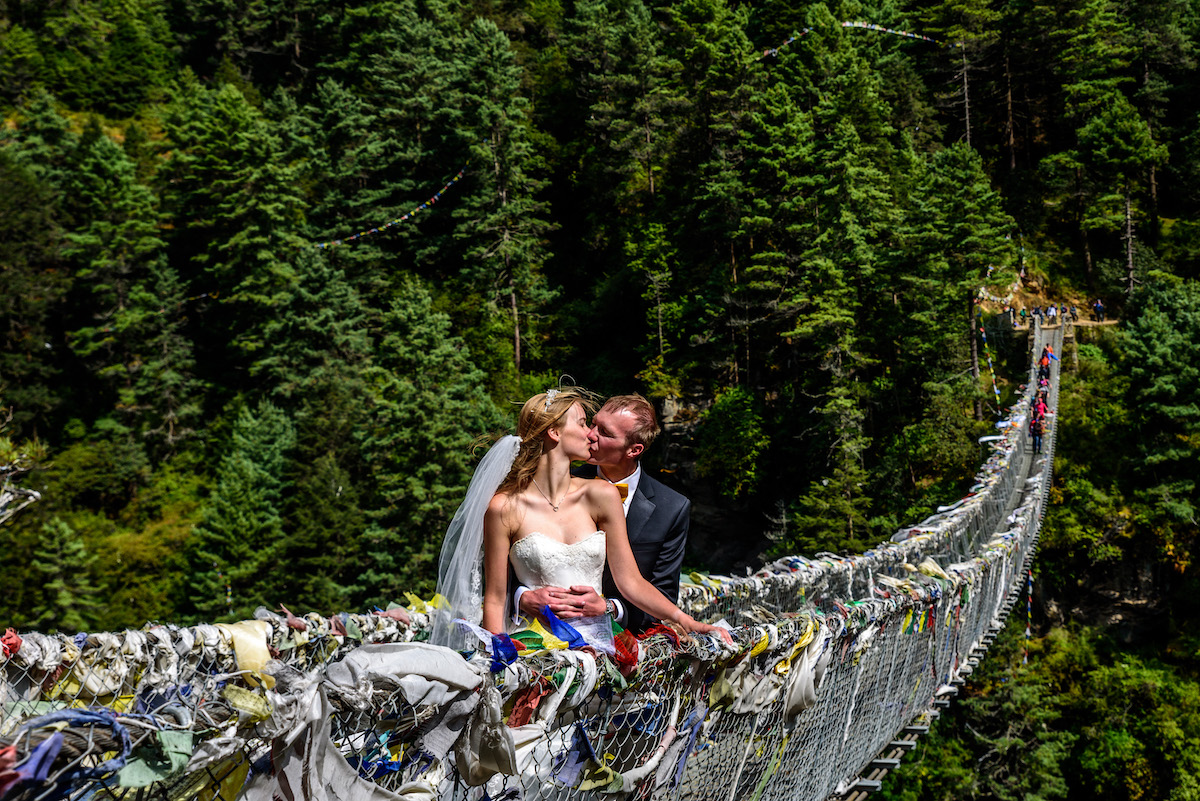
Suspension bridges make great photo opportunities. Oh, and we got just a tiny bit of attention for walking around the Everest Base Camp Trek in a wedding dress and tux.
Photographer: Beth Rudd
Thankfully we made it all the way to Base Camp. A minor altitude-related hallucination and altitude sickness at 4900 meters got us worried, but it all passed and we were able to make it to get the photos we needed.
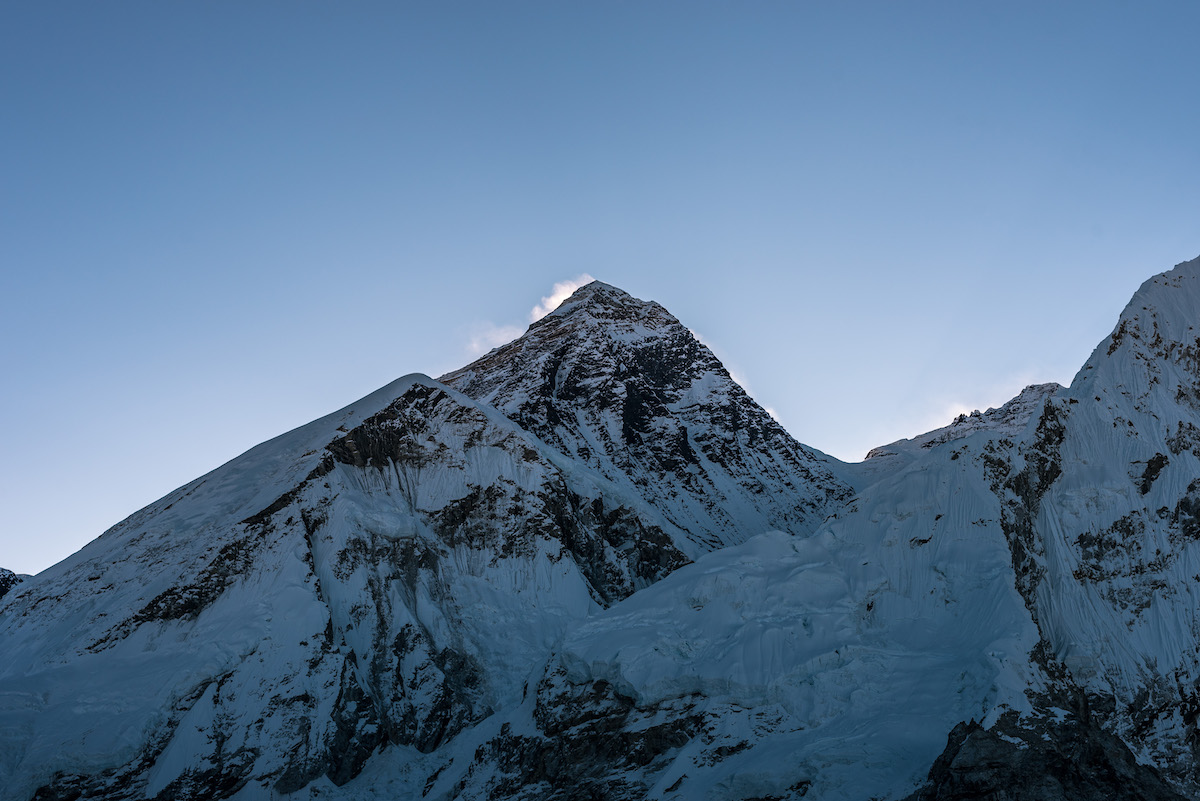
Looking at Everest and thinking “That’s the tallest point in the entire world”. This particular photo is taken about 9 km from the summit.
Some of the photos were shot on a tripod. I would set up the camera, use the self-timer, pose my wife and run into the framing myself. To save time I sometimes set the number of photos to 9 and 5 seconds between each shot, allowing a few different poses and limiting the number of times I had to run back and forth to the camera. Although it worked well it was obviously not the fastest way of shooting.
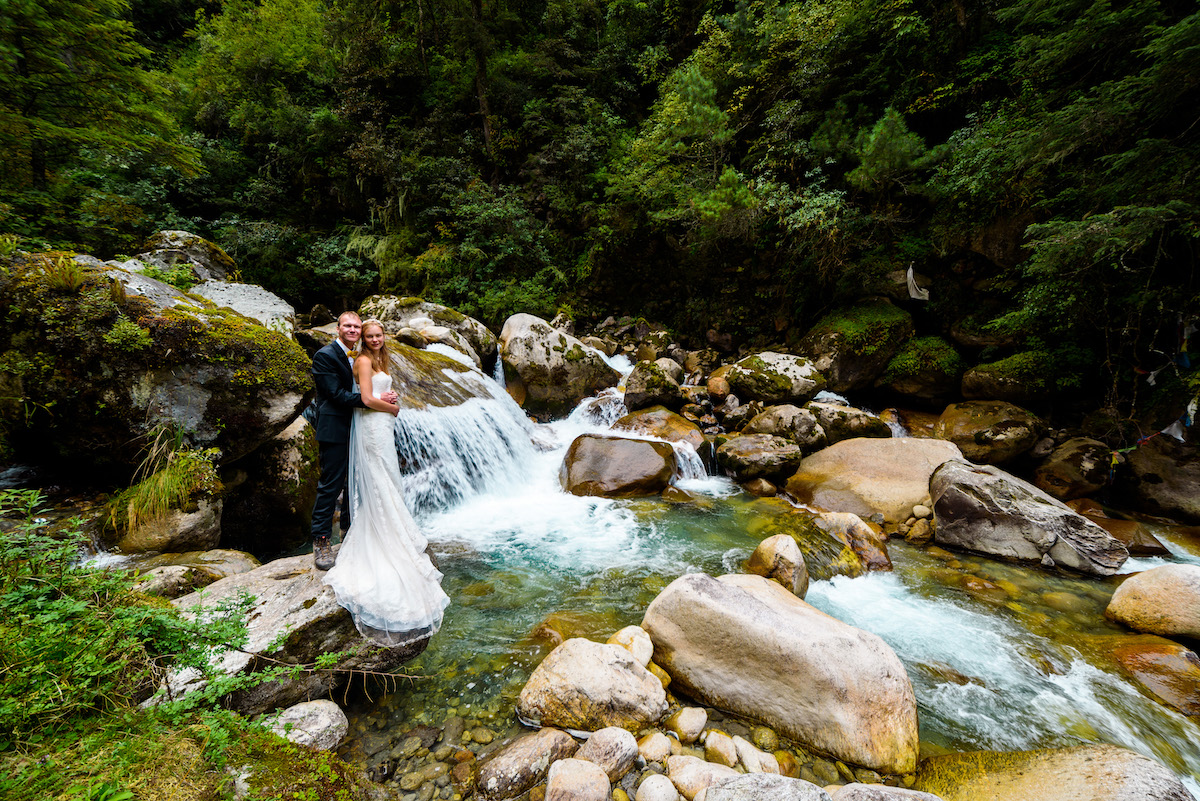
On our way down again we stopped at a waterfall and shot this using a tripod and self-timer.
It was hard to get some distance between the camera and the waterfall and I had to go wide-angle. While the perspective distortion isn’t exactly flattering we surely loved the scenery.
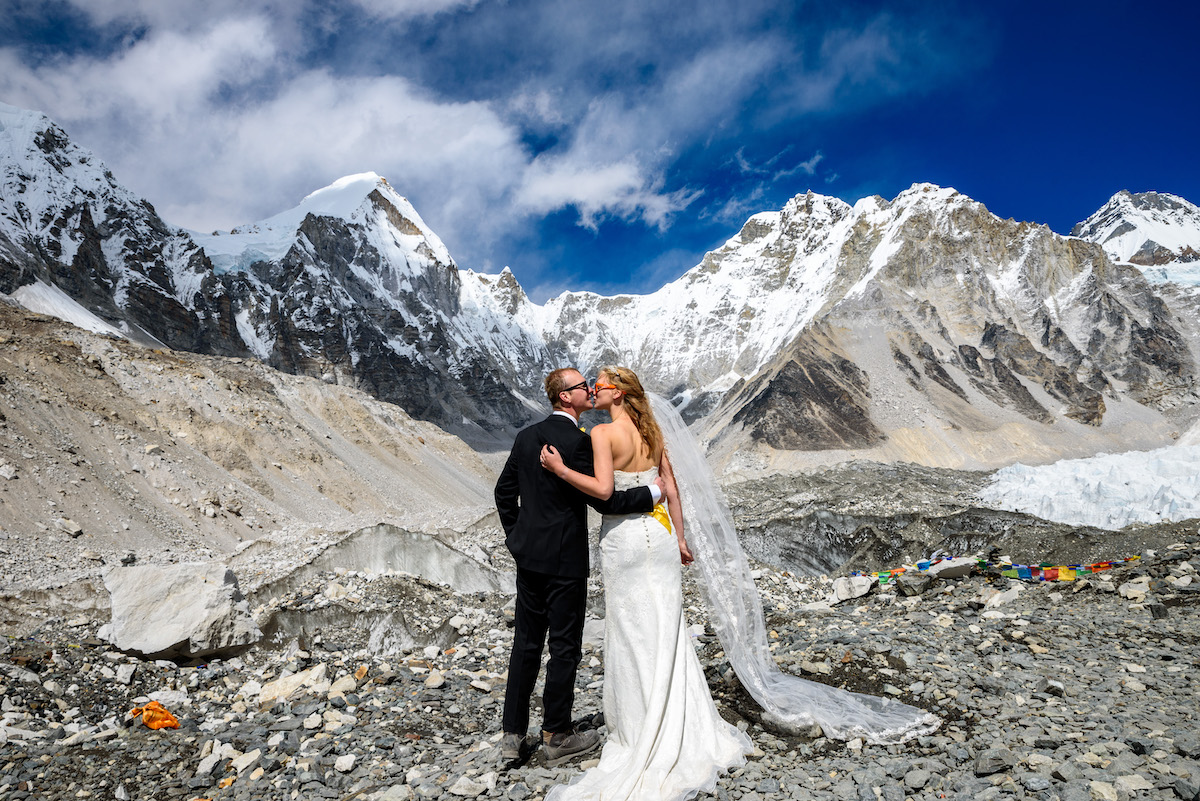
For the wedding itself, I got help from a friend of mine, Beth. She did not have any particular photography experience, but I gave her a quick introduction to the camera and what to look for. I also configured the camera to triple-exposure bracketing with a one-stop difference for each exposure and continuous shooting. This way the risk of under or overexposing the shots got reduced without having to give an in-depth lesson in histogram and exposure bias. As there was plenty of light at Everest Base Camp I could set the camera to aperture priority and f5.6-f8, ensuring both a large depth of field and sufficient shutter speed at base ISO. And Beth was a quick learner, that really made the biggest difference!
Photographer: Beth Rudd
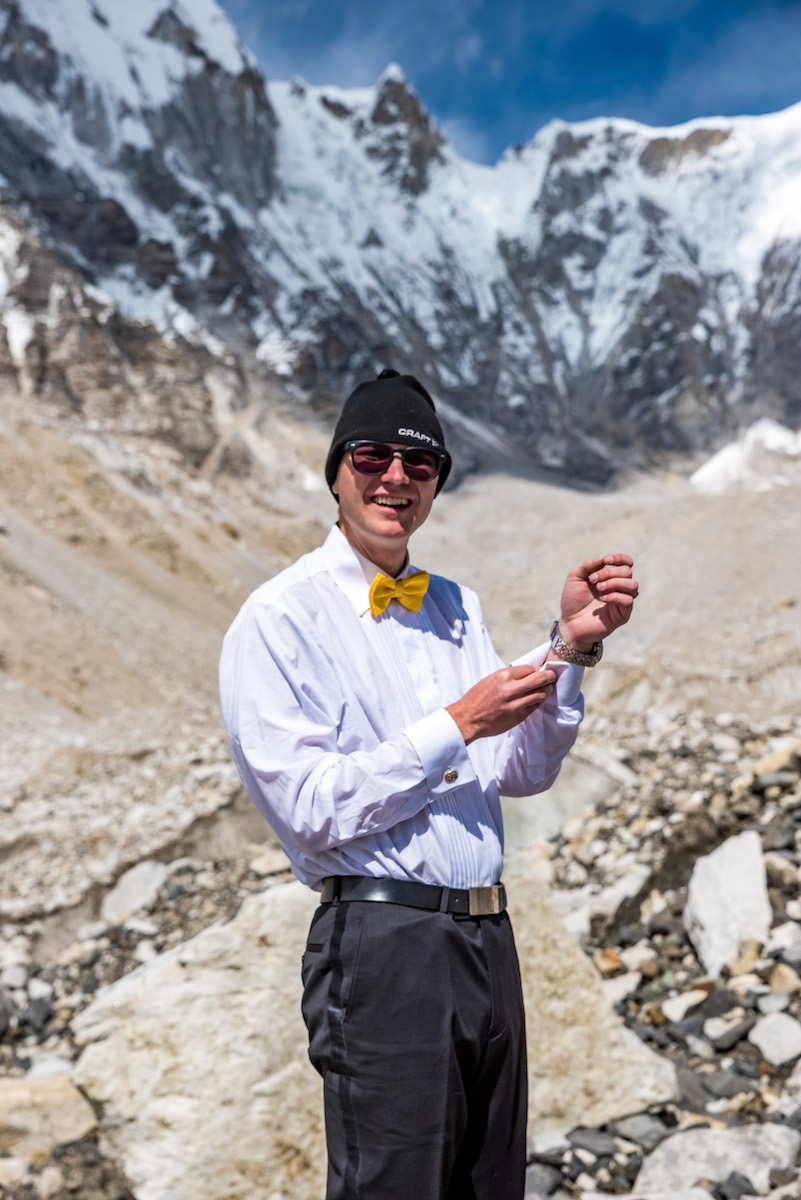
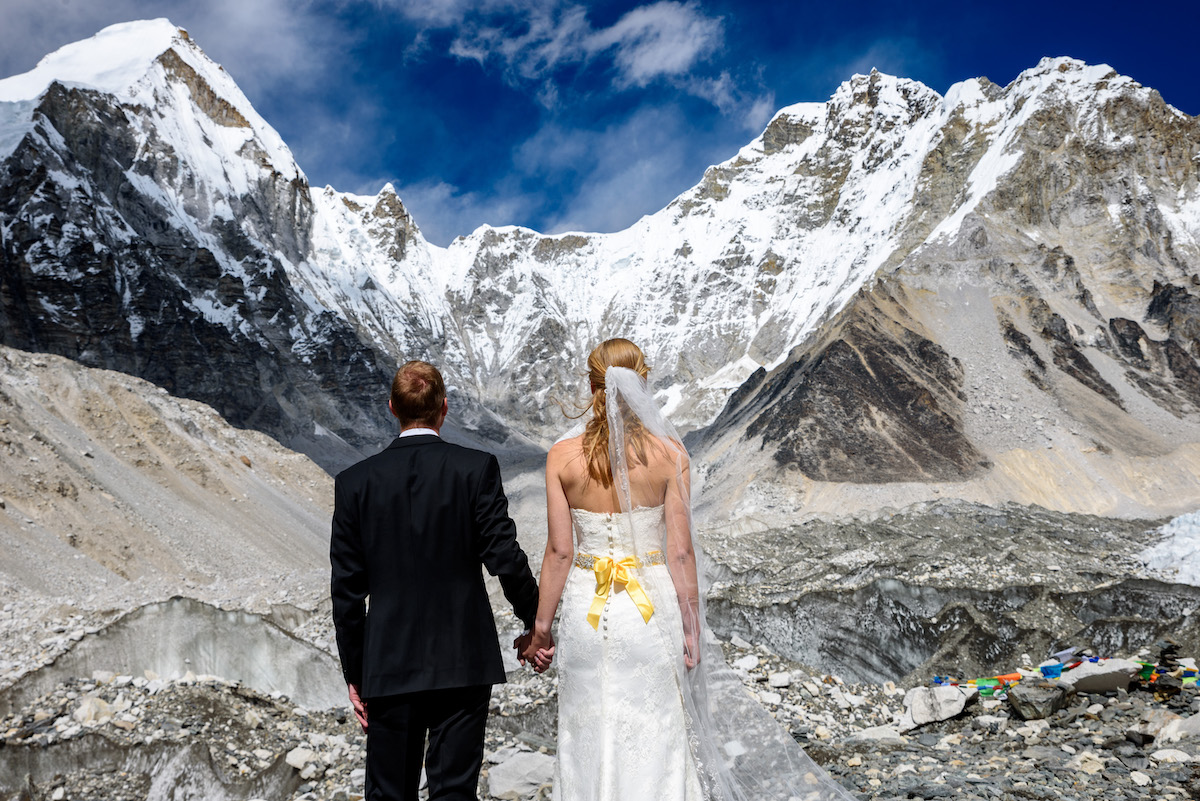
Want to get married at Everest Base Camp? Better not be shy, because there’s nowhere to hide to change your clothes.
Photographer: Beth Rudd
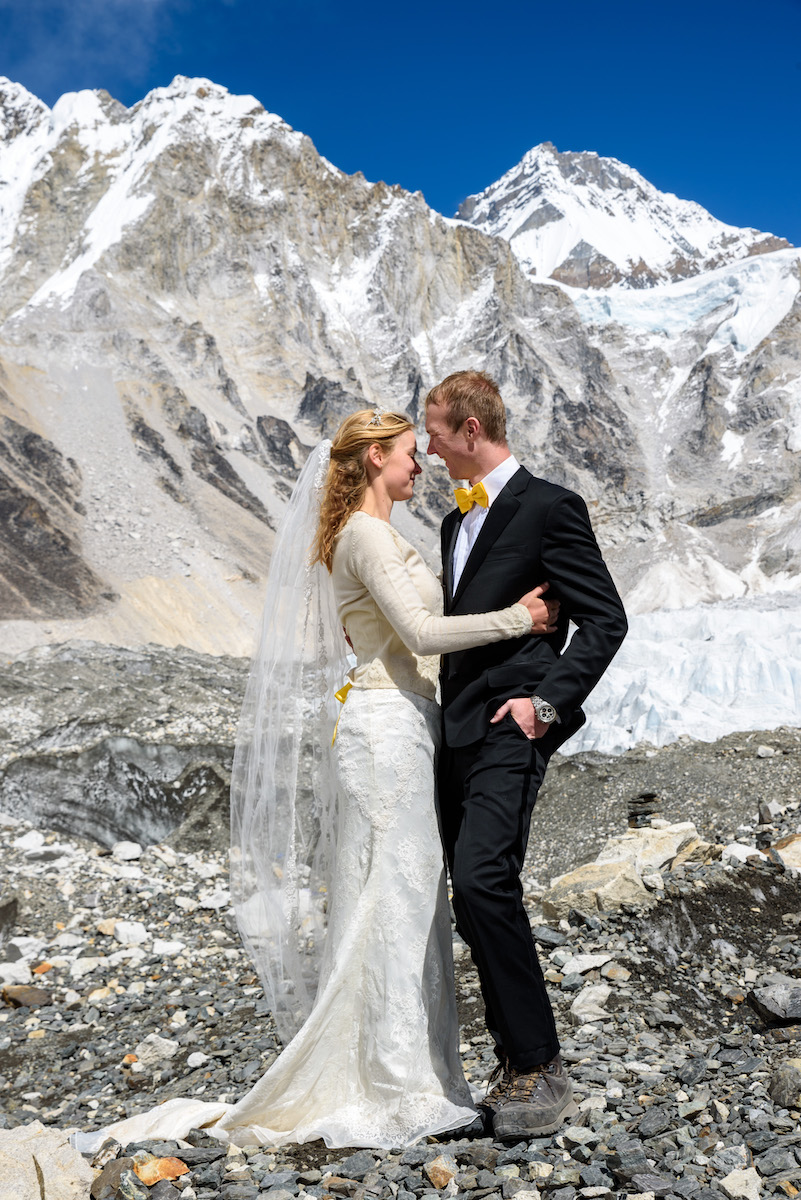
The temperature was between 0 and 10 ºC during the daytime. Luckily the sun made it manageable as our wedding attire was made for anything but high altitude trekking activities.
Photographer: Beth Rudd
As mentioned above getting the shot was way more important than getting the ultimate image quality. The D750 was therefore, the clear winner for me, thanks to its dual SD card slot. I’m not going to start the whole 1 vs 2 card slots discussion now, but I do want to highlight the benefit of a dual SD card slot. The WD backup disk has a built-in SD card reader, allowing me to backup photos on the fly without electricity, a laptop or anything else. If I brought a D810 or D850 I would have to rely on either the single SD card to backup or bring an XQD/CF card reader, adding to the complexity of the backup system.
Photographer: Beth Rudd
For some reason Nikon only writes video to one memory card as well, meaning that one memory card would fill up faster than the other one, even when set to back up to the second memory card. Since I only had SD cards to worry about that was no problem as they would fit into both card slots, but it could have been an issue with mixed slots if I ran out of XQD/CF cards before SD and would only be able to shoot to one card for the last photos. Not to mention the insane cost saving of buying high-quality medium speed (UHS I) SD cards rather than XQD cards. There certainly is no one right way of choosing memory cards, but I hope this provides a bit of insight into why I prefer dual SD cards over XQD/CF and SD combo.
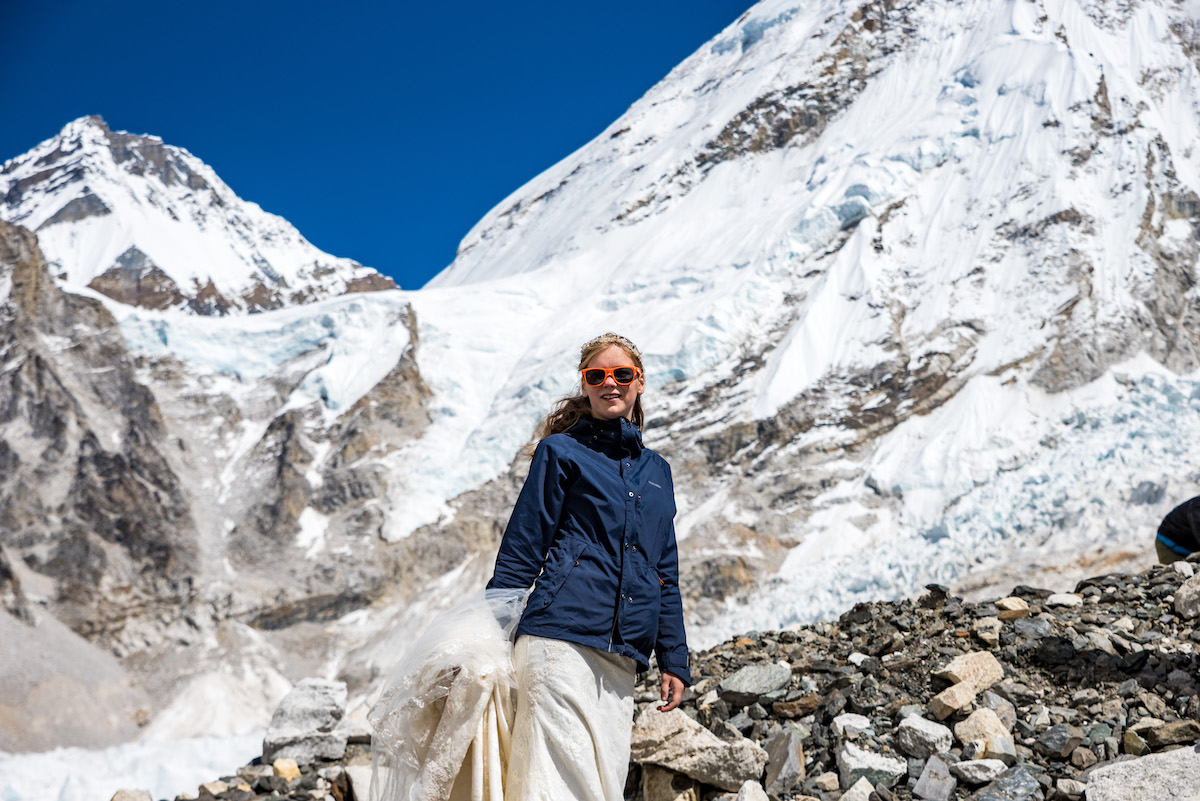
Photographer: Beth Rudd
Shot with a Nikon D750 and Tamron 24-70mm f/2.8.
I also tried to shoot some night photos. Unfortunately, the weather was not on our side and the clouds came rolling in earlier than expected. Therefore we only got two single exposure ISO 12800 test photos that ended up being quite blurry. I feel like including it anyway, as I think it looks rather well on a mobile phone (how many readers probably are viewing this anyway). Just don’t zoom in on a computer. Blur and noise will haunt you forever.
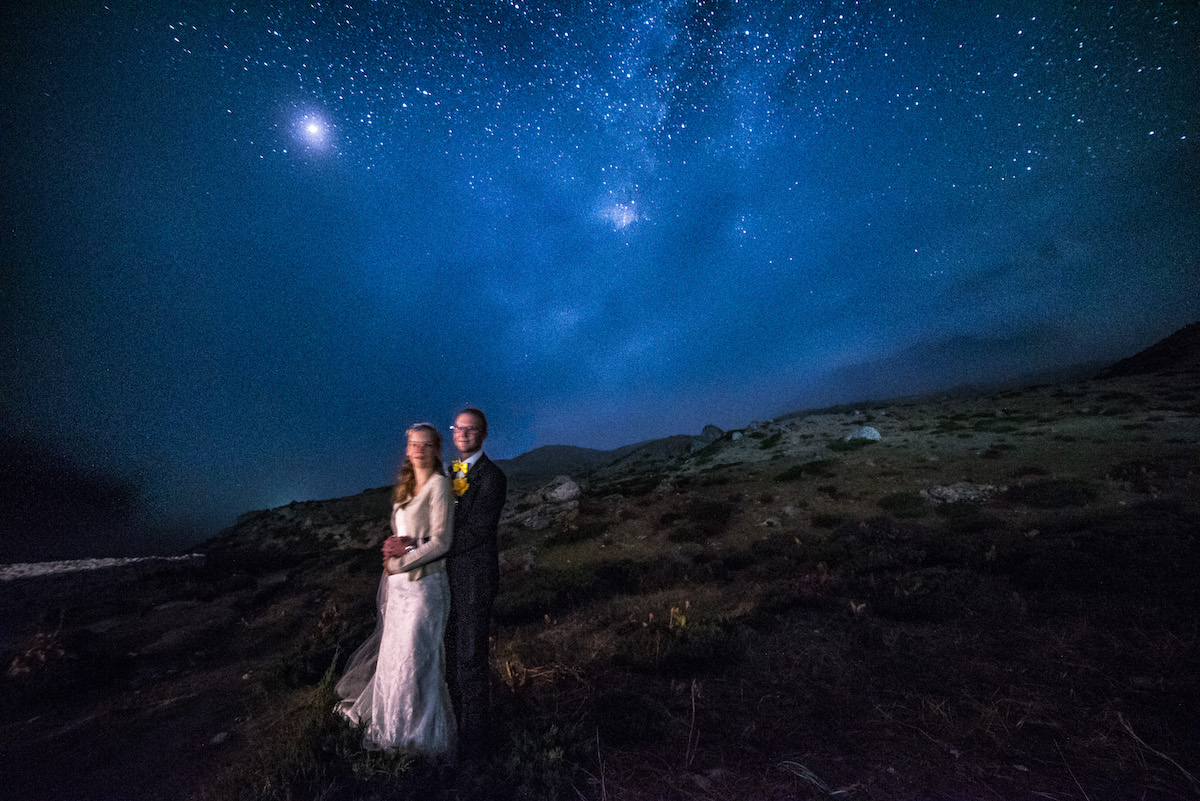
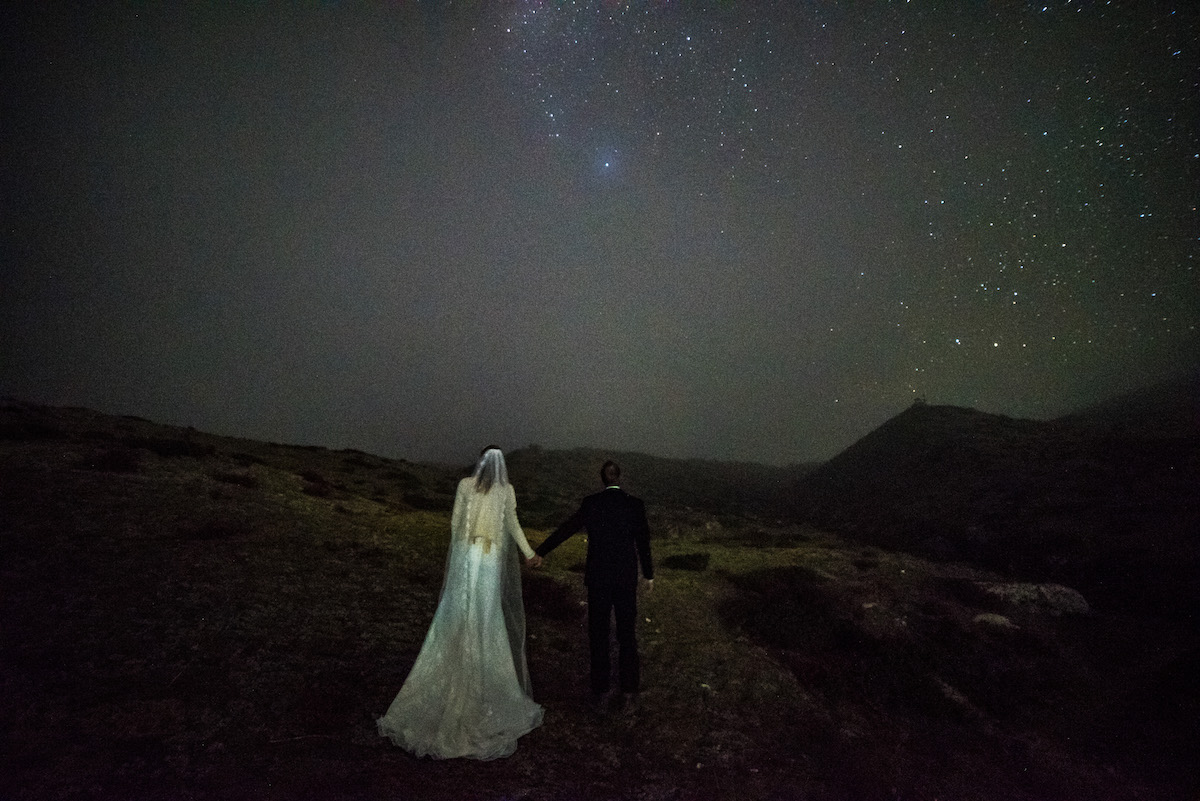
The tripod again became useful and Beth came to the rescue to help us. Unfortunately so did the clouds and took away our starry night before we could get any decent photos.
A few nights later I was able to take some better astrophotos, but it was late in the evening and we needed sleep, so no wedding photos this time. Nonetheless, what a stunning place for astrophotography!

Light pollution in the Himalayas is more or less non-existent. Using the Samyang 14mm f/2.8, one of my favorite astrophotography lenses.
That is essentially the geeky photography story of how I shot my own wedding at Mount Everest Base Camp. Now, these photos are far from perfect, but I’m quite proud of this, especially with the setting of the photos in mind: an amateur bimbling up a 5364 meter hill to take some nice family photos.
If you want to see more about our Everest adventure we have a YouTube playlist of the entire trip here. Photos are also available on our Instagram and all of our travel stories are published on our travel blog.
If you have an interesting idea for a guest post, you can contact me here.