Taking my Nikon gear on a Back Garden Safari by Richard Peters (website | Facebook | Twitter | Instagram | ebook):
You don’t have to travel to the far corners of the globe to take beautiful and creative wildlife photography. Nor do you need to photograph exotic animals. With recent wins in the two biggest wildlife competitions in the world to prove it, Richard Peters explains how.
Over the last year I have been busy working on a project in my back garden, with the desire to show those who are interested in wildlife photography, you can build a good body or work, improve your own ability and develop your creativity without having a huge budget and huge amounts of free time. Interesting wildlife images can be taken anywhere there is wildlife, and that most certainly includes working from the comfort of your own home, regardless of the kit you own. As with wildlife photography in general, you just need to put a little time in to find out what’s visiting and then decide how best to capture it on camera.
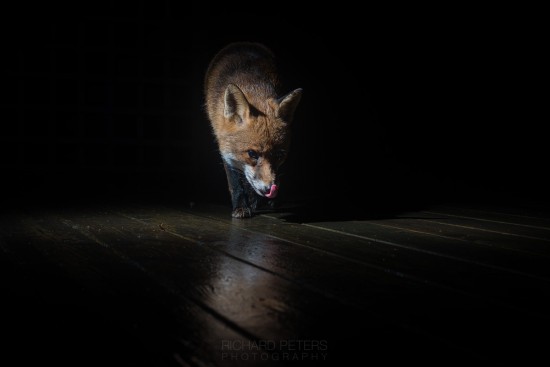
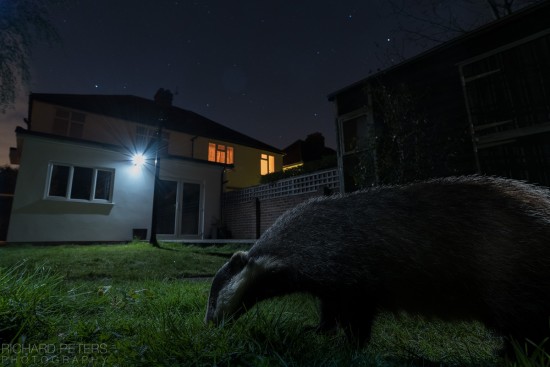
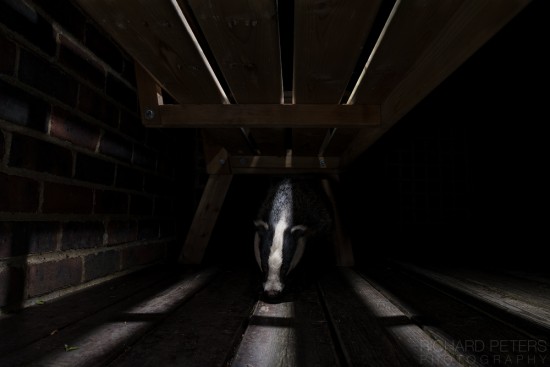
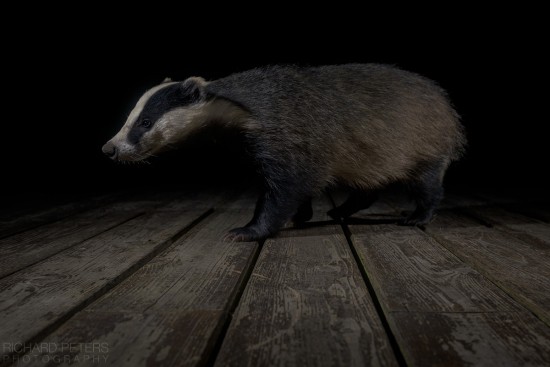
For me, I was inspired initially by a sighting of a fox in my neighbours garden. I spent a couple of months trying to capture a single decent daylight image, by laying at the back kitchen door, evening after evening. My efforts were rewarded with one single decent daylight image. Then the foxes stopped coming in the daylight, so I started to using a trail camera to monitor their nocturnal activity. That led me to discover I had badgers visiting too! From there the entire project took on a life of it’s own and evolved into something far bigger than I could have ever predicted, pushing me completely out of my comfort zone both in respects to my normal telephoto style of working and technical knowledge. Very quickly I had to delve in to the realms of flash photography, followed by camera trapping. Learning these new techniques proved to be highly rewarding, if not also hugely frustrating at times!
Kit wise, I’ve used several Nikon DSLR’s, ranging from entry level to top end:
- D3200
- D5500
- D750
- D810
- D4
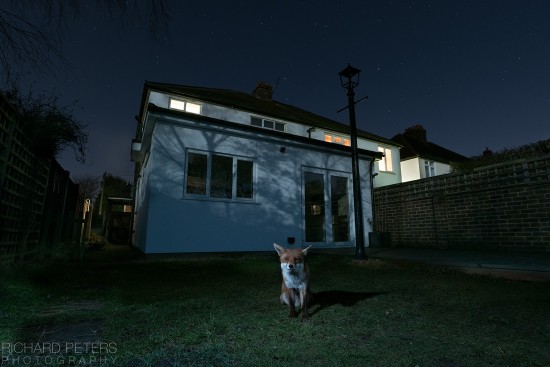
All have all helped me produce images at various stages of the project. The D810 has remained my main workhorse however, even at night, as most of my images don’t require going above ISO 1600 so it’s proven more than capable. I could have switched to the D4 for the ISO performance, but higher resolution was more important than potential lower noise. I find the noise debate in general to be greatly over dramatised, especially with Lightroom CC doing such a good job at removing it, should that be required. It’s personal preference but when I’m combining low ambient and flash light together, with certain shots I often like a little grain as it helps the images feel authentic to the time of day captured.
On the lens side of things, again a range of Nikon glass has been used, but with one or two being the main go-to lenses:
- 50mm 1.4
- 18-35G,
- 16-80 DX
- 300 PF
- 400E FL
- 600 VR
Of all those though, it’s been the two cheaper lenses that have spent most of the the time on my bodies, with the 18-35G being the single most used lens for the project.
In order for me to progress with the project I had to learn how to use flash which was something I had not really dabbled with before. I had an old SB800 that I picked up back when they first came out many years ago, but I never really used it. That was a real learning curve initially but, over time, I then added a further six Nikon flashguns in the shape of the SB-28. It’s very old, but with only manual controls required, they proved the perfect cheap option thanks to eBay. I also dabbled with Nikon’s CLS system for wireless flash control, before moving to PocketWizards, then various wired cable solution before eventually arriving back at a wireless flash solution from Camtraptions. The advantage of wireless flash, is the freedom it gives you with placement of the lights whilst removing the need to tuck wires out the way, all over the garden.
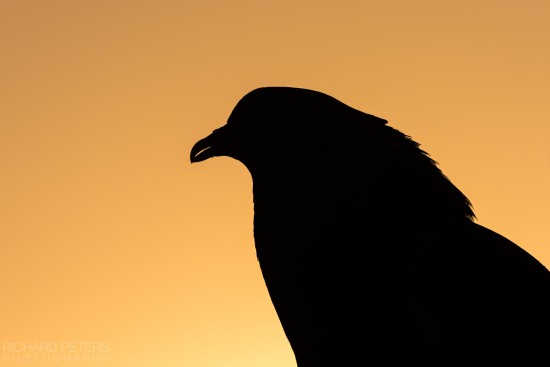
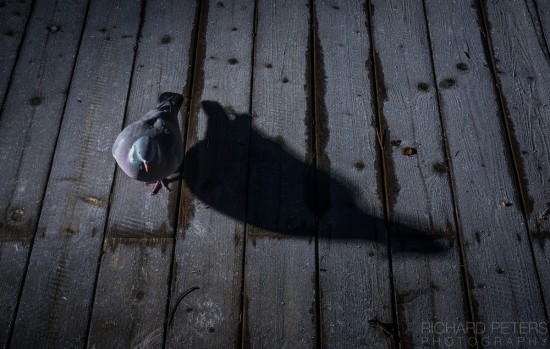
I do take more traditional photos in the garden too, although daytime visitors are mostly restricted to a couple of wood pigeons that live in a nearby tree. We seem to have a high number of cats in our area and I think that keeps the smaller birds away. But even those pigeons are fun to photograph in the right light, and that’s something that should always be accounted for with wildlife photography – that the light, and knowing how to work with it, is more important than the subject.
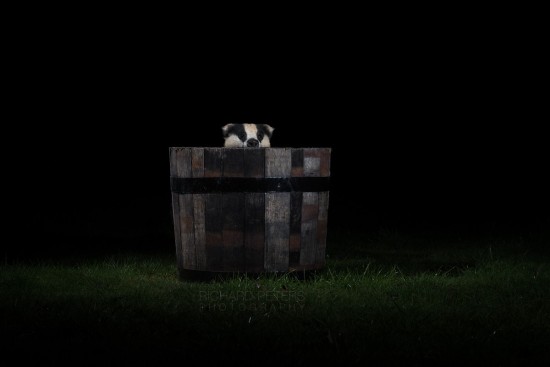
With that said, it’s certainly been camera trapping that I have found most inspiring. Alongside their flashgun triggers, I also extensively use a Camtraptions PIR sensor. This allows me to set the camera up, then leave it to do it’s thing day or night whilst I carry on with other projects elsewhere or, sleep!
Working with camera traps isn’t quite as daunting as it first appears, and once I battled through what appeared to be initial complications, a beautiful simplicity revealed itself. In it’s most fundamental use, a camera trap is a easy as framing the image, placing the motion sensor in the required spot and then adjusting the flashgun output to light the scene as required. It’s important to mention however, that care should always be taken when working with flash and wildlife. Every species, individual animal and scenario is different, so absolute care should be taken. As an example, I rarely set my flash output to more than 1/4 of power, and in most applications, use around 1/16 and sometimes as low as 1/64. To enable this low output, I increase the camera’s sensitivity to the light by opening up the aperture or increasing the ISO.
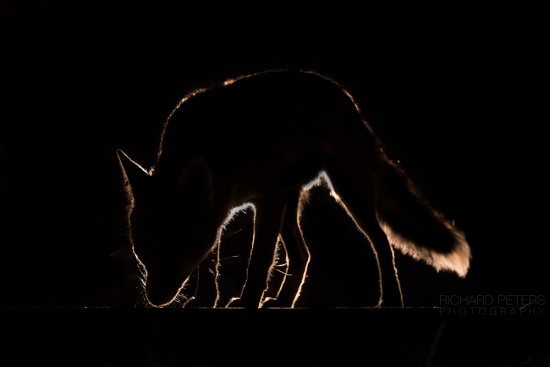
Over the months that followed, I’ve spent a great deal of time experimenting with different lighting setups and ways in which to balance artificial and ambient light. Some images I’ve managed to capture on the first night of trying whilst others were months in the making between initial idea and finally capturing the image as imagined. Even now, I have a few ideas that I’ve been working on for longer than that, that I still haven’t managed to perfect.
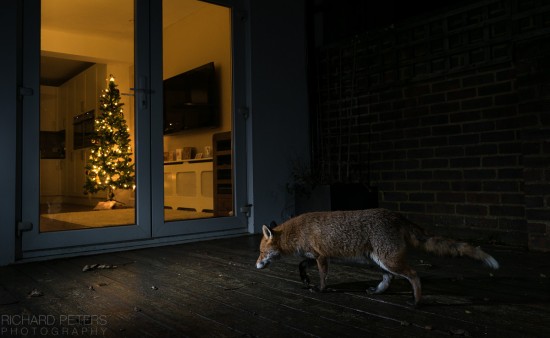
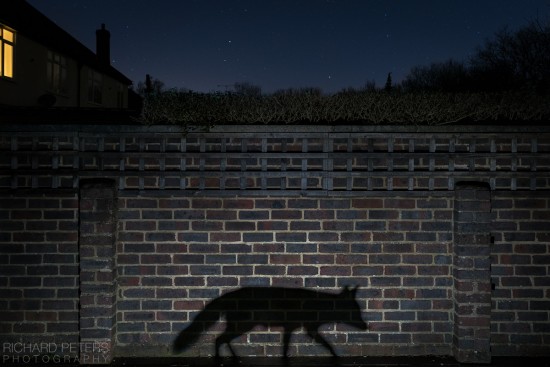
But that’s the beauty of taking wildlife photos in your garden. Because it’s a location that is impossibly easy to revisit, you can dip in and out of it as and when you have the time, making it an incredibly accessible way for everyone to improve their wildlife photography. Recently my hard work paid off, as I was awarded as the winner of the Wildlife Photographer of the Years Urban category, and named the 2015 GDT European Wildlife Photographer of the Year. The photo that made such an impact on the judges of these competitions was of a common subject and the location wasn’t some far flung destination. It was a fox, in my garden, at home. The winning image, Shadow Walker, was taken with the D810 and 18-35G. It’s not a pro optic, and the camera settings dictate that the body could just as easily be replaced with something cheaper. So essentially this image could have been taken with less than £1000 worth of kit as much as it could with over £5000 worth. And that’s in part what this project is all about, the convey the notion that generally, you shouldn’t let your camera kit dictate your passion for photography. Understanding how to work with light, compose images and work within the limitations of what you already own, will help you develop your creativity, and that in turn will have a much greater impact on your own work, than a new camera will.
And with that idea in mind, this project also spawned a comprehensive ebook, designed to help photographers of all ability. Covering everything from the basic principles to a detailed breakdown of how to work with camera traps, Back Garden Safari contains over 200 pages full of tips, advice and beautiful photos that do just that.
Nikon Rumors readers can get a discount on the book by entering the code nikonrumorsBGS at the checkout.
You can get your copy of Richard’s ebook on his website here.
If you have an interesting idea for a guest post, you can contact me here.
