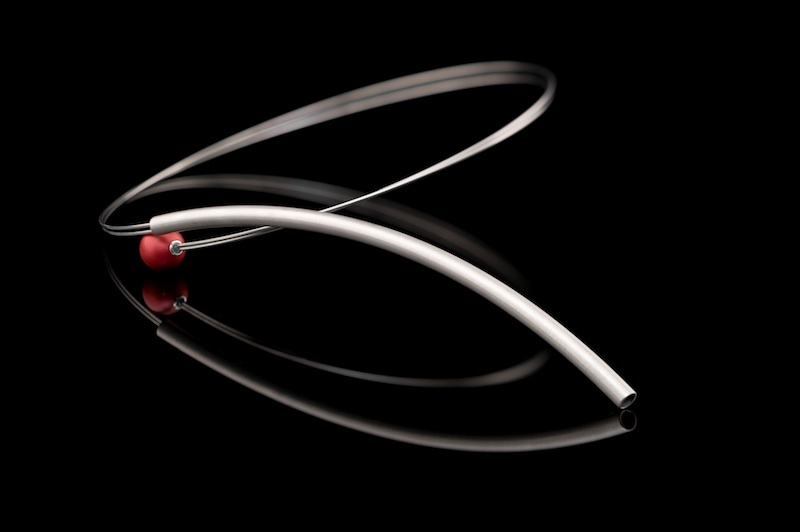
Hello, I’m Henk van Mierlo from www.noregt.com. I’d like to share with you why I use Nikon tilt lenses for product shoots. The most well known tilt lens is the PC-E Micro Nikkor, but there are also some less known and more affordable options. I’ll tell you in detail the (dis)advantages of these.
Why use tilt lenses?
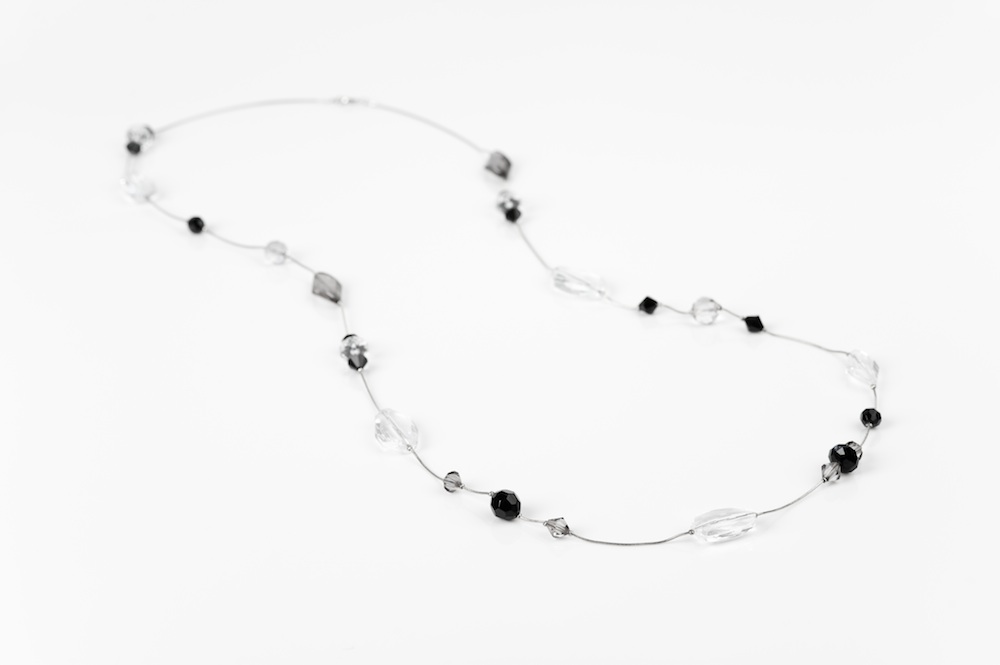
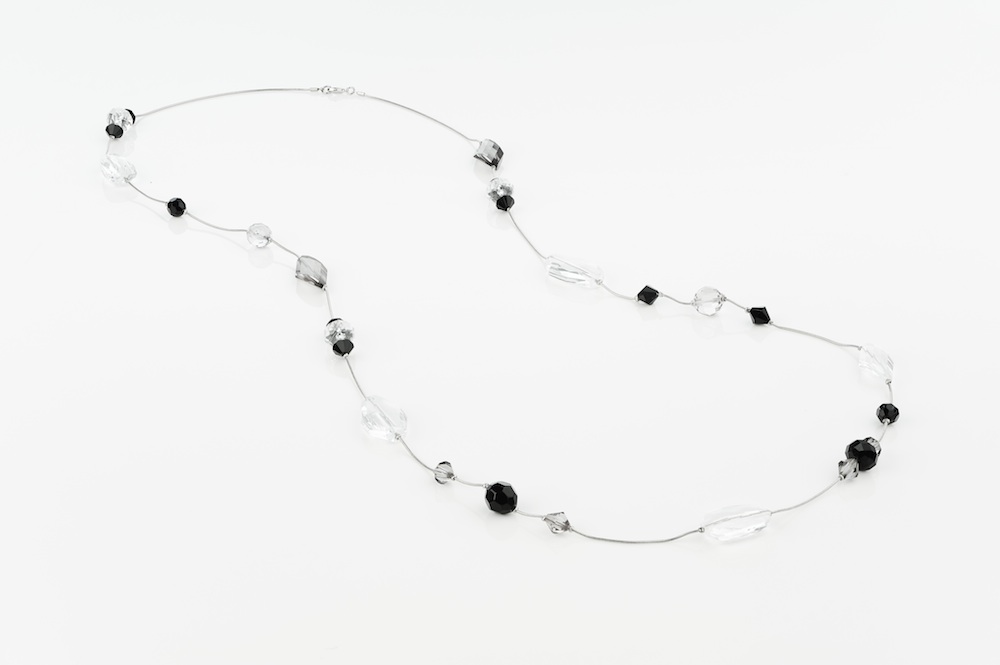
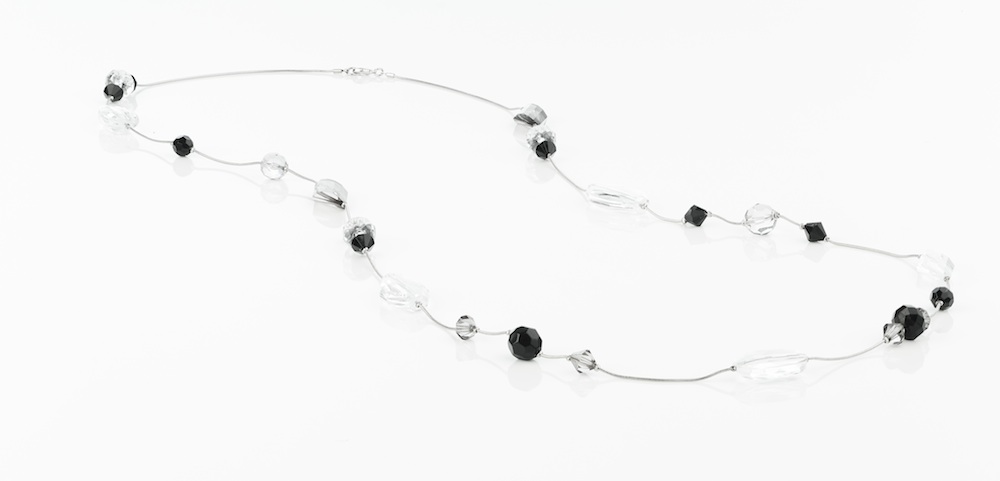
I regularly shoot jewelry for clients. Necklaces can sometimes look very thin when shot from above. So I tend to shoot these images from a lower angle, which also looks a bit more dynamic (click on images for larger view).
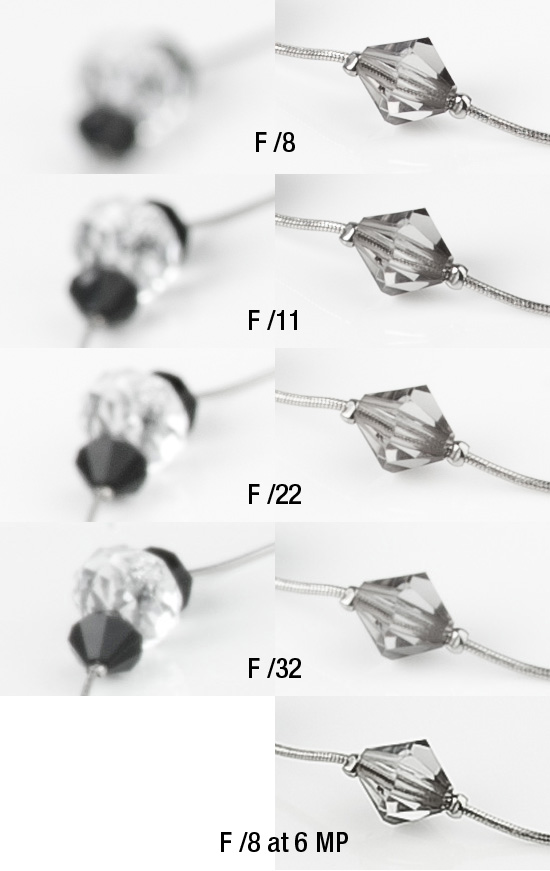
At this small size you might not notice it directly, but at aperture 8 the back of the necklace is blurred due to DOF. I quickly experienced that 90% of my clients want EVERYTHING sharp. The most logical thing to do would be to close the aperture as much as possible. However, above F /8 ‘diffraction’ starts kicking in, causing the image to loose sharpness overall.
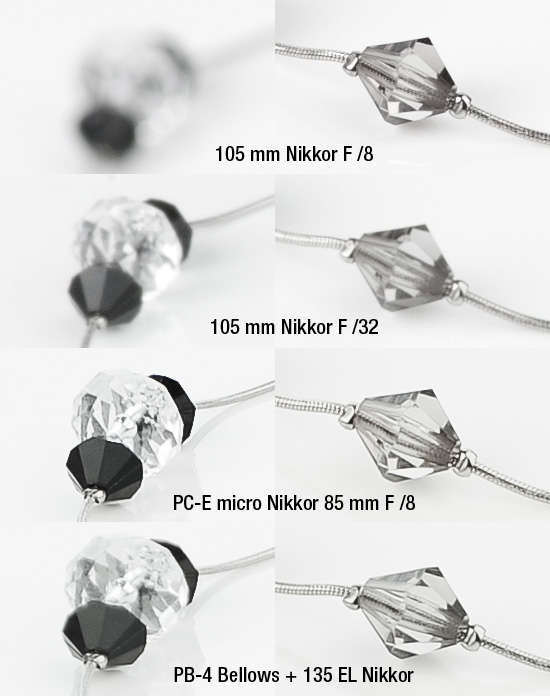
Below is a 100% view of the necklace. Left the rear piece, right the front:
Firstly, the rear piece never gets really sharp. Secondly, the front clearly loses sharpness with increasing aperture. No problem if you print at 10×15, but for serious enlargements, this is an issue. I’ve met serious photographers using pro cameras and taking images at aperture 32, so “everything will be as sharp as possible”. As you can see in the image above, at aperture 32 you could just as easy shoot at 6 MP, making a 24 MP sensor useless!
Using a tilt lens
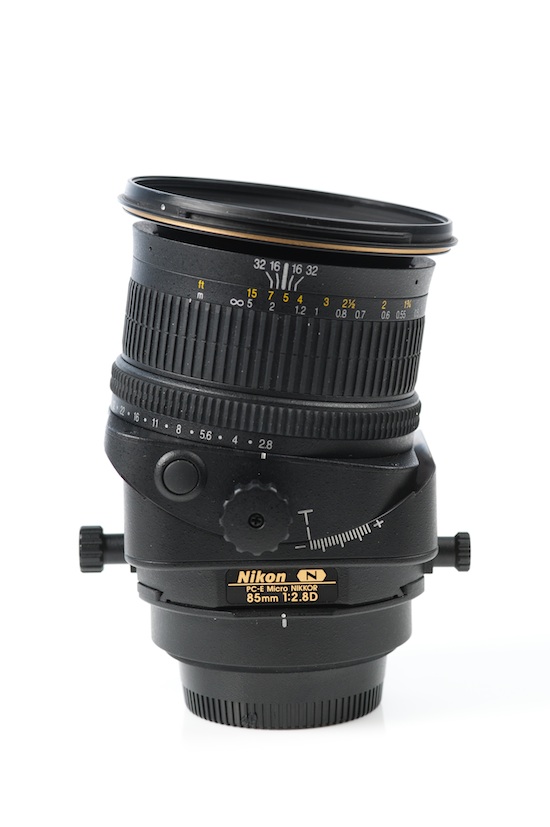
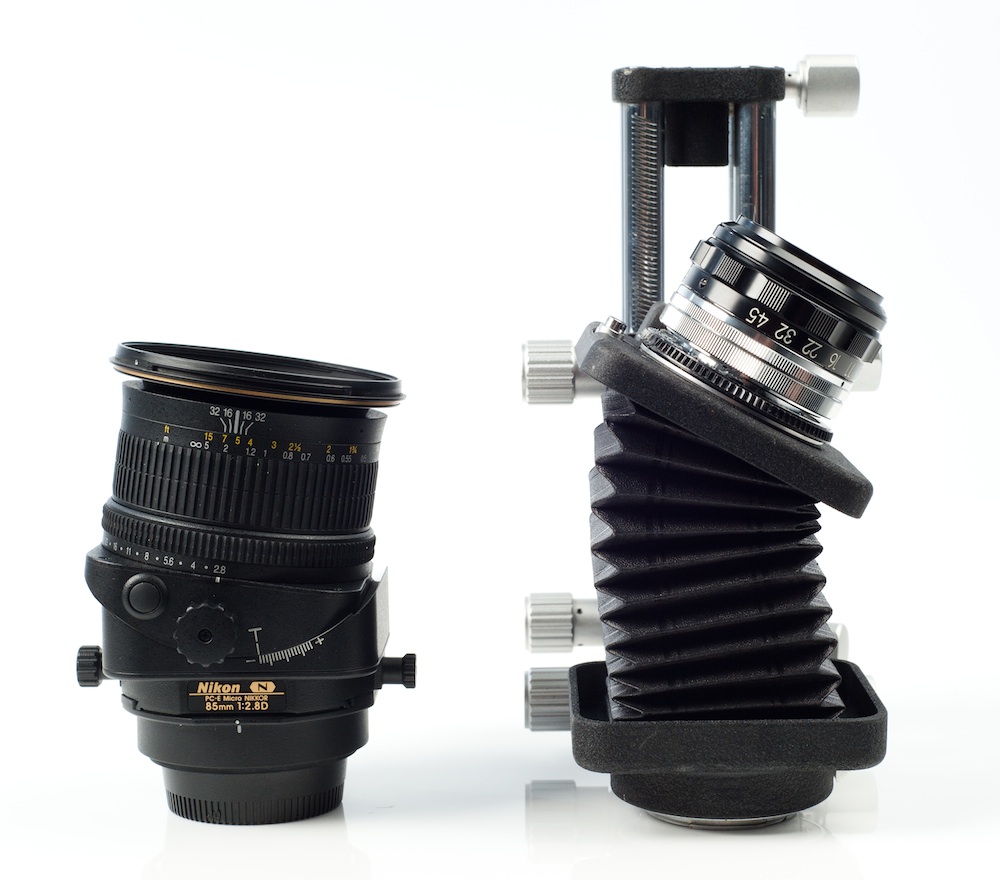
With the PC-E Micro Nikkor tilt lens you can rotate the ‘plane of focus’ (the Scheimpflug principle). In short, you need to tilt the lens towards the table where the necklace is. If you rotate it halfway the plane of focus will be horizontal, so everything will be sharp, even at aperture 8!
The only limitation of this lens is the maximum tilt angle of 8,5 degrees. This prohibits you from taking images at a really sharp angle. The image above is the max.
Cheapskate tilt lenses
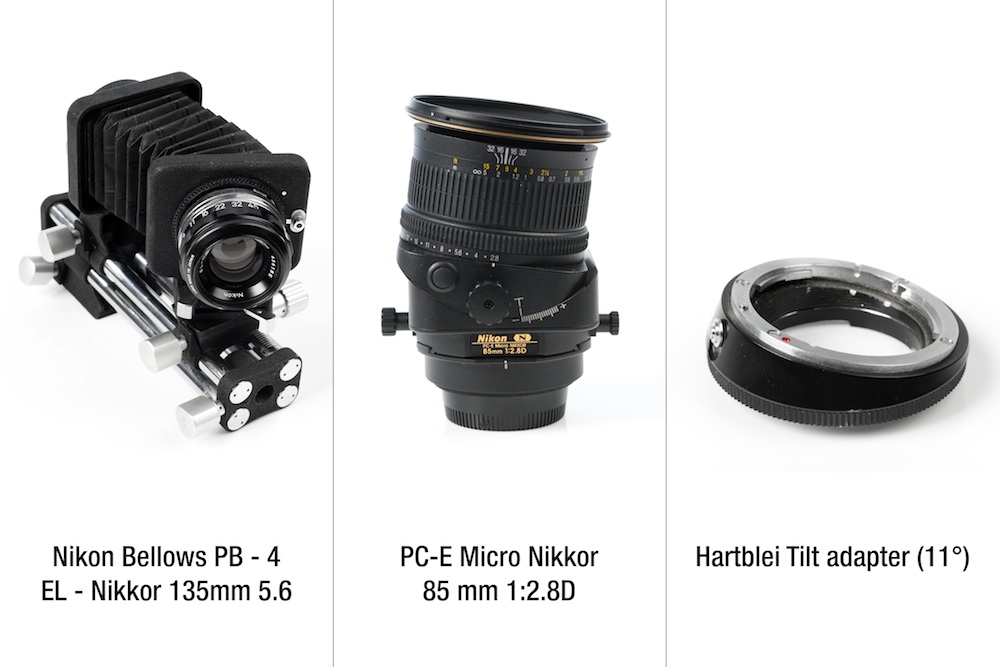
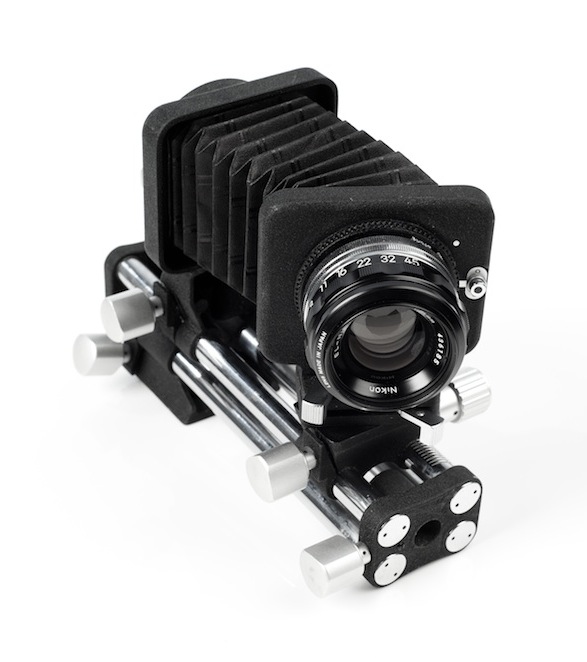
This is the second hand Nikon Bellows PB – 4 I bought through Ebay. It’s not made anymore and that’s a pity. As far as I know it’s the only bellows with a rotatable front. The lens is a second hand enlarger lens, the EL Nikkor 135 mm 5.6. You can get this complete set for 150-250 dollars.
When you put a regular 50mm lens on the bellows, it functions as a macro lens. But if you put an enlargement lens on it, it’s usable at infinity! I used a Nikkor lens, but you could use other brands as well (I also use an excellent Rodagon). It’s easy to find these lenses since a lot of people want to get rid of their darkroom.
With the 135 mm lens you can focus up to infinity, with the 50 mm you can’t. For product photography a 100 mm would be ideal.
Attaching the enlarger lens
Enlarger lenses use a thread, so you need a converter. You can buy these, but you can just as easy make one yourself from a body cap.
I cut a hole with a drill, but had to use some tape because it did not fit tightly enough.
Placing it on your camera
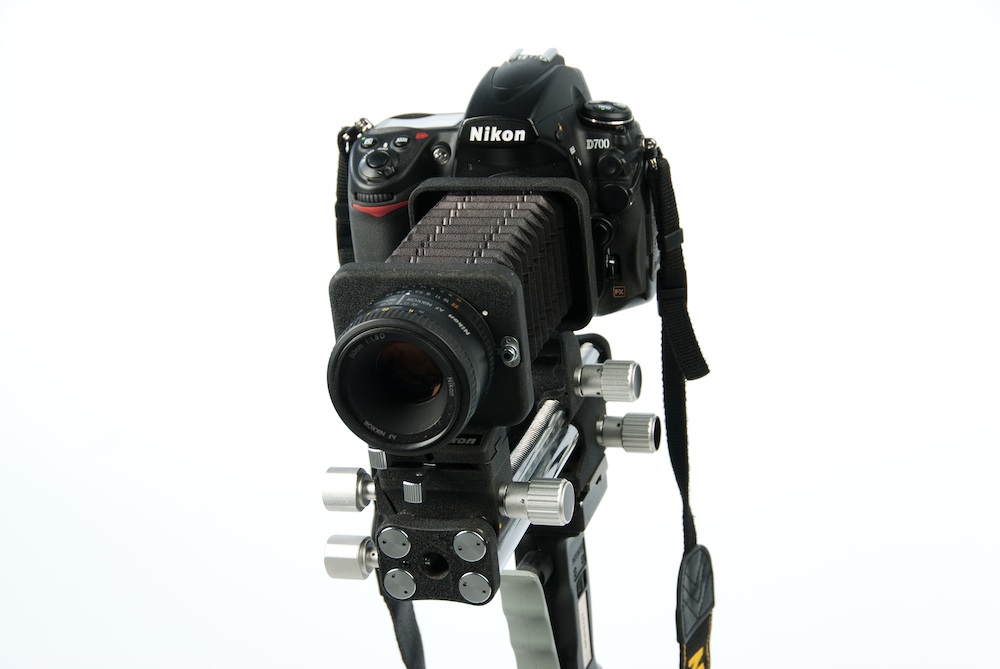
Normal placement for macro photography:
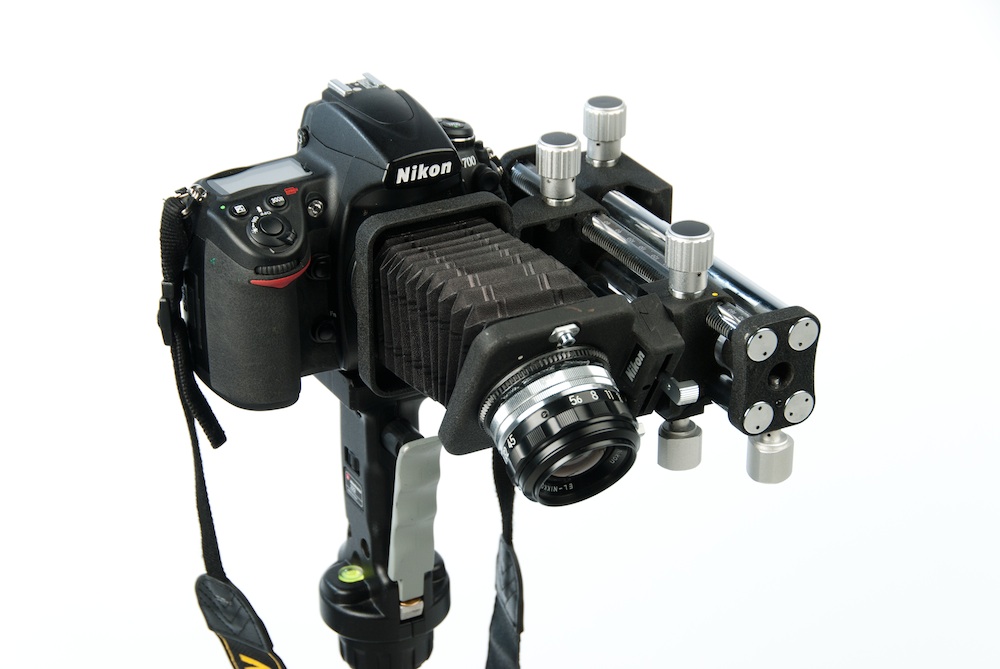
The front plate can only be tilted from left to right, so if you want to tilt it to a horizontal plane, you need to rotate the complete bellows:
Taking images
You do need some patience to work with this setup. It took me a minute to find the right angle with the PC-E lens, with the bellow it took me ten minutes and a lot of zooming in live view to check if the angle was correct. That’s mainly because there is no fine tuning possible with the bellows. Also, it’s completely manual (of course). No measurements whatsoever.
Results with Bellows PB-4
Not only is this setup about 85% cheaper, the front can be rotated a lot further the the PC-E lens:
This allows you to make super low angle shots at aperture 8, and still have everything in focus:
Sharpness
Clearly, The PC-E Nikkor lens produces absolutely sharp images. The PB-4 comes very close, but gets a bit fuzzy in the rear end of the necklace. I guess that’s because the enlarger lens was not designed to be super sharp in the corners as well. Maybe other lenses, designed for technical cameras, can perform better there. I have one, but it’s too big to fit on the Bellows.
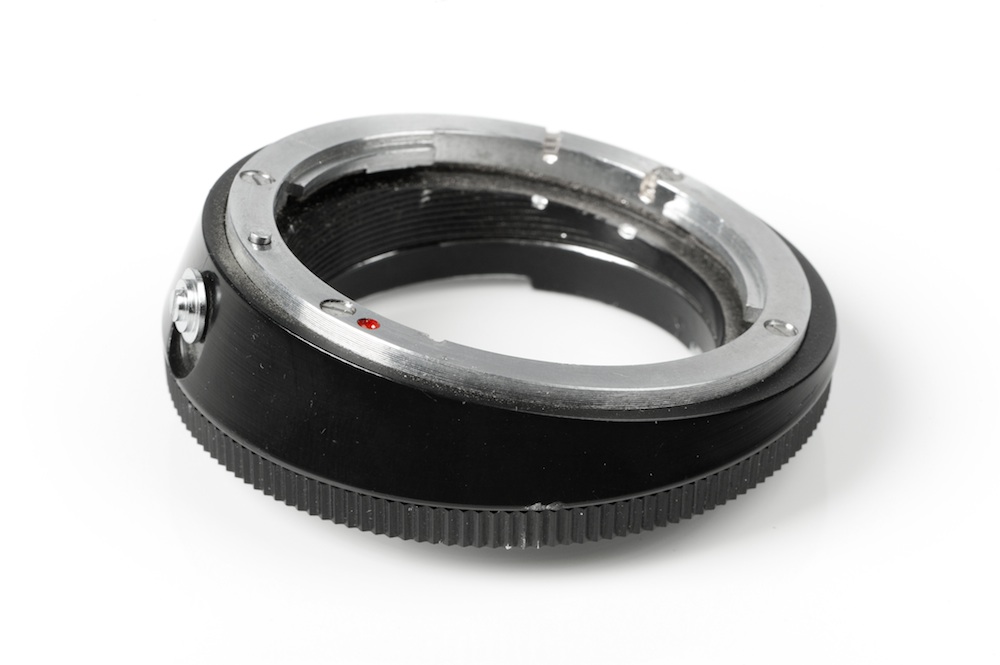
The Hartblei tilt adapter
I bought this adapter directly from www.hartblei.com. In short, I think it’s useless.
On the site it says: “macro, doesn’t allow to focus on infinity”. Indeed, when you place a 50 mm lens on it, you can’t get much further then about 30 cm. This makes it only useful for small object like rings. But then you’re also stuck with a fixed angle. And when you attach an AF lens on it, it doesn’t really fit well. It’s also very hard to get it loose again. So there is a real danger you damage your lens or camera. Older MF lenses fit better.
Conclusion
I’m quite happy with both the PC-E lens and the PCB-4 bellows and use them both regularly, If I’m in a hurry and want to get excellent results the PC-E lens works best. The worst limitation is the limited tilt angle of 8,5 degrees.
When I have time and want a more creative shot I prefer to use the bellows PB-4. It produces excellent results too, but you need to keep an eye on the sharpness at the end of the image frame, especially as the angle gets sharper. I suppose the main reason for limiting the tilt angle with the newer lenses is precisely this loss of sharpness.
You don’t necessarily need to use these lenses only to get everything in focus. You can also manipulate the focus plane to get creative results. The PB-4 bellows has the best possibilities for such usage as in the image below:
In this image the focus plane follows the tube, so everything that matters is sharp while the round wire is blurred. It’s almost impossible to get a high quality shot such as this one in Photoshop.
Henk van Mierlo is a photographer and designer based in Holland. He also runs a Dutch photography school at www.fotografielessen.nl. You can see his work at www.noregt.com.
If you want to be a guest blogger on [NR], please contact me with your post suggestion.
