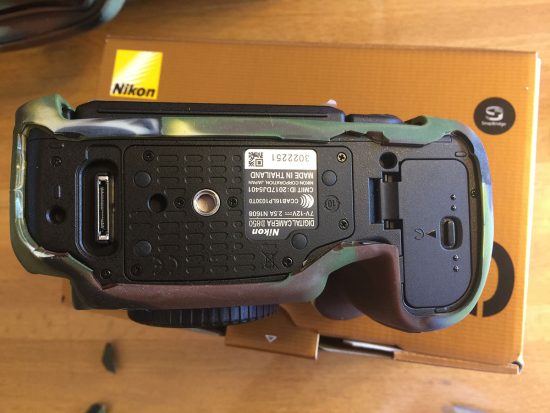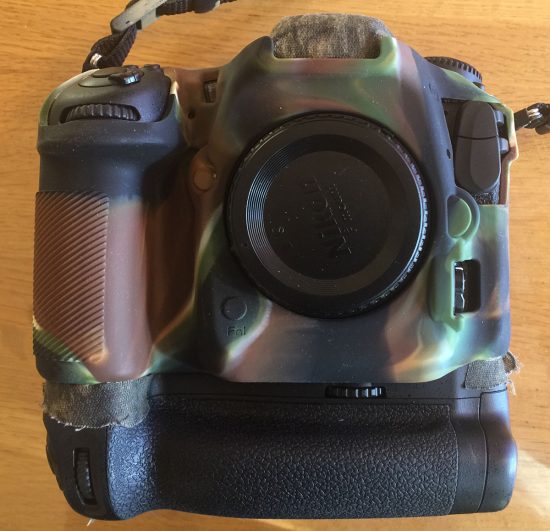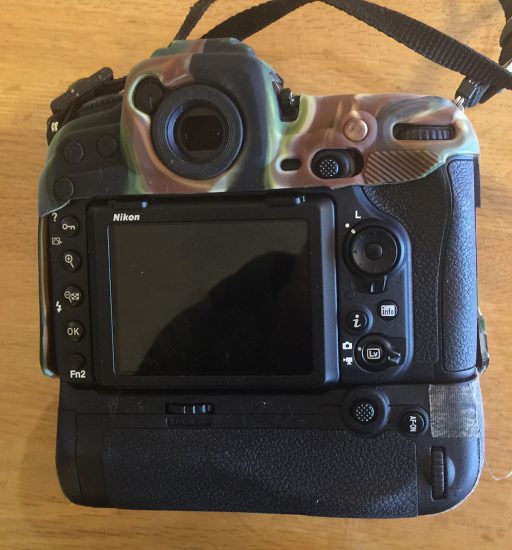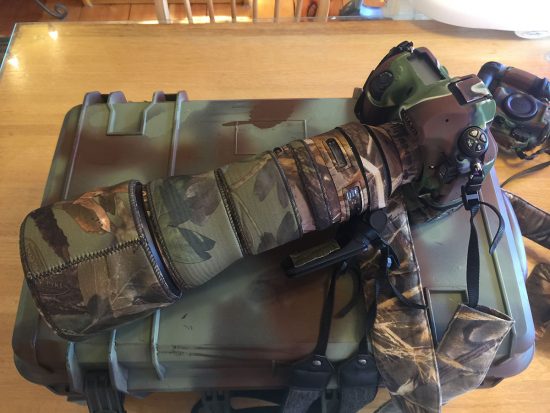
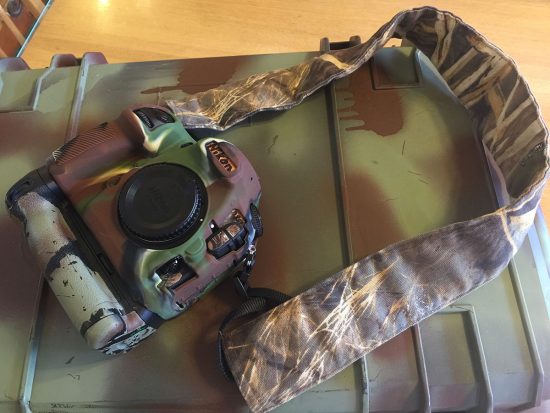
Most of you know animalsbybarry who has been deciding for months if he should buy the Nikon D850 or the Sony a7r3. Barry finally decided to go with a good ol’ DSLR even though he strongly believes the future will be mirrorless. Barry shared some pictures with me from his Nikon D850 camera camo conversion:
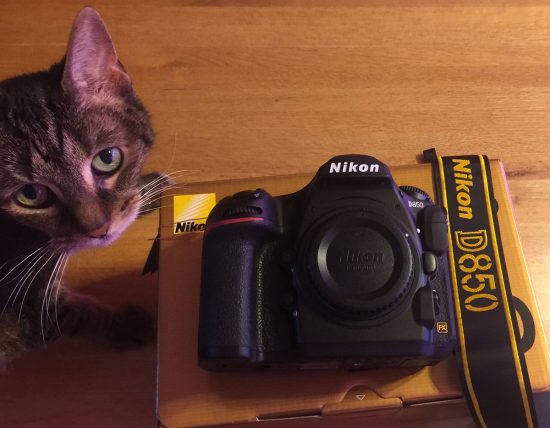
After a long wait I just got my Nikon D850. Straight from the box it is a rather ordinary looking camera, but I will fix that. I am sure you have seen unboxing articles before, but mine is a little different:
I plan to make my new camera camouflage, to match the rest of my equipment. I can do this in four different ways. Option one is to buy what I want already in camouflage, but obviously this is not always an option.
Option two is to buy a camouflage cover that fits my product. This preserves the value of the product, but again is not always an option.
Option three is to paint the product. This looks cool and holds up well, but decreases the resale value of the product. Be careful to mask those areas that should not be painted.
Option four is Camouflage tape (such as gun tape) or camouflage wrap. A high quality product will not leave a residue and can be removed, restoring the product to its original condition. The disadvantage is that tape often falls off.
I purchased all my accessories before the D850 arrived. I started with a third party Mcoplus grip and battery covers and painted them. Because this is a lot less expensive than the Nikon version I could paint it and not worry about resale value.
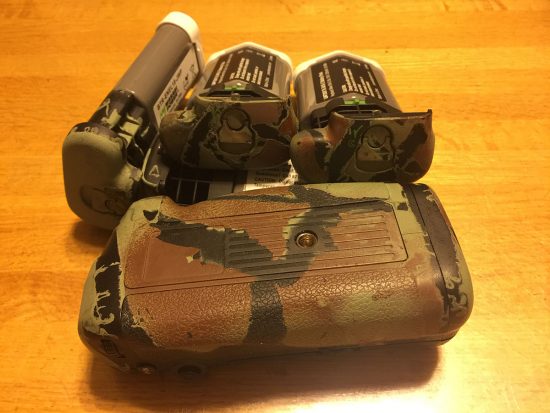
By tearing the edges of my masking tape (instead of cutting the edges) the camouflage pattern looks more natural
Next I gather together all the stuff I need to complete my camouflage conversion:
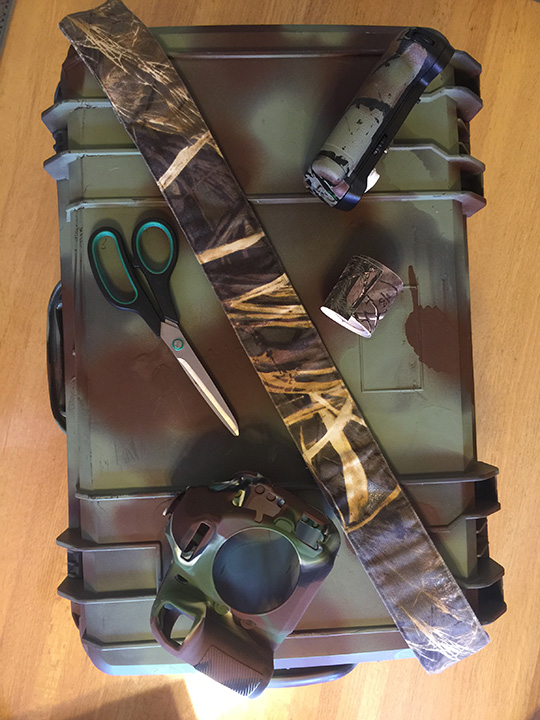
Camera strap cover, Camo tape, Scissors, Easycover Silicon Camera Skin and Battery grip I painted earlier.
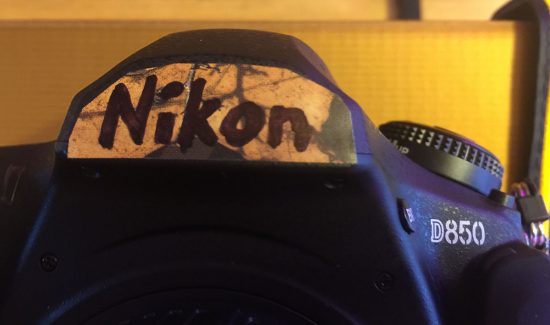
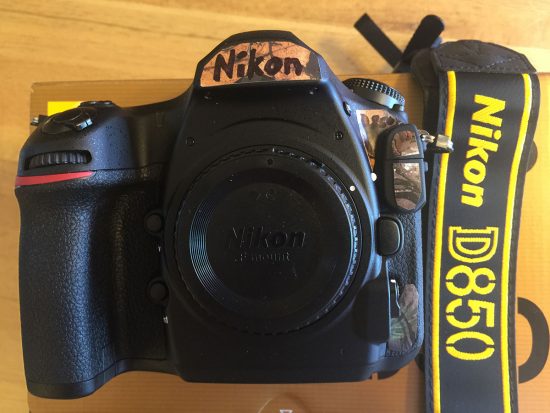
Using camouflage tape scissors and a permanent marker I cover the big white “Nikon” letters:
Then I decide to also cover the other white letters and some black spots:
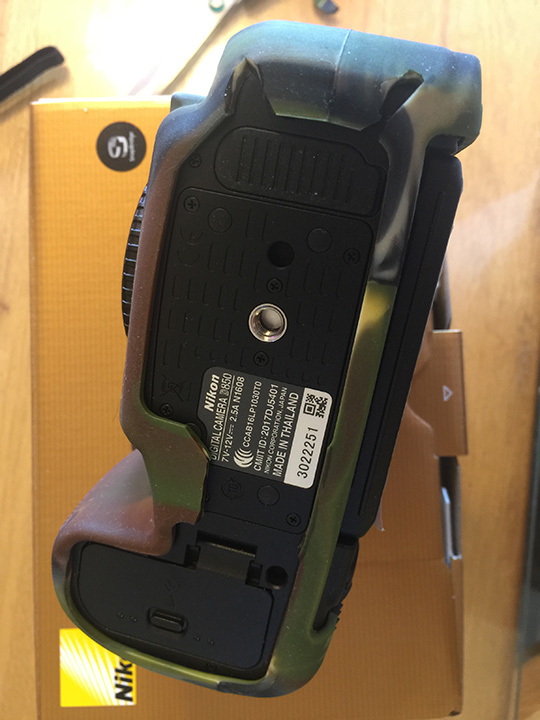
I cut away the portions of the D850 EasyCover that will interfere with the battery grip. It is important to just cut a little at a time and test fit the parts again. You can always cut more, but you can’t put the pieces back after you cut them.
Fitting the back is the trickiest part of the Easycover conversion. If you find the first method difficult or are not happy with how it fits when you are done, this open back alternative is a lot easier and works very well.
The Camo appearance of the front is preserved but the back is fully open and easily accessible. Remember that once you cut this additional material away you cannot change your mind.
Shown here on my Nikon D500:
Now I carefully put the battery grip on. Then I put the camera strap cover over the Nikon camera strap and install it on the camera.
Add a lens – Mean Green D850 Machine:
- Nikon D850
- Tamron SP 150-600mm f/5-6.3 Di VC USD G2 lens
- Tamron 1.4x G2 TC
- Seahorse case
- Easycover camera cover
- Camera strap sleeve
- Parts of 2 different brands of lens covers with some camo tape
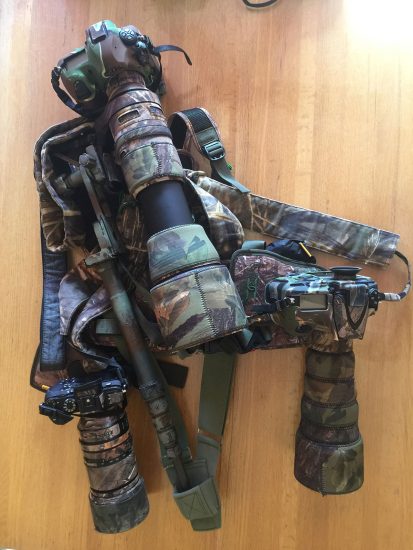
I add my new D850 to my custom 3 camera rig an I am ready to go:
- Cotton Carrier 3 Camera system, Sirui monopod and gimbal with custom modifications
- 2nd camera is Nikon D810 with 300mm f/4 PF and 1.4x TC
- 3rd camera is Sony A7Rii with FE 70-300 f/4.5-5.6.
This is my older camera harness:
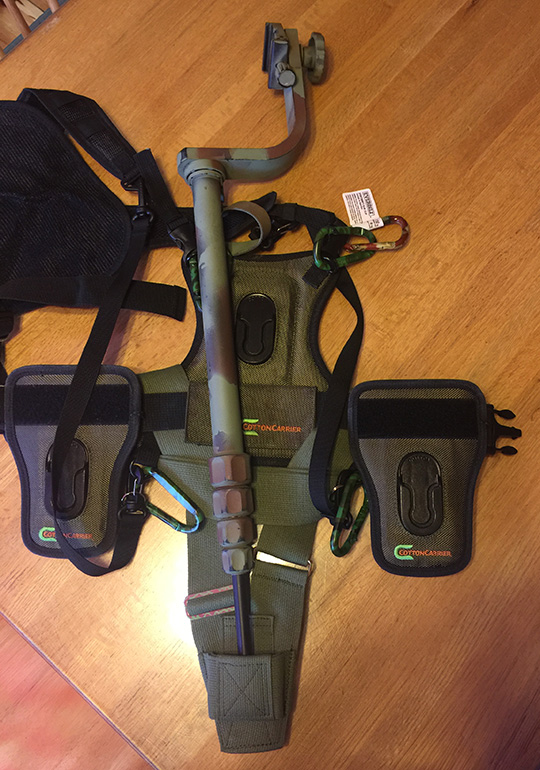
The Cotton Carrier vest shown is no longer made, and the new model is better. The bottom section is a single web parade flag carrier and the Gimbal is a Lensmaster monopod Gimbal head. The one I use now is modified by me and requires some skill with tools. The Lensmaster is good and will not require any modification.
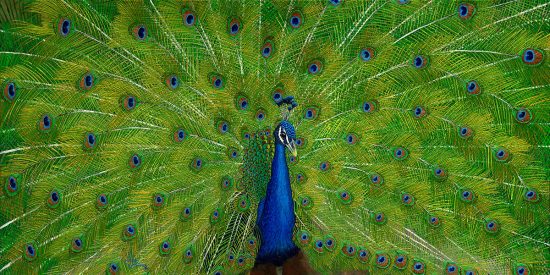
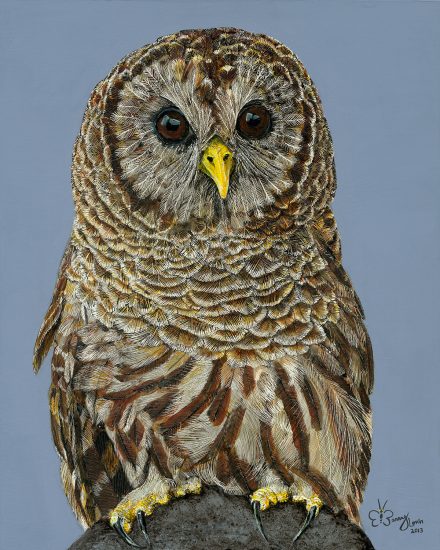
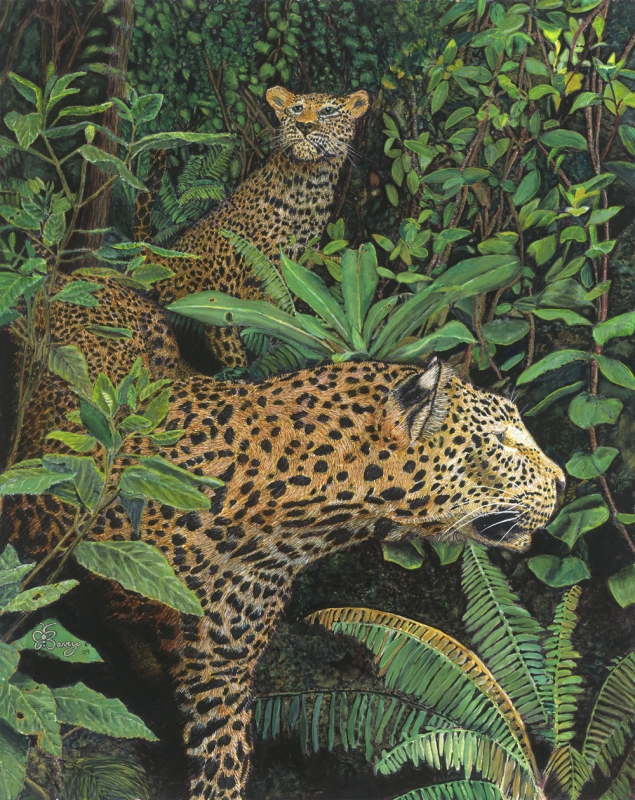
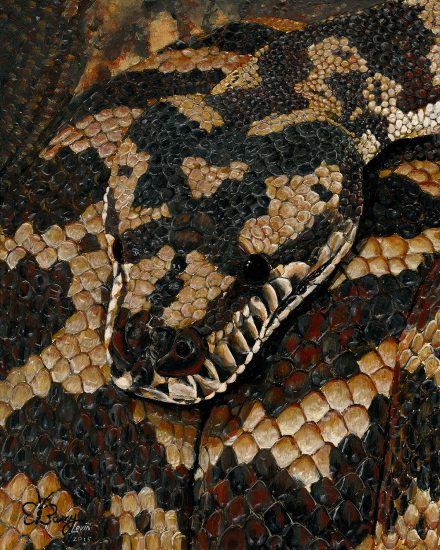
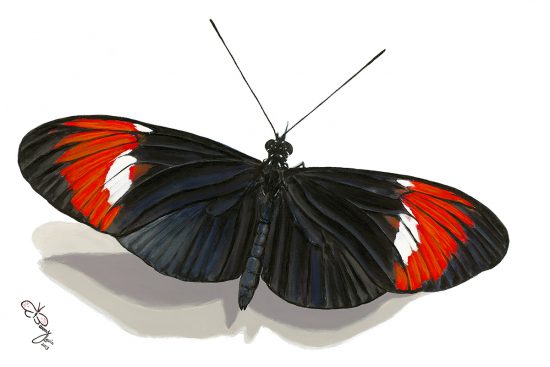
When he is not hanging on NikonRumors, Barry is painting animals in a “hyper-realistic” style. His photography is strictly for use as reference material:
“I paint until my subject comes to life and leaves the canvas. Then I start on another. Perhaps on a summer walk you will come across a butterfly, that used to be my painting.”
Barry’s website is currently down because he is rebuilding it (www.animalsbybarry.com).
You can contact Barry at [email protected].
Here is some of Barry’s work (click for a larger view to see the amazing details):
