The next guest post is by Mike Hagen (www.outthereimages.com/blog) who contributes this chapter from a recent book he helped write with Cyrill Harnischmacher called The Wild Side of Photography, Unconventional and Creative Techniques for the Courageous Photographer (www.rockynook.com/books/147.html). Mike is the author of The Nikon Creative Lighting System and Nikon Capture NX 2 After the Shoot. He is also the director for the Nikonians Academy (www.nikoniansacademy.com). Make sure you click on each image for larger view. You can follow him on Twitter at @MikeJHagen.
Frequently in photography, the best vantage point for a photo is high above the crowd. Taking all your pictures at eye level can get boring after a while. For years, travel photographers have known that great coverage of every destination should include an opening shot that sets the scene. This opening shot is often taken from the second story of a building or parking garage in order to show the surrounding area from a higher vantage point.
But what happens if you can’t get to a higher vantage point? What if the second story of the building is closed? What if you are photographing in a location where there isn’t any way to get to higher ground? In these cases, you need to make your own aerial photography monopod.
Aerial photography is typically defined as taking photographs from an airplane, helicopter, or kite. These methods all provide a high vantage point for your photos, but each method has some potential pitfalls. Using an airplane or helicopter is very expensive, and you can’t always get into the right spot at the right time due to federal and local flight restrictions. Kite aerial photography requires steady wind, and that isn’t always available at the exact time you need it. Also, who wants to attach their $4000 digital SLR to a kite?
A simple solution for getting your camera up into the air for a higher vantage point is to build an extension pole with a ball head on the end. You can then attach your camera to the end of the pole, raise it into the air, and take your photographs.
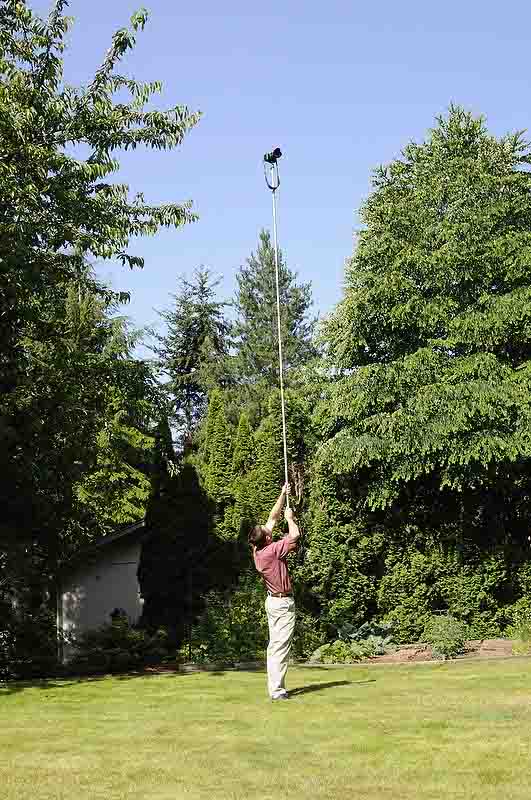
The easiest way to attach your camera to a pole is to use a monopod. A standard monopod will frequently extend to 5 to 6 feet. If you raise this monopod above your head, you can easily get the camera up to about 10 to 12 feet high. However, many times you need to get much higher than a monopod will allow. In these cases, the best solution might be to use a long wooden pole or a telescoping paintbrush handle extension. This will allow you to raise the camera 20 feet or more into the air in a safe and secure manner.
Construction of an aerial photography telescoping monopod is fairly simple and straightforward. The foundation of the system is the telescoping extension pole. I purchased the pole for the example shown here from my local home improvement/hardware store. They had seven different models to choose from, ranging from a small wooden fixed-length model for $7.00 to a 30-foot professional extension pole that cost close to $100.00.
I ended up choosing a 12-foot aluminum extension pole with a twist-lock feature that makes it quick and easy to change the length. The pole is 6 feet long when collapsed and 12 feet long when extended. Also, the fact that it is aluminum means that it is lightweight and easy to manage when I am in the field taking photos.
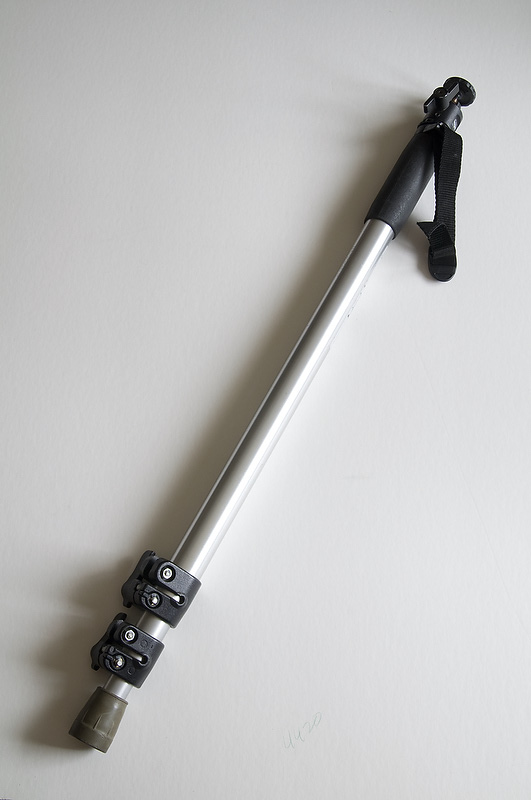
You can use a simple monopod and ball head to raise the camera about 10 feet. But if you need to get your camera higher, you'll need to use a longer extension pole.
On the following page, table 1 shows the supply list for the project. As you can see, the total cost for building the pole is about $22.15. In addition to the pole, you’ll need a standard photography tripod head. As a photographer, I own too many old tripod heads, so I just used one that I had in my closet. You can buy new, low-end ball heads for around $15.00 on eBay.com or Amazon.com. Make sure the tripod head you choose is fairly lightweight so you don’t have to work hard to lift it into the air.
Table 2 includes the various tools you’ll need for the project. The only power tool you’ll need is an electric drill; all the other tools should be fairly easy to come by.
Step by Step Instructions for Construction
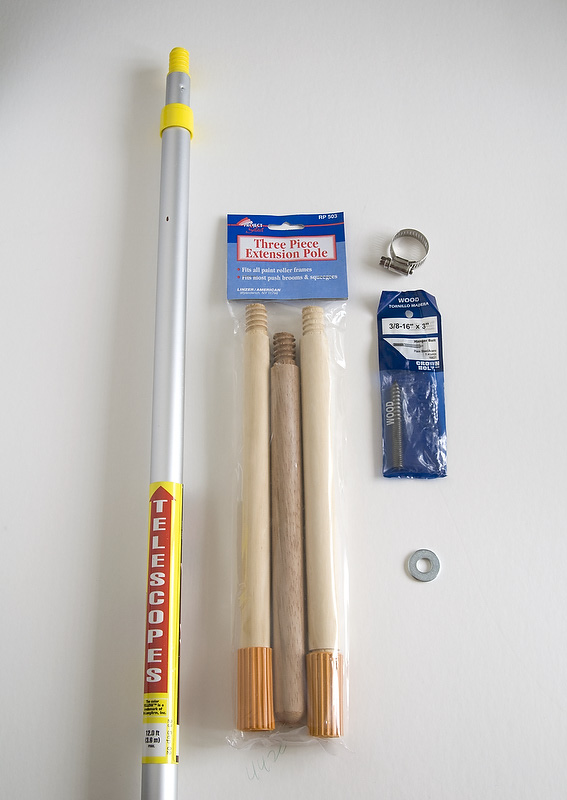
Shown here are the parts needed for the construction of the aerial photography monopod. From the bottom: telescoping paintbrush extension handle, three piece wooden extension pole, hose clamp, 3/8" hanger bolt, and 3/8" washer.
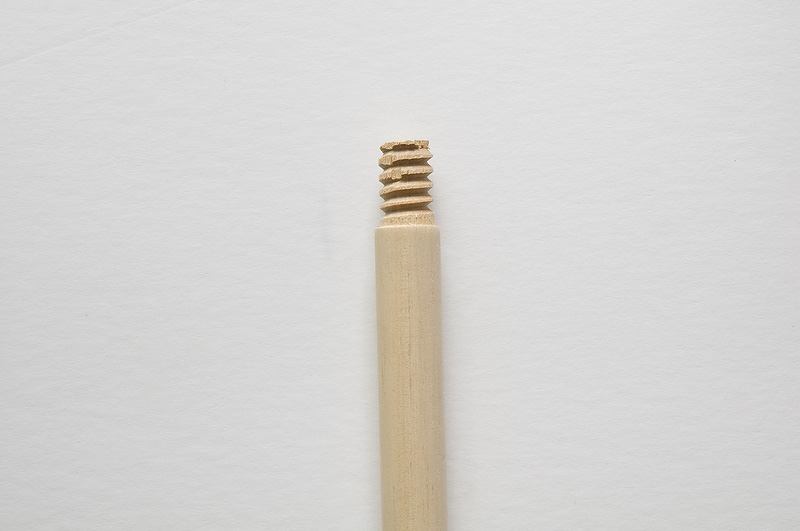
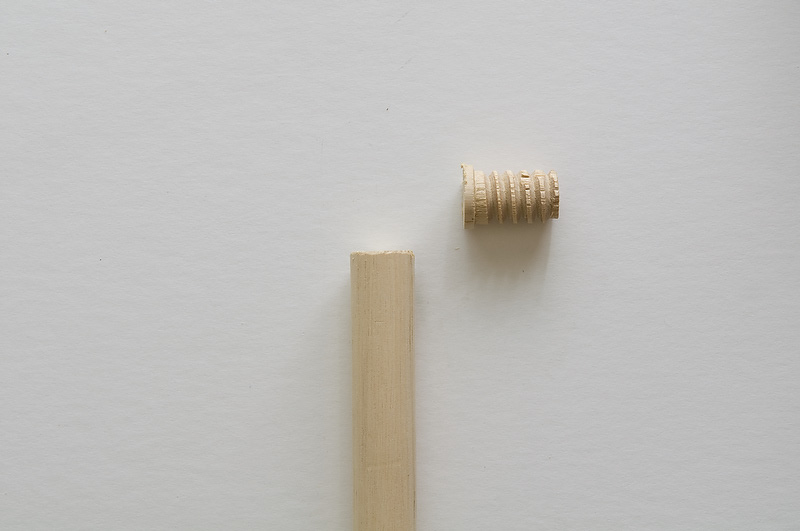
1. Cut the threaded end off of the wood dowel with a saw. The picture above shows how much of the threaded end to remove.
2. File the edges to remove any burrs.
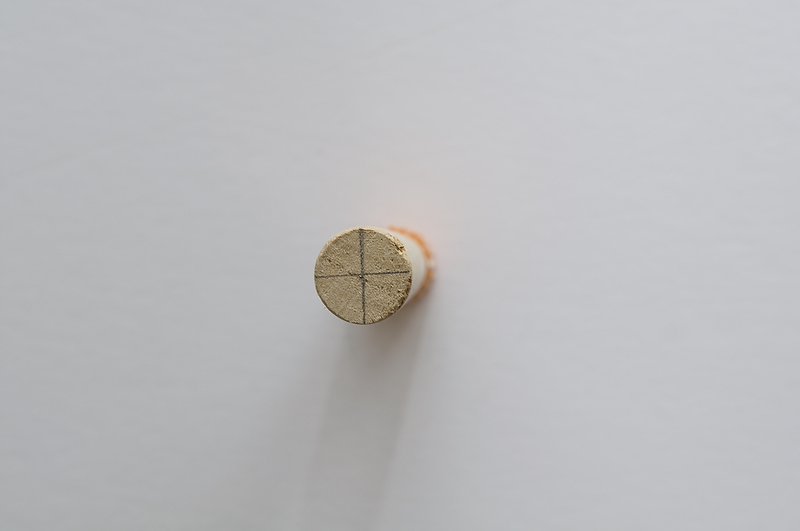
3. Mark the center of the cut end with a straightedge and pencil.
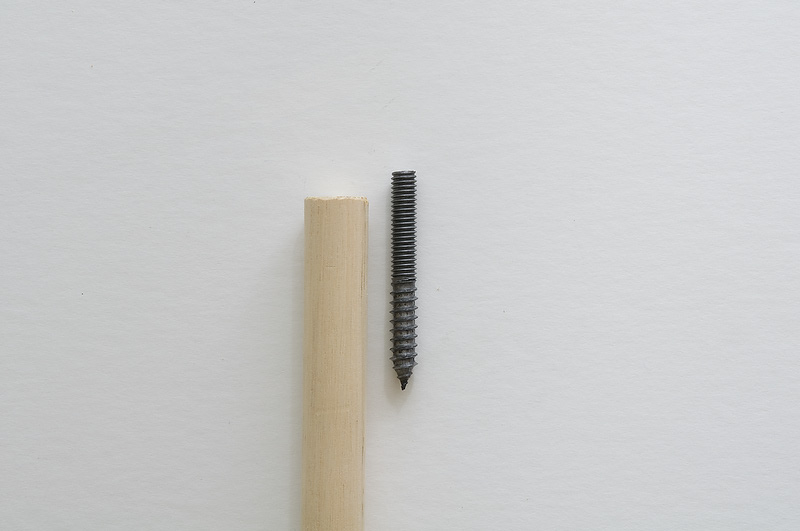
4. Determine how deep your hole needs to be by placing the hanger bolt next to the dowel.
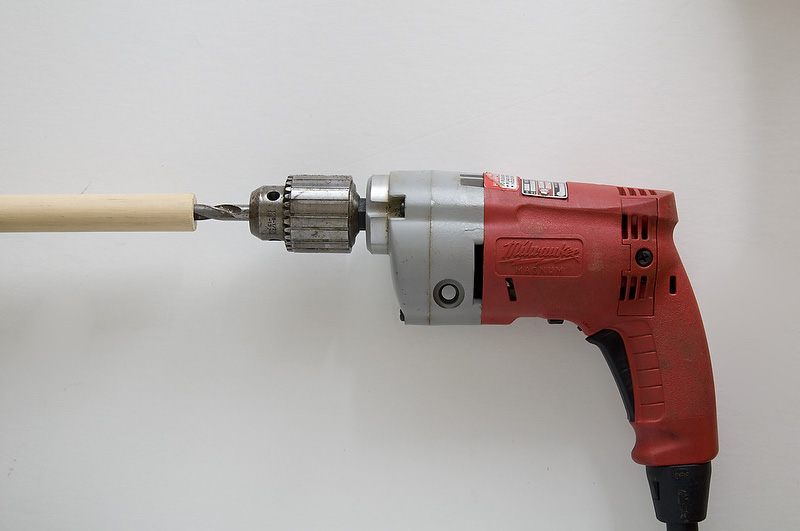
5. Drill a pilot hole with the small 1/8″ drill bit. Make sure the hole is parallel to the dowel so that the drill bit doesn’t exit the side.
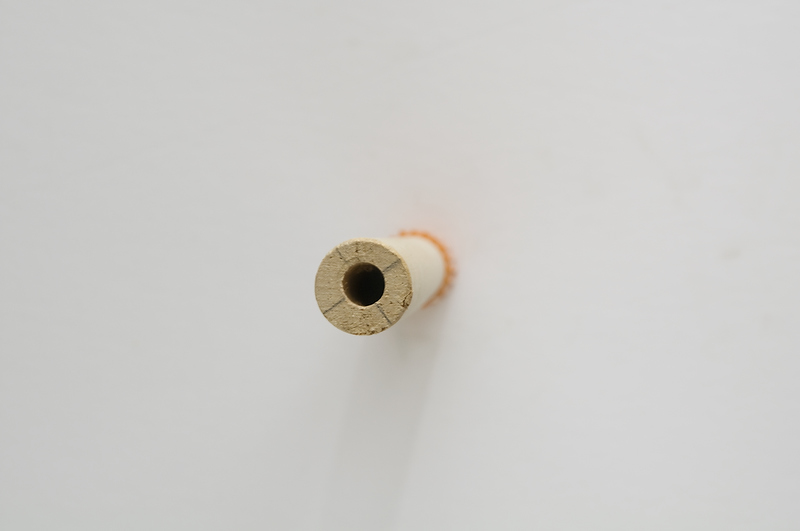
6. Using the larger 3/8″ drill bit, drill the hole to the desired depth.
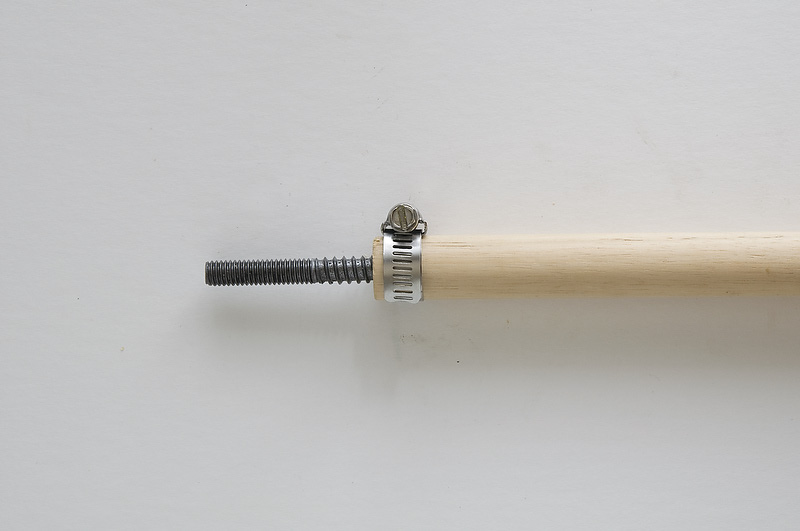
7. Install the hose clamp so the wood won’t split when screwing in hanger bolt.
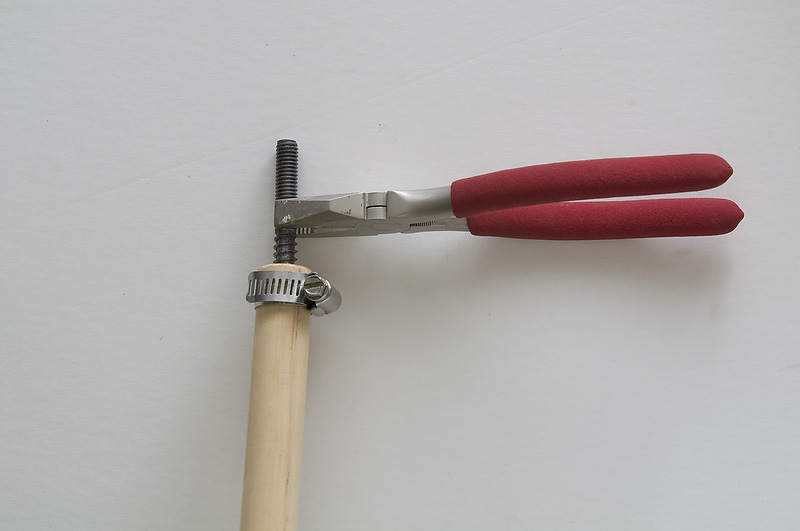
8. Use a set of pliers to install the hanger bolt. Be careful not to use the pliers on the top end of the hanger bolt so that you don’t smash the threads. I suggest wrapping a rag around the end of the threads while twisting with the pliers. Leave approximately 3/8″ (9mm) protruding from the end of the wooden dowel.
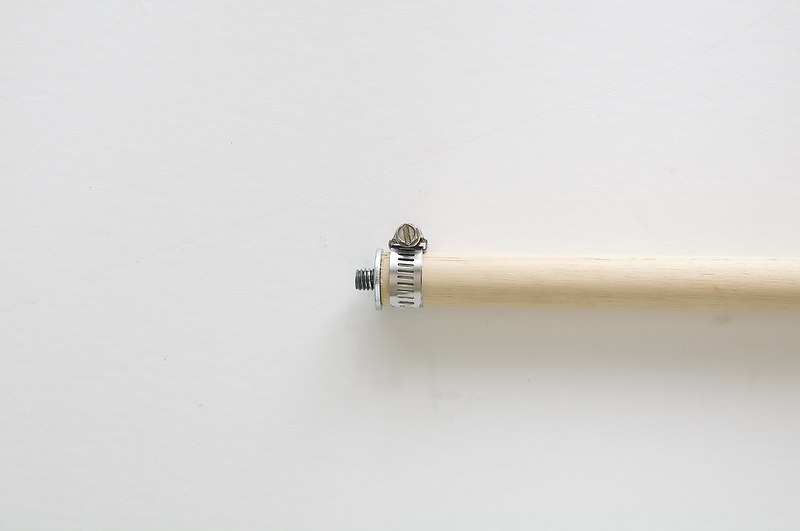
I suggest wrapping a rag around the end of the threads so that the pliers don't smash the threads when you install the hanger bolt. Leave approximately 3/8" (9mm) protruding from the end of the wooden dowel.
9. Install the 3/8″ washer over the end of the hanger bolt. You may glue this to the dowel if you wish. Use an epoxy for the strongest bond.
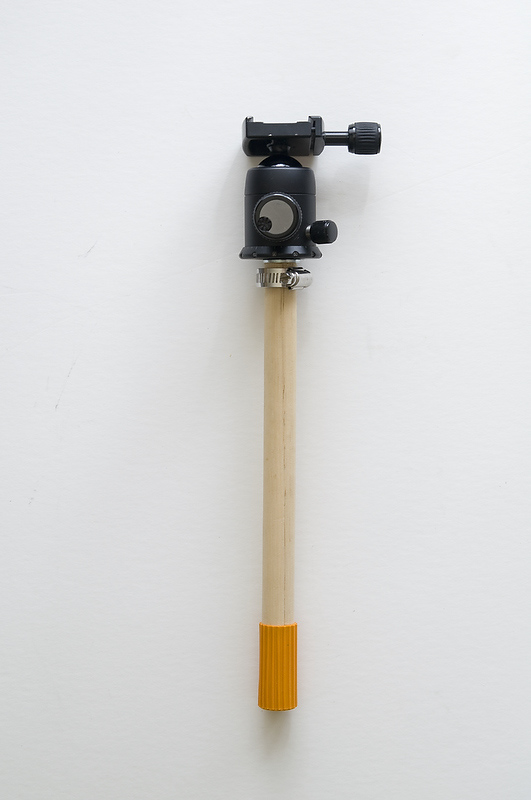
10. Thread the ball head onto the end of the dowel. Tighten snugly so the base won’t rotate when you are using the system out in the field.
11. Screw the dowel extension onto the end of the telescoping paintbrush handle.
Using the Aerial Photography Monopod in the Real World
Putting the aerial photography monopod into use can be a tricky. Here are some tips for good success with the system:
1. Attach the camera to the ball head first; then extend the monopod to the desired height.
2. Set your camera to manual exposure mode. If you decide to use an auto exposure mode like Aperture priority or Program mode, cover the viewfinder on the back of the camera so bright ambient light doesn’t enter the light meter and darken
the exposure.
3. Set your camera to manual focus mode and try to pre-focus on your subject before lifting your camera into the air. Autofocus can be very difficult when the camera is up in the air, especially since you won’t be able to really tell where the camera is pointed. Using smaller apertures like f/8 or f/16 will also help increase the depth of field in your photographs.
4. You can trigger the camera’s shutter using a variety of methods:
a. My favorite method is to use the camera’s self-timer. I set the self-timer delay for five seconds, trigger the shutter release, and lift the camera into the air for the shot. I also set my camera (i.e. D7000, D90) to take five pictures every time the self-timer goes off. I use Continuous Low shooting speed and set the frame rate to 1 fps (frame per second). Using this method, I can try a number of different compositions without having to bring the camera back down to trigger the next shot.
b. Another method is to use an infrared remote such as the units that are compatible with the Nikon D7000/D5100/D90/D5000 (ML-L3 or ML-3 Compact Modulite Remote Control Set) and Canon Rebel/5D MKII (RC1 Wireless Remote Control). It can be a little bit difficult to hold the pole with one hand while also trying to trigger the camera with the other hand.
c. You can also use a radio trigger such as the Phottix wireless remote. You can buy these from eBay.com for around $40. Another option is the Pocket Wizard radio trigger. Pocket Wizards are expensive, but reliable.
d. Finally, you can try using a cable release like the Nikon MC-30 or the Canon RS-80N3. The downside to using a cable release is that these are pretty short and won’t allow you to fully extend the pole.
5. Hold as still as possible—any side-to-side rotation will cause blurry images. Use faster shutter speeds and higher ISOs to help decrease blur. Also, stabilized VR/IS lenses work very well.
6. If you are using a super wide angle lens, such as a fisheye or 10mm lens, be sure to shoot with the camera angled away from the monopod rather than into the monopod. If you don’t do this, you’ll get the monopod and you in the image!
7. If your digital camera has a tilt LCD panel, you can use this in the Live View mode to compose your pictures. Point the LCD panel down towards the ground and aim the camera by using the image on the screen.
8. Shoot at a wider angle than you think you will need. Invariably, you’ll need to crop the photo or level the horizon in the final image, so giving yourself room to work with will be helpful.
9. Consider making the pole long enough to be able to place the base on the ground while you’re shooting. This will allow you to raise the camera to a significant height without having to lift the pole into the air. Also, this is a very stable way to shoot
photos and is similar to using a 25-foot tall monopod.
10. If you have to be mobile while shooting photos, you might consider placing the base of the pole in your belt to take the weight off your arms. This will also help to stabilize the pole.
Real World Photo Examples
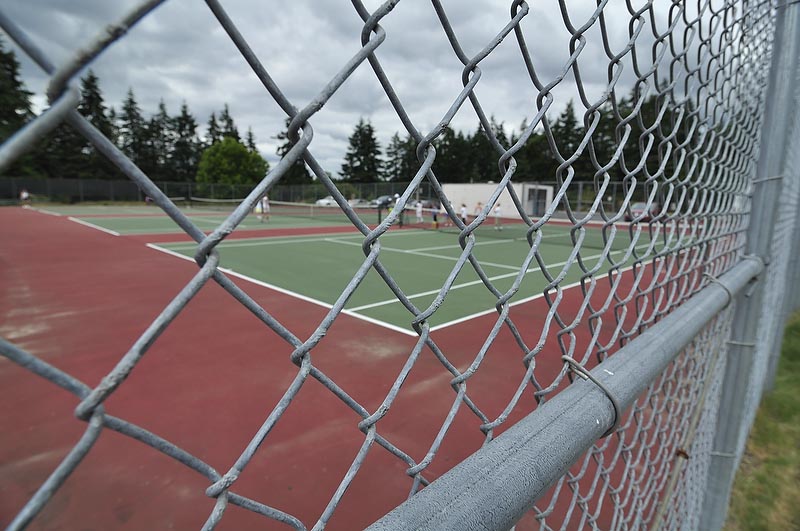
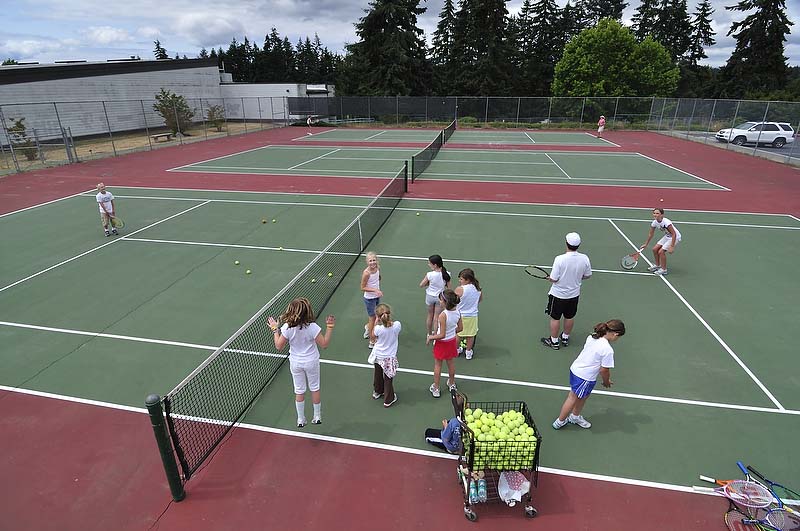
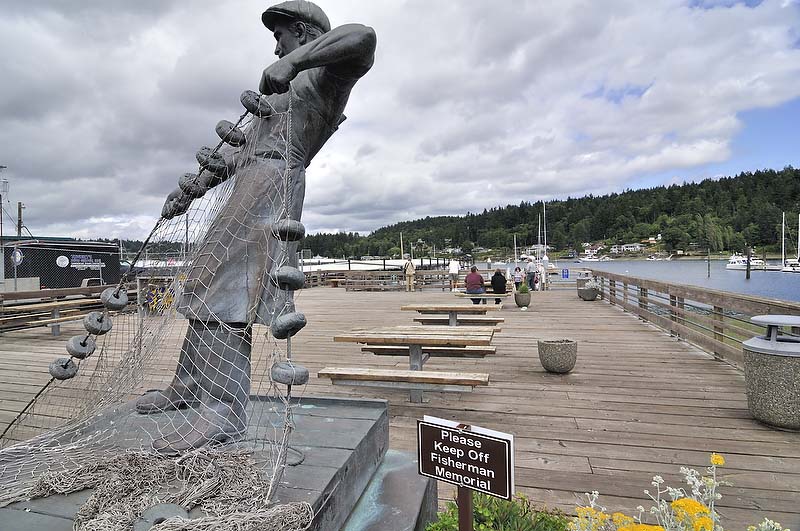
Here are some examples that show how shooting from a higher vantage point can result in better photographs. In both of these examples, I used a Nikon D90 with a 12–24mm f/4 lens. I set the camera’s self-timer with a five second delay. I also set the camera to take five pictures after the self-timer tripped the shutter. For the tennis court image, I set the lens’ focus to infinity and the aperture to f/8. For the image of the fisherman statue, I set the lens’ focus to approximately 8 feet and the aperture to f/11.
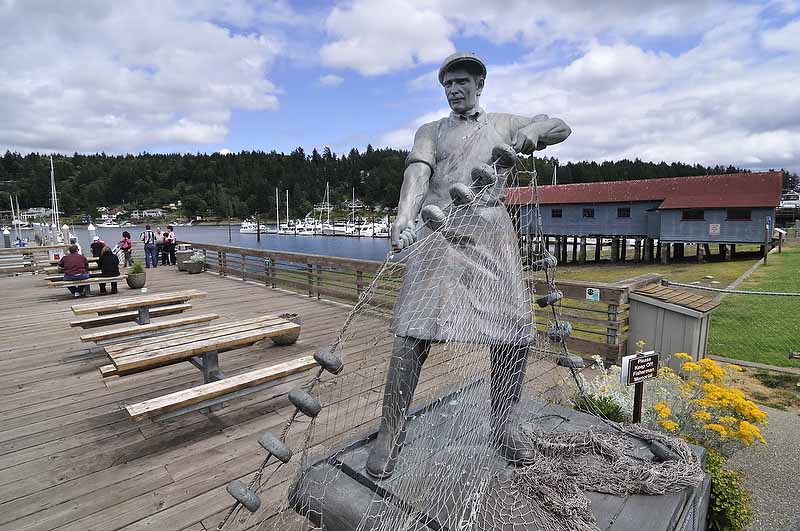
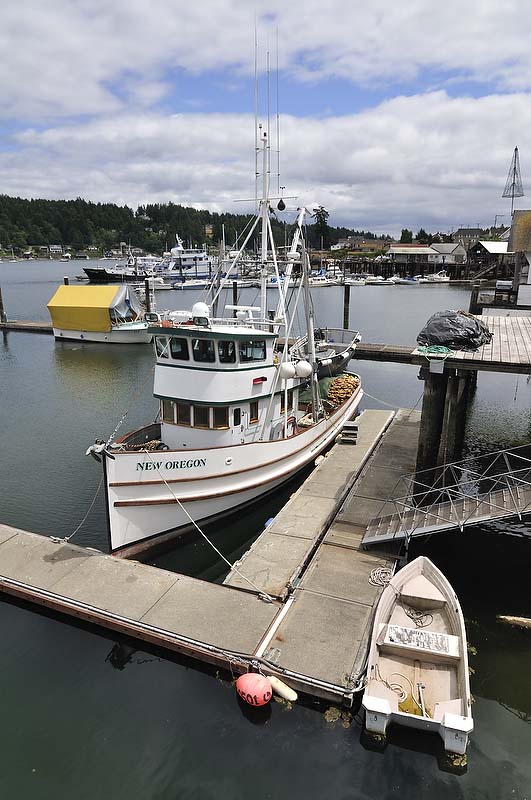
The higher vantage point gives this photo a much better perspective. You are able to see the dock and the harbor , and the statue looks much more realistic.
This panorama of Gig Harbor, Washington, USA, was taken with a Nikon D200 and stitched together with Photoshop. The photo shown here is a crop of a larger image that contains 15 individual images with an aspect ratio of 1:20. To take great panoramas, you’ll need to photograph in Manual exposure mode while also setting your white balance to a fixed value (i.e., Sunny). Then, make sure that you overlap each photo with the adjacent photo by about 25%. This allows your processing software to do a better job of stitching the images together.

